


- Photos
- Videos
- Models


New Release
Standalone
Photogrammetry
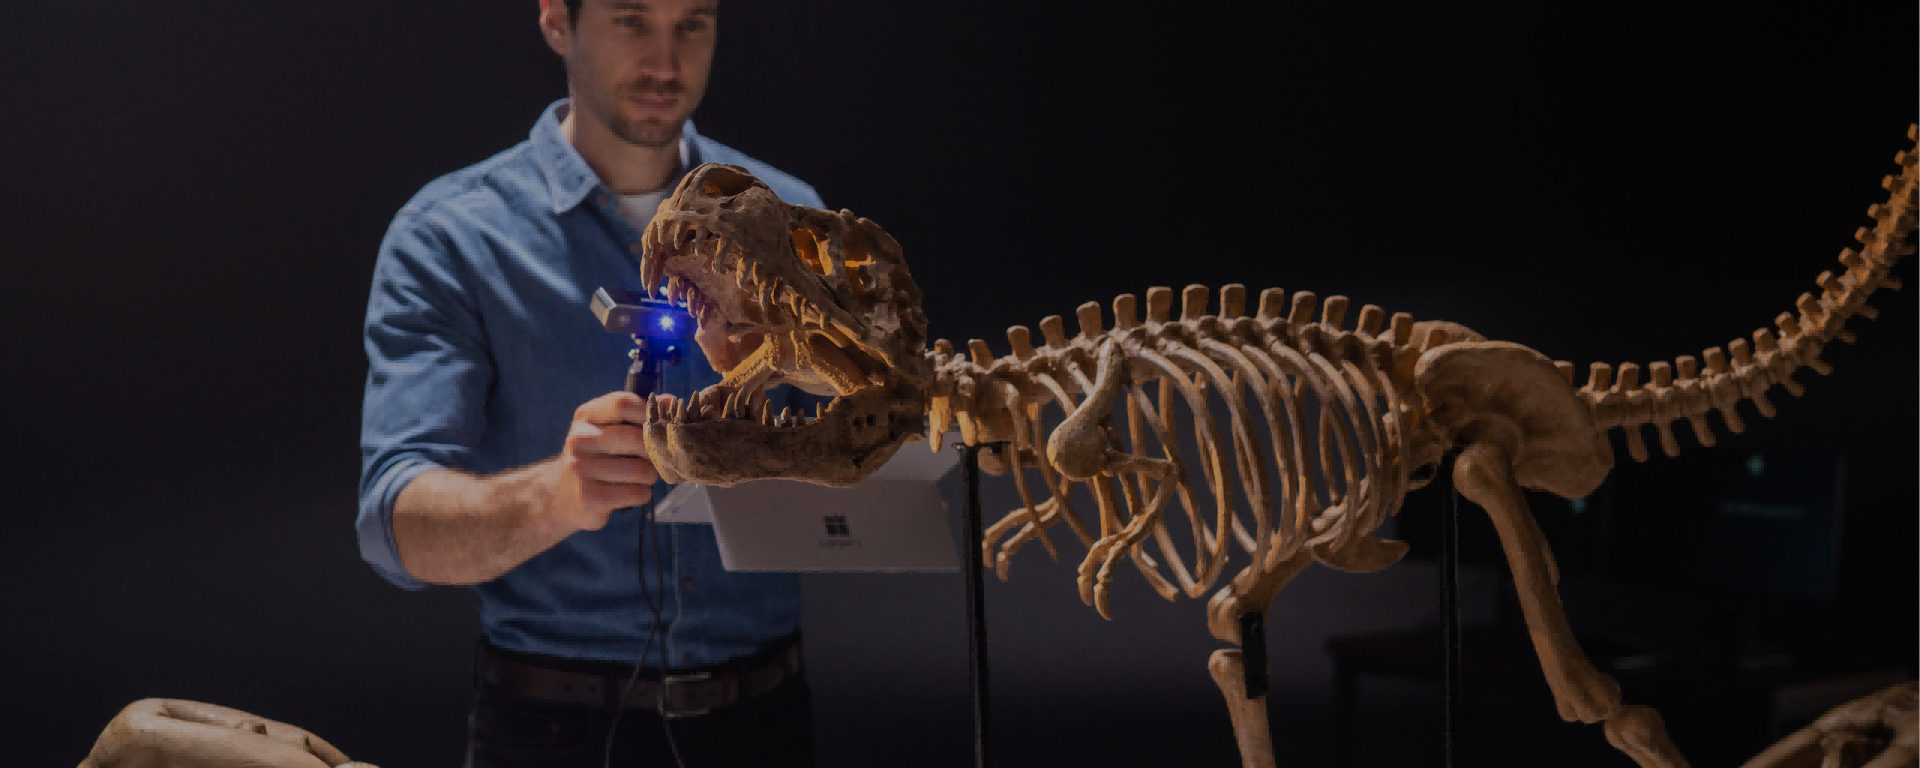
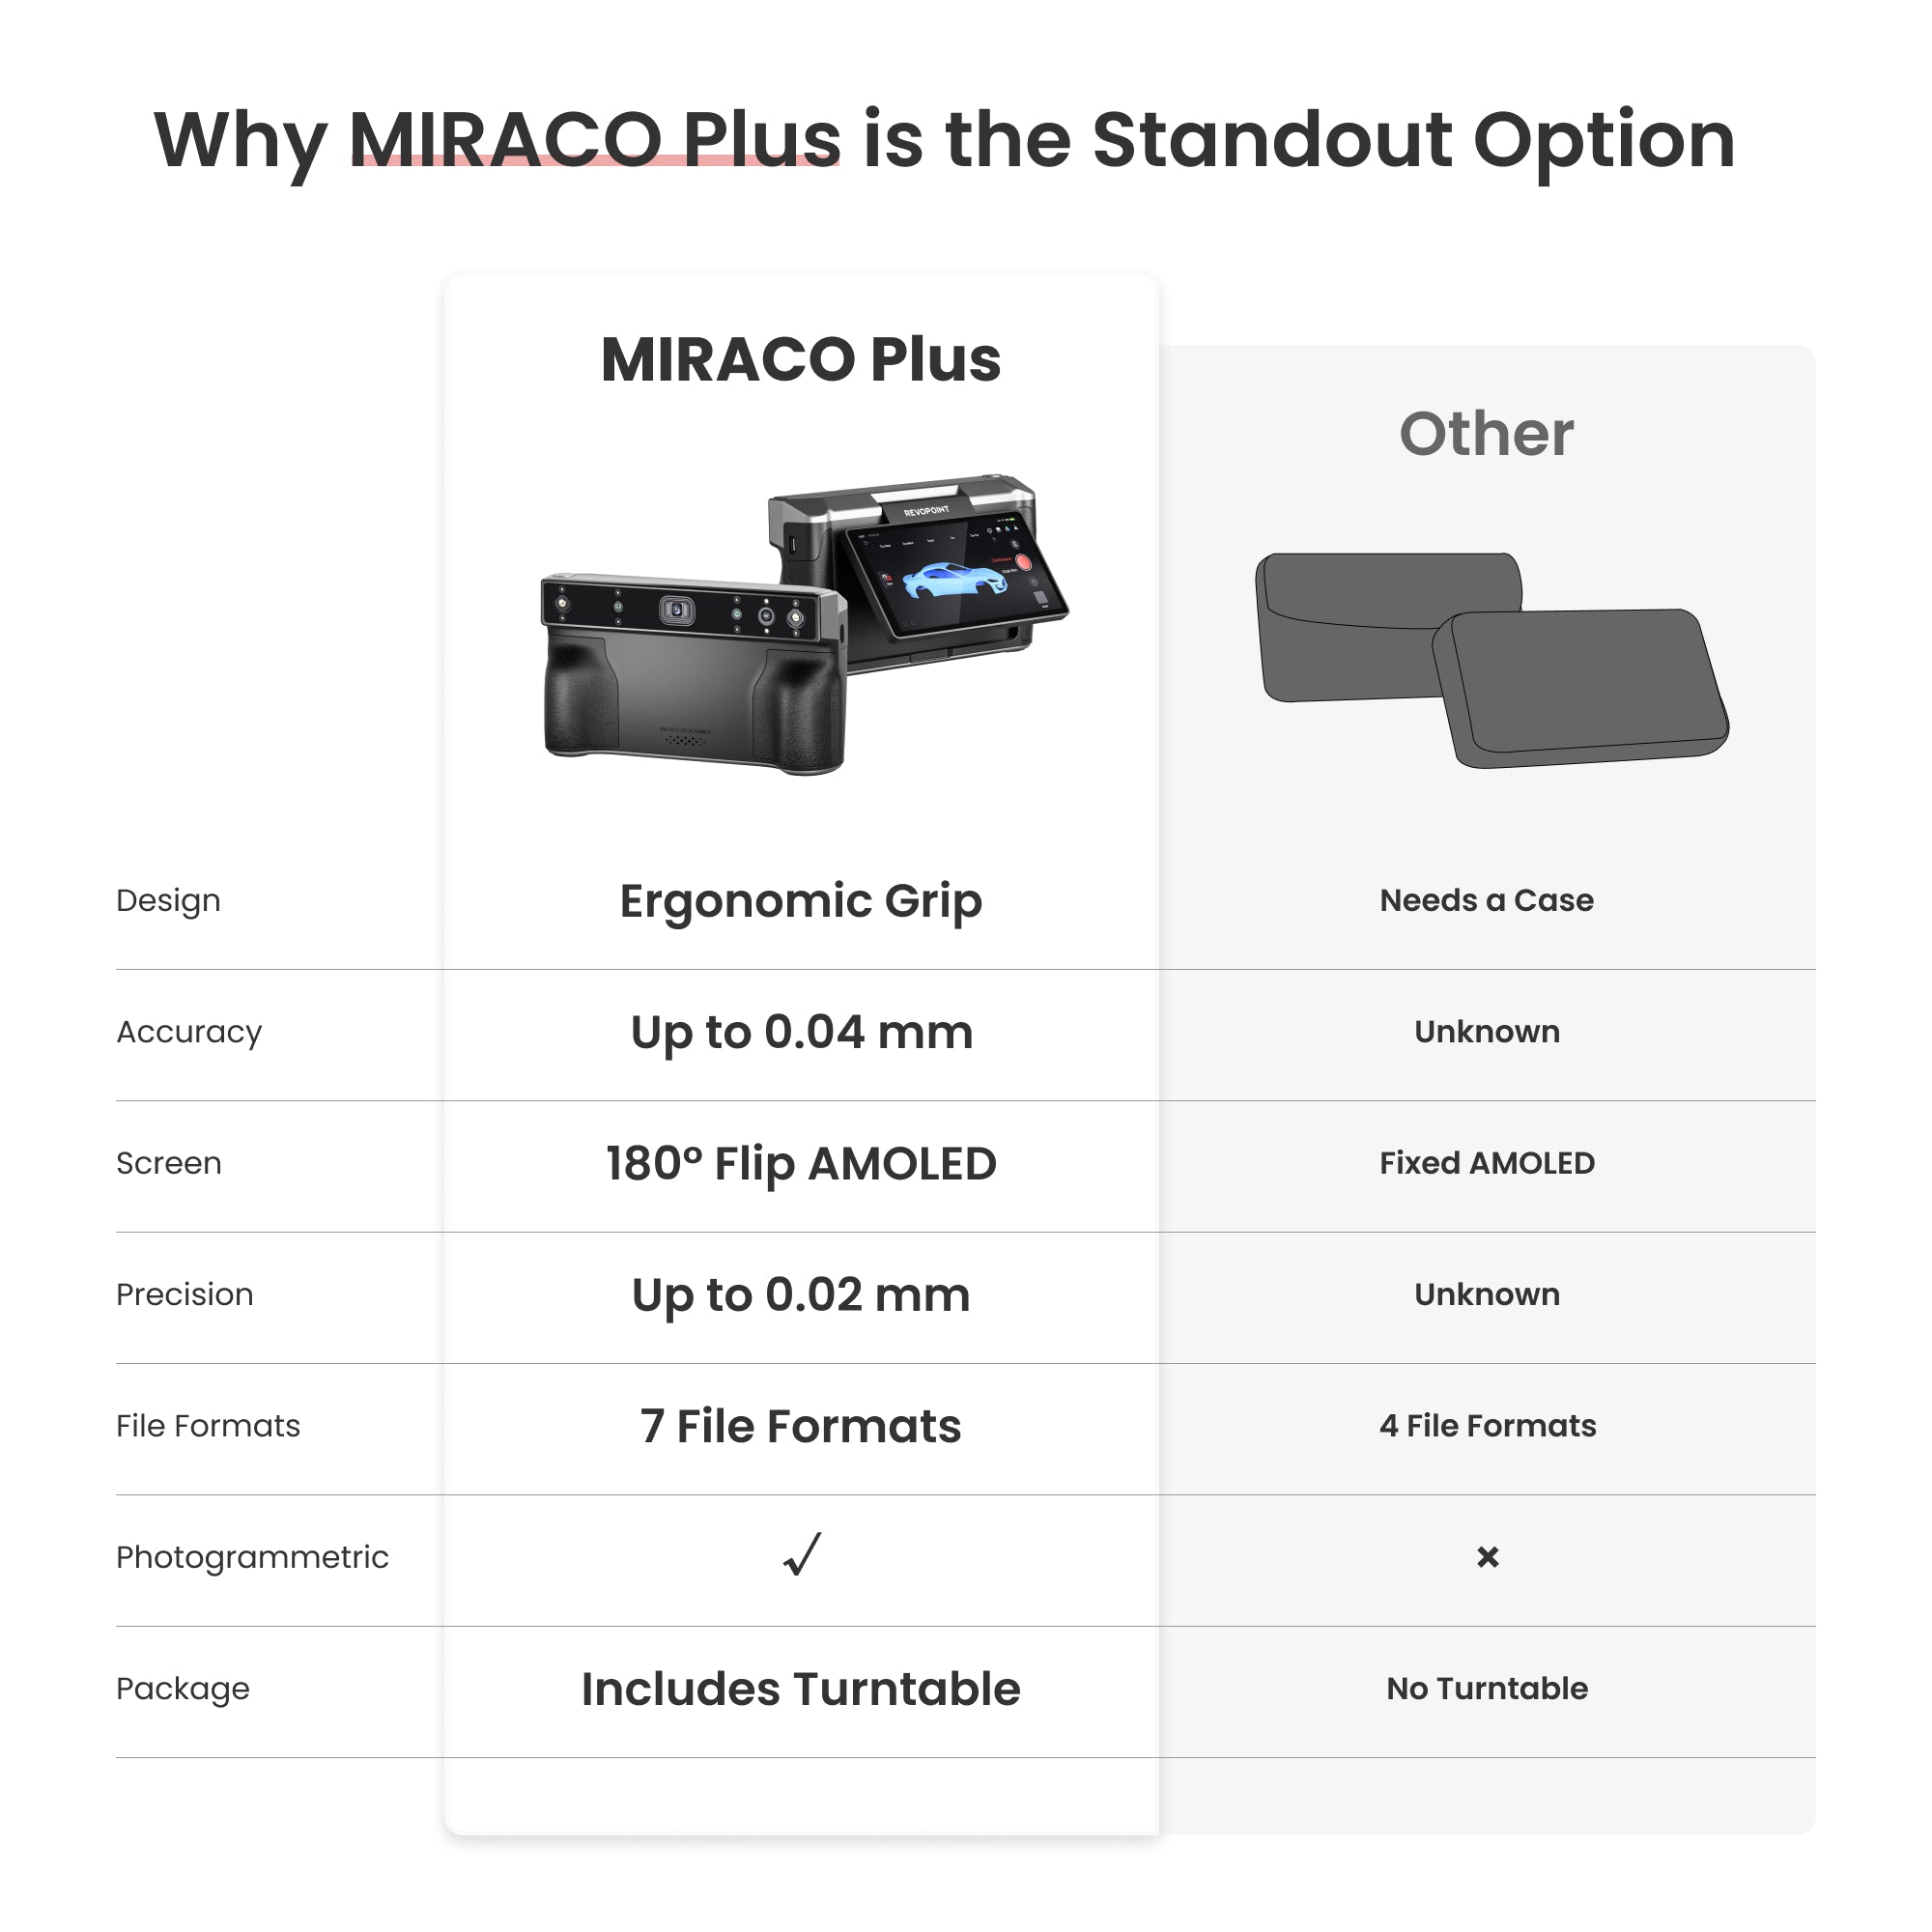
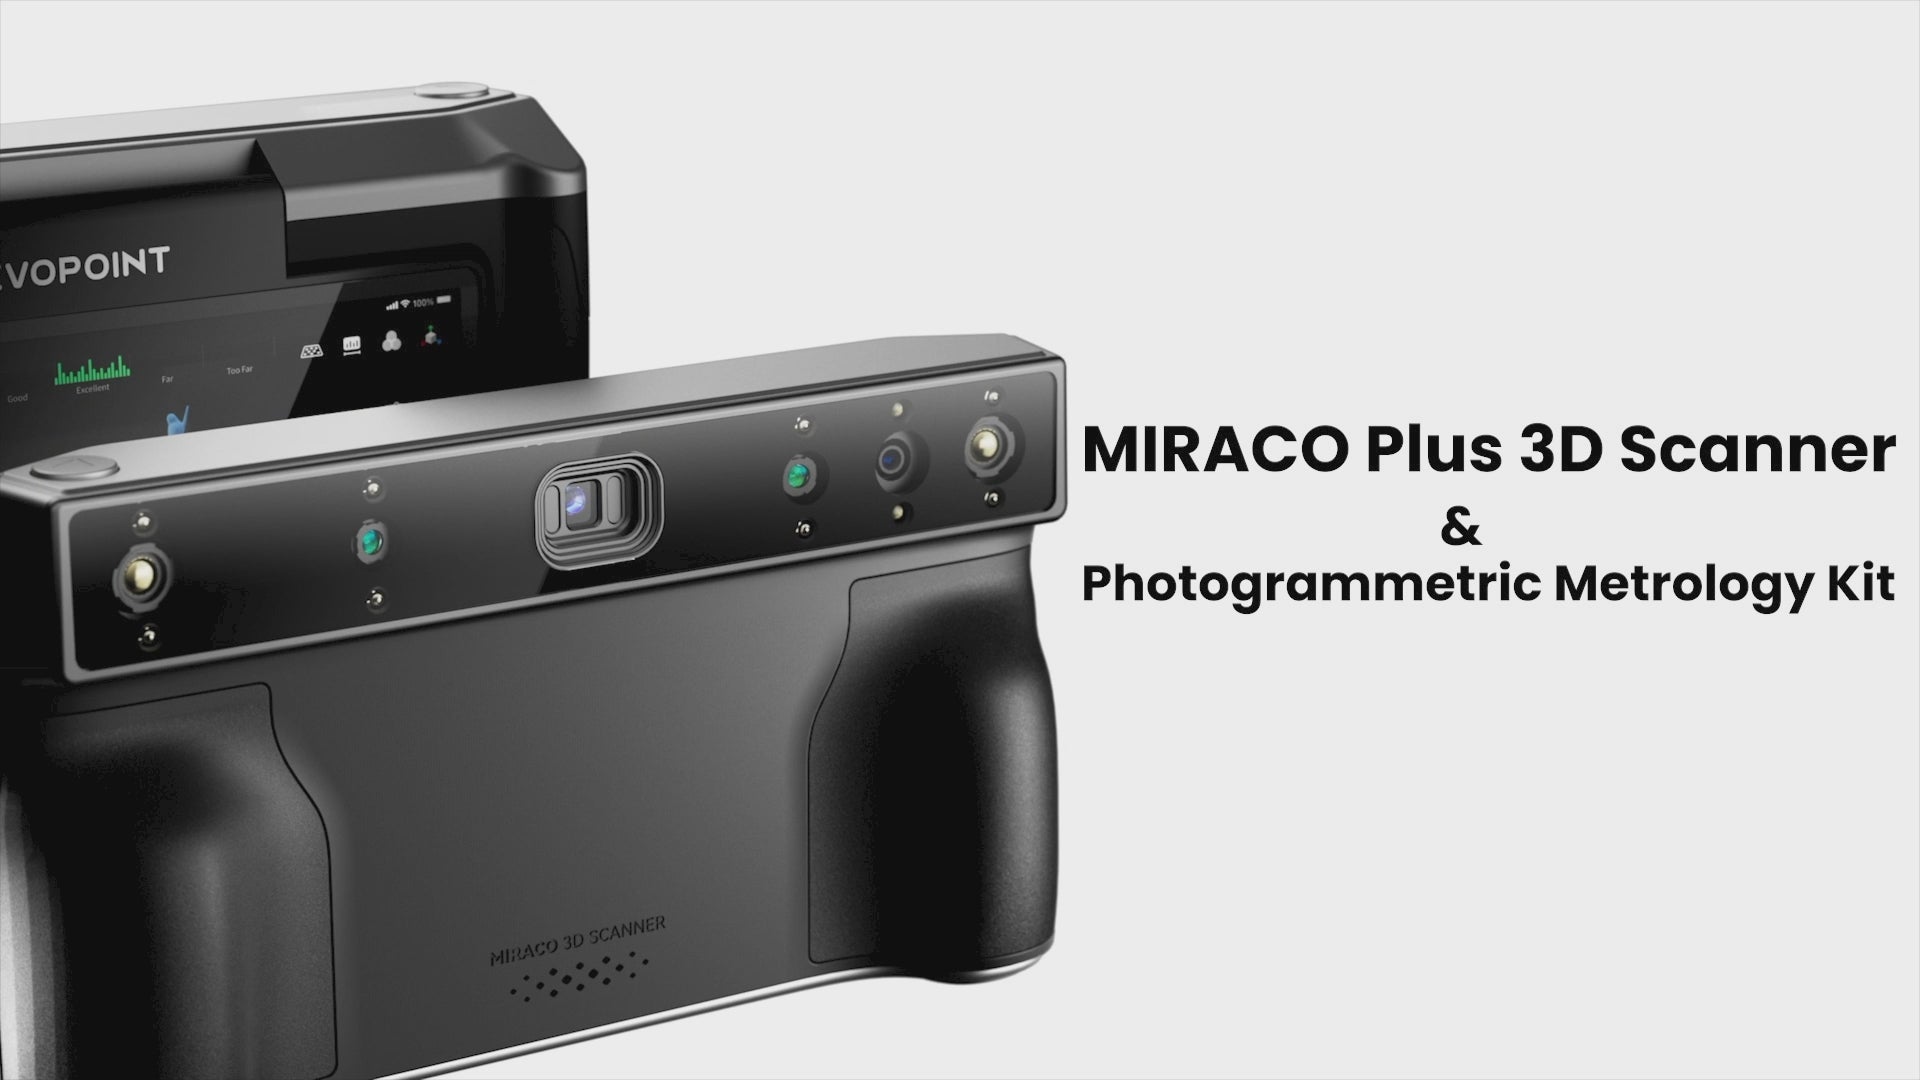
MIRACO Plus: First Standalone 3D Scanner with Photogrammetric Metrology Capabilities
🎊The 11th Anniversary Sale - Save Up to 32%
The last
days and
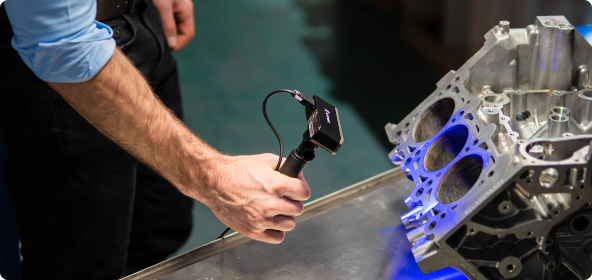
· Small to Large All-in-one Scanning
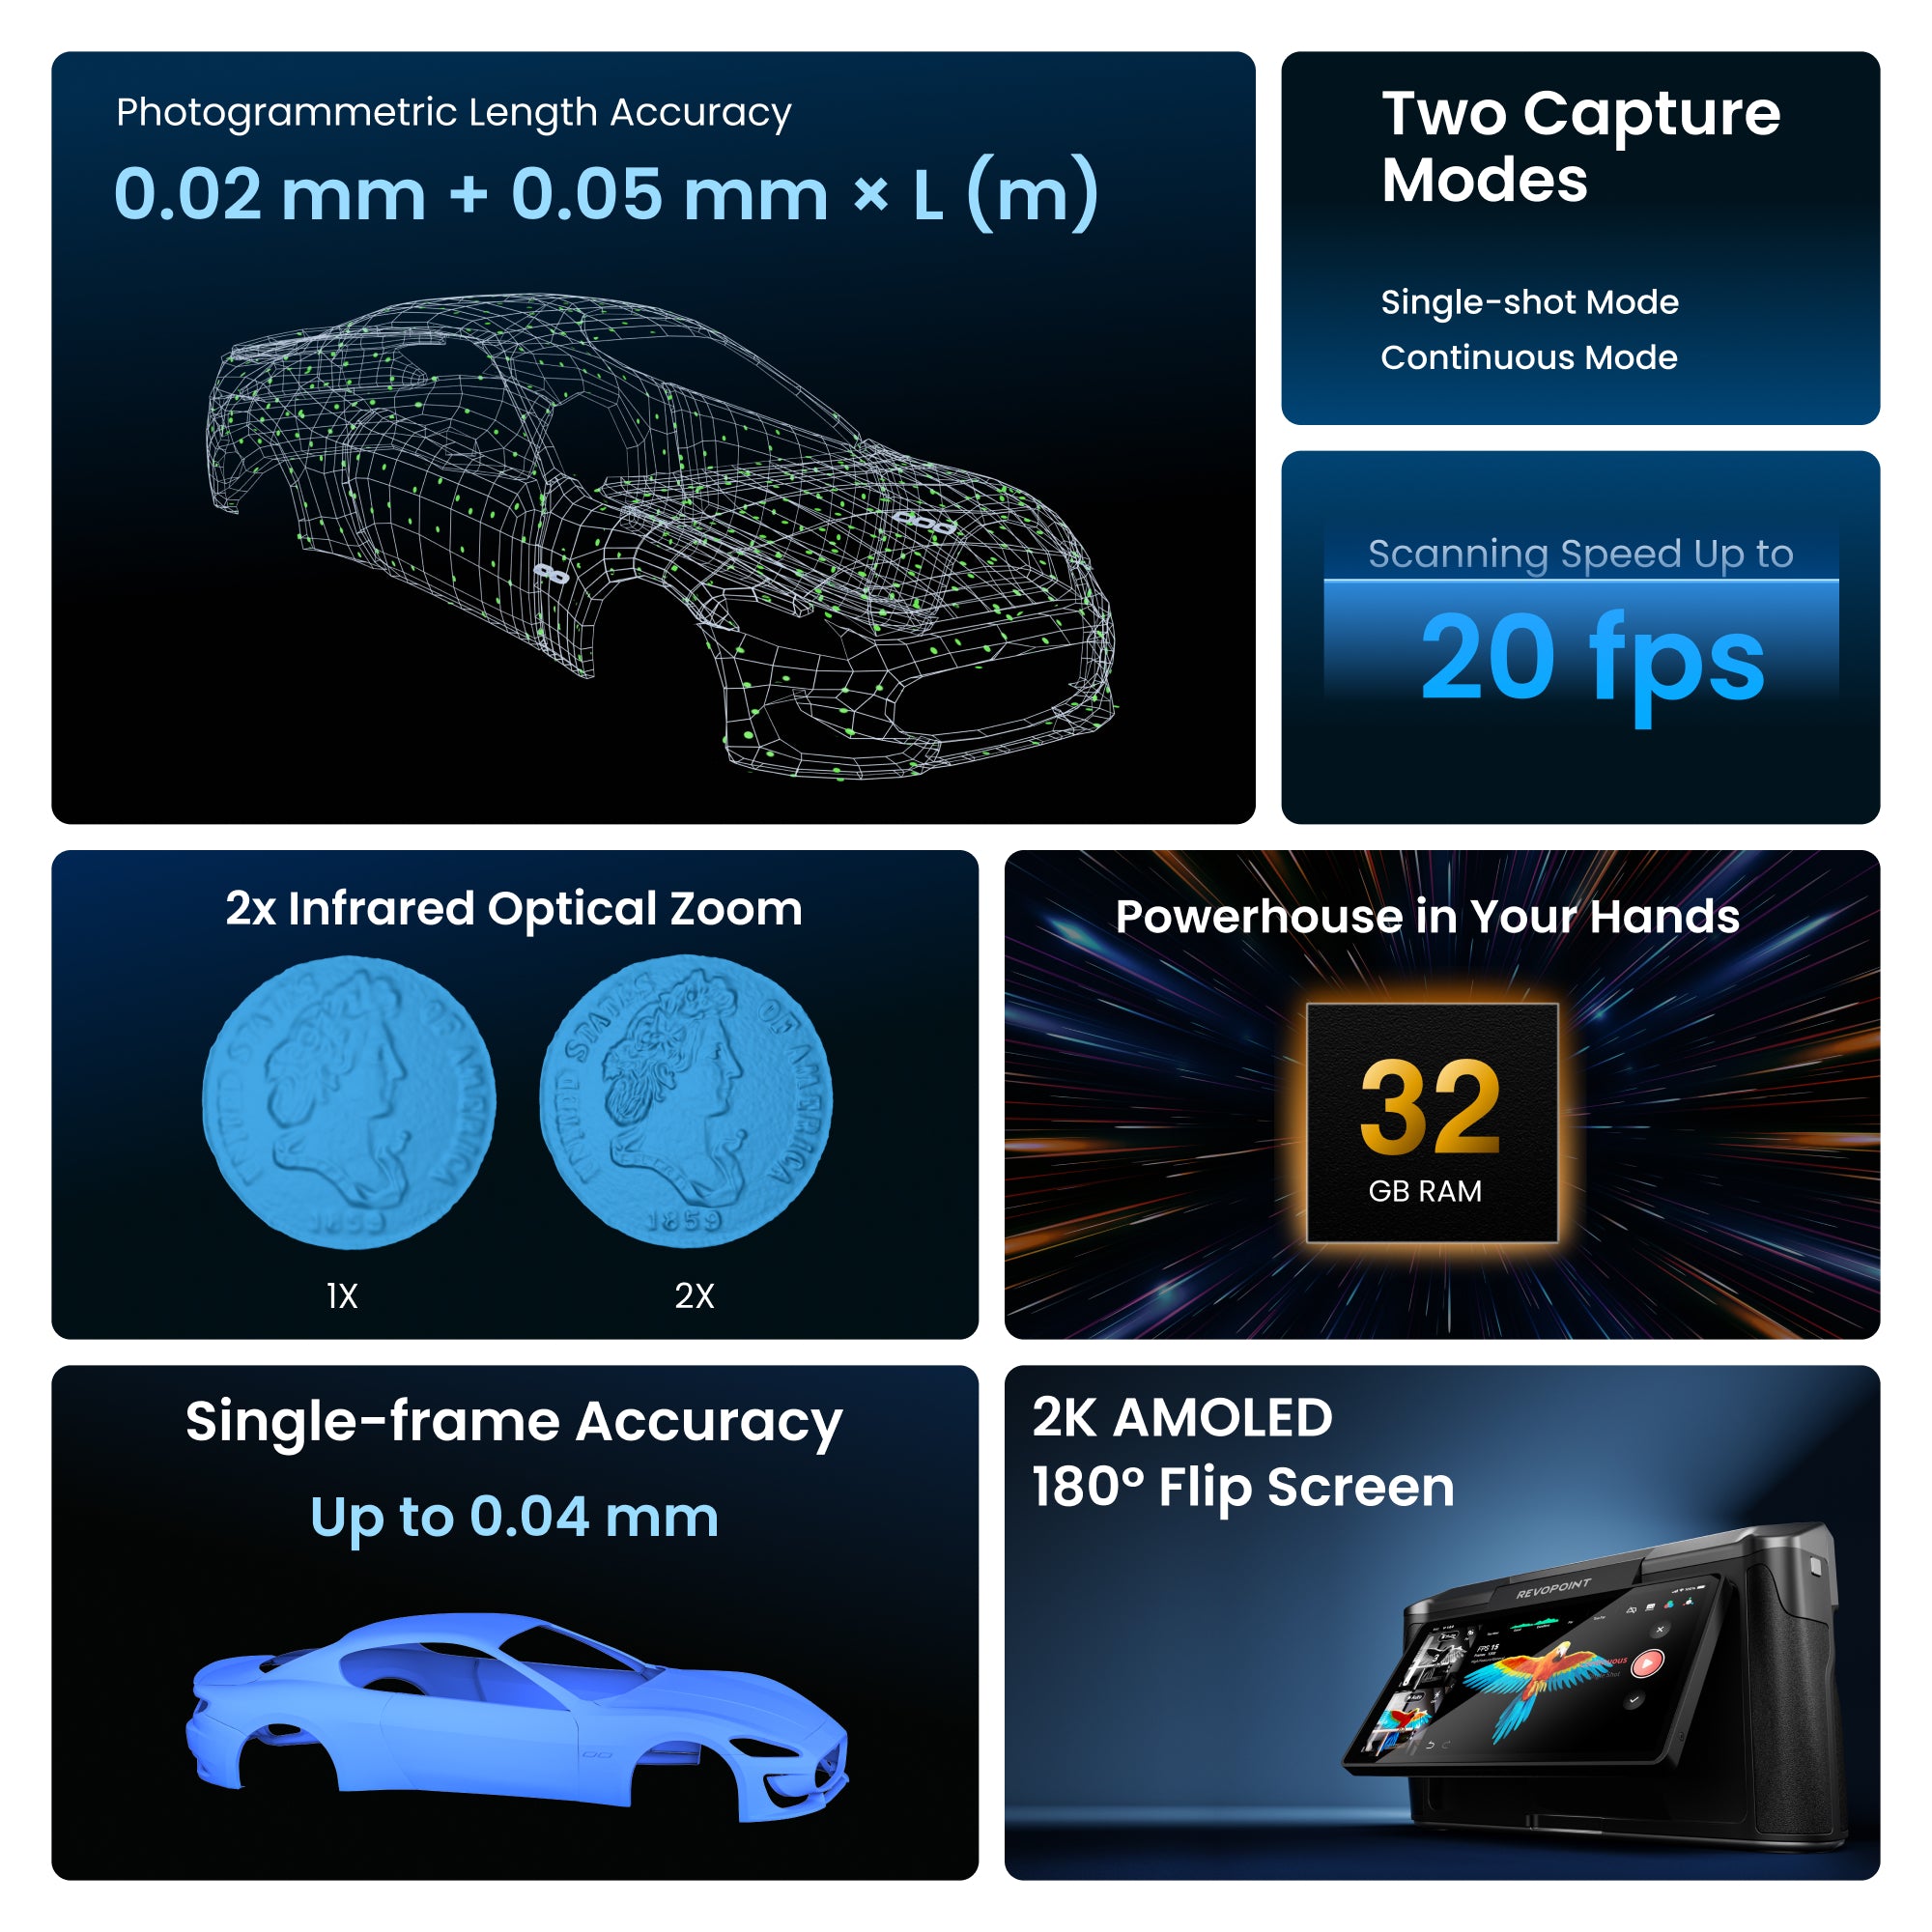
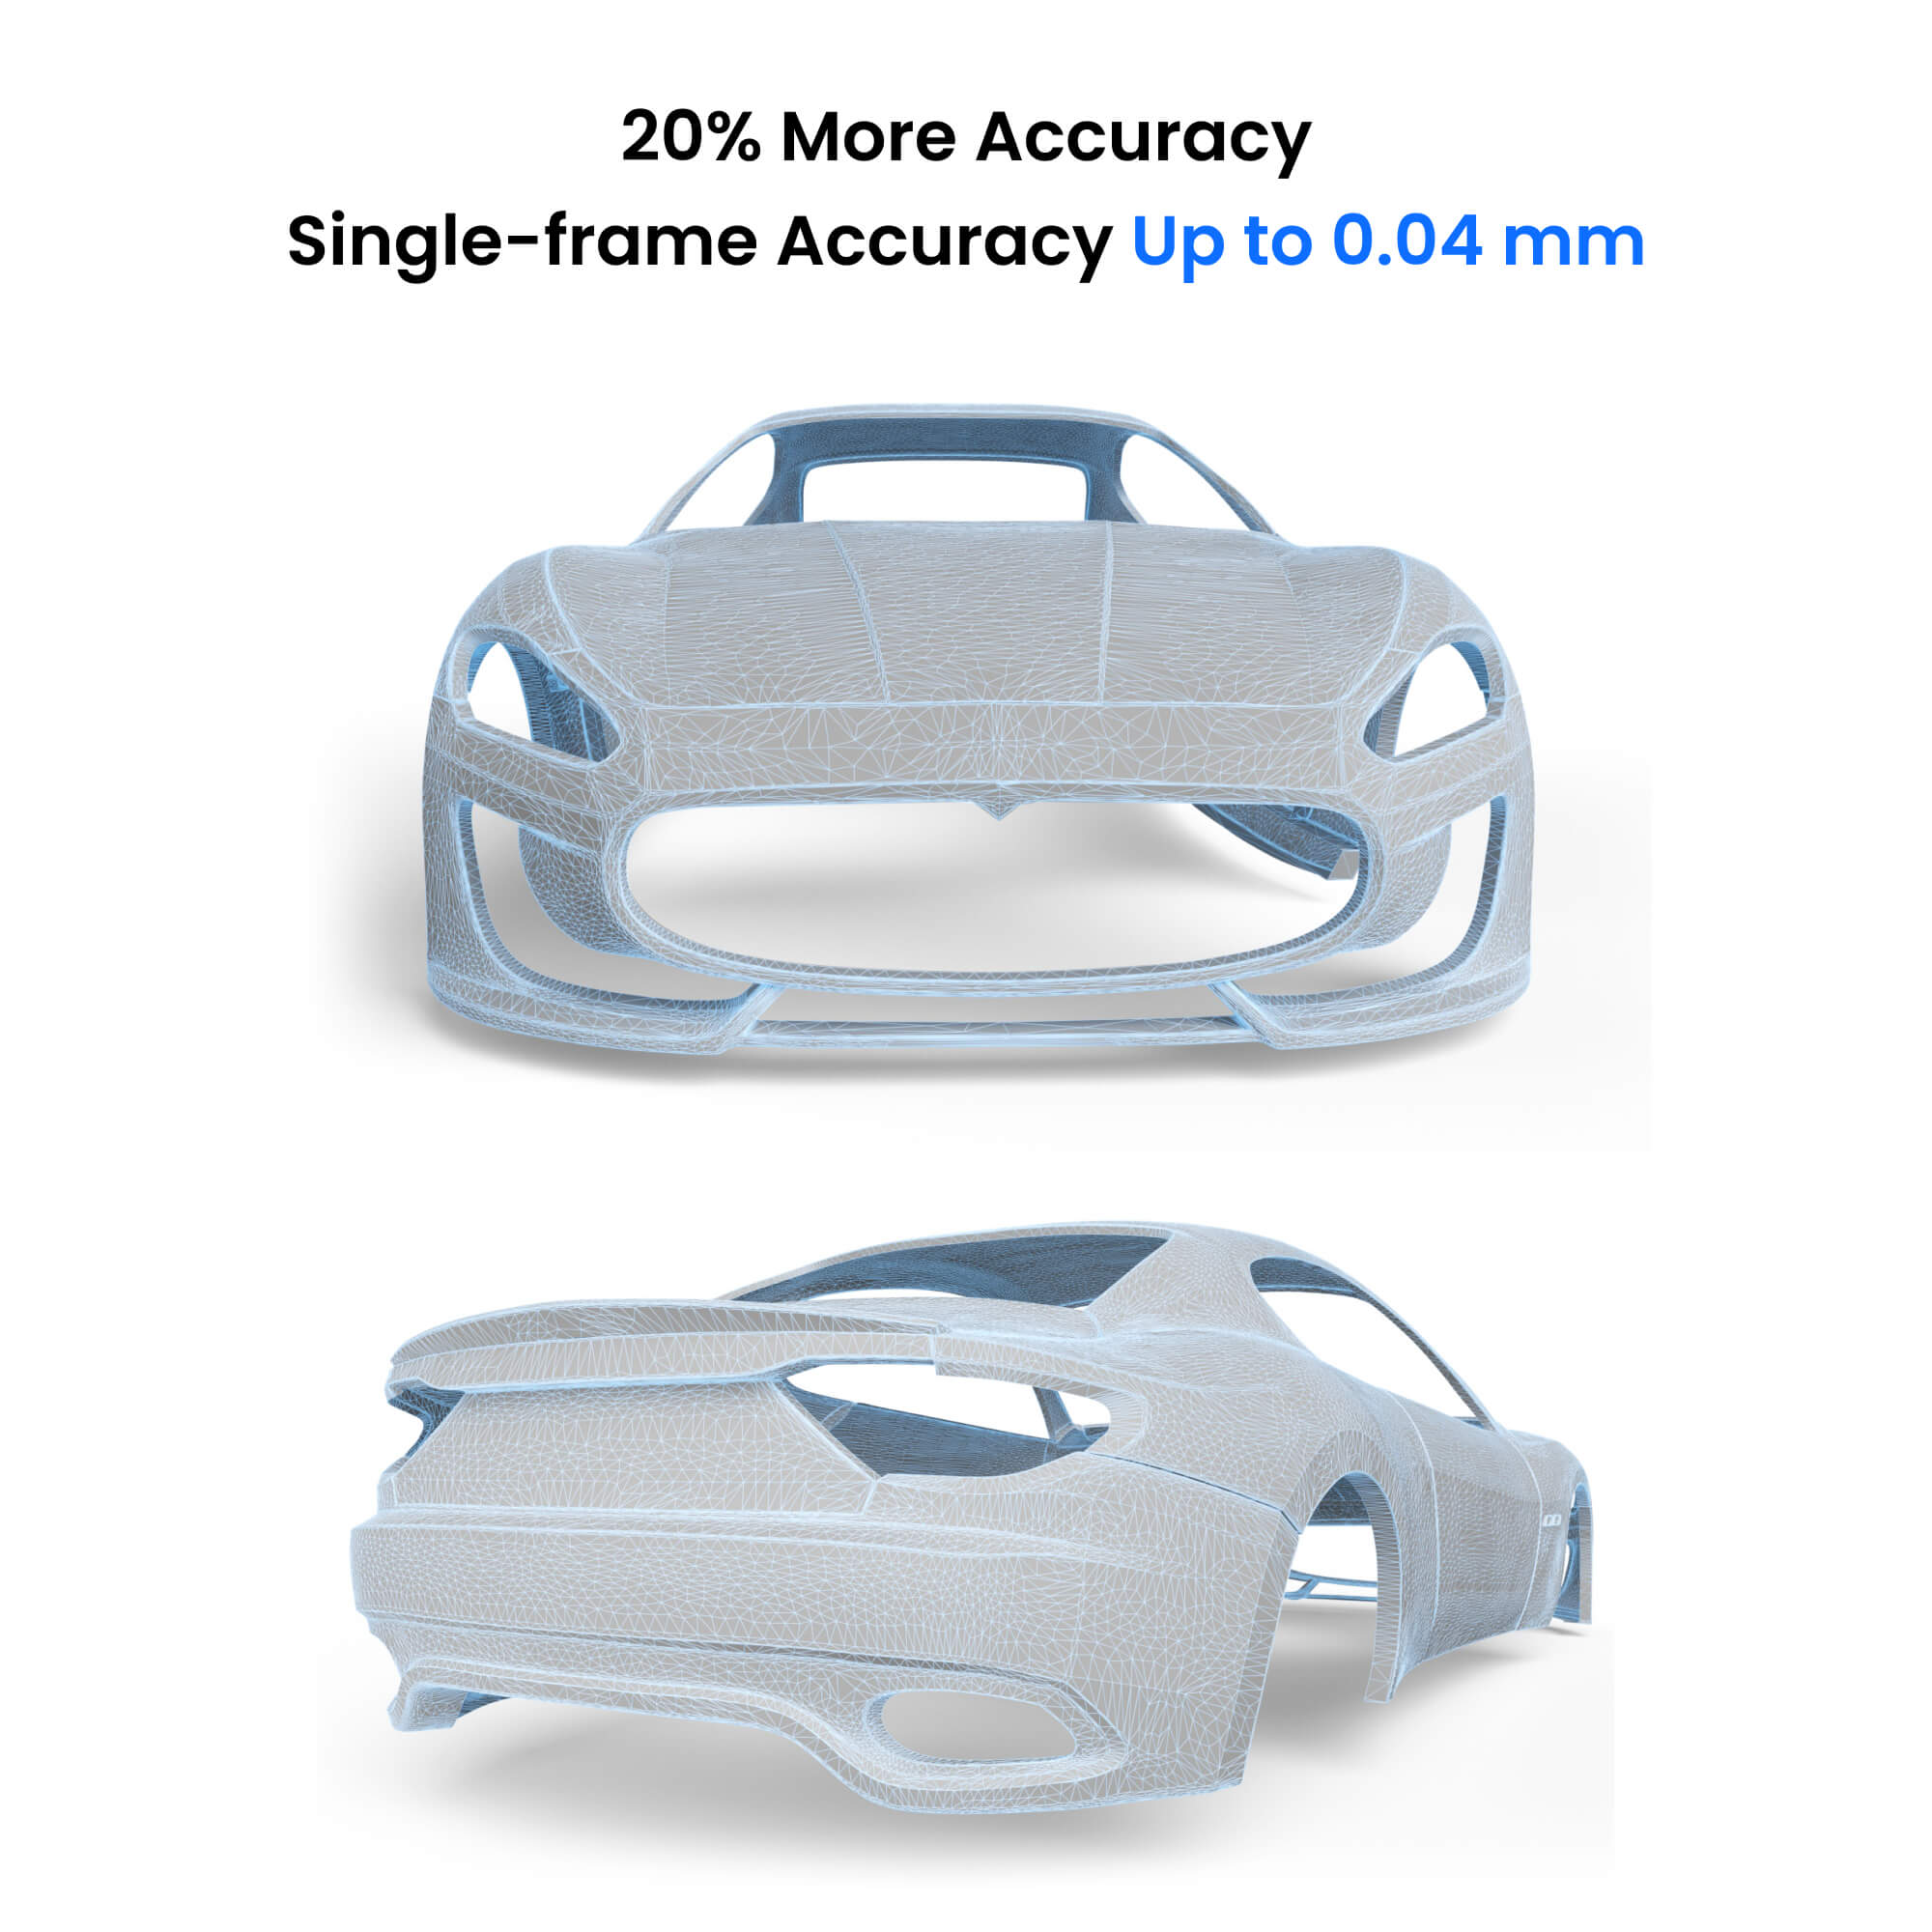
· Single-frame Accuracy Up to 0.04 mm
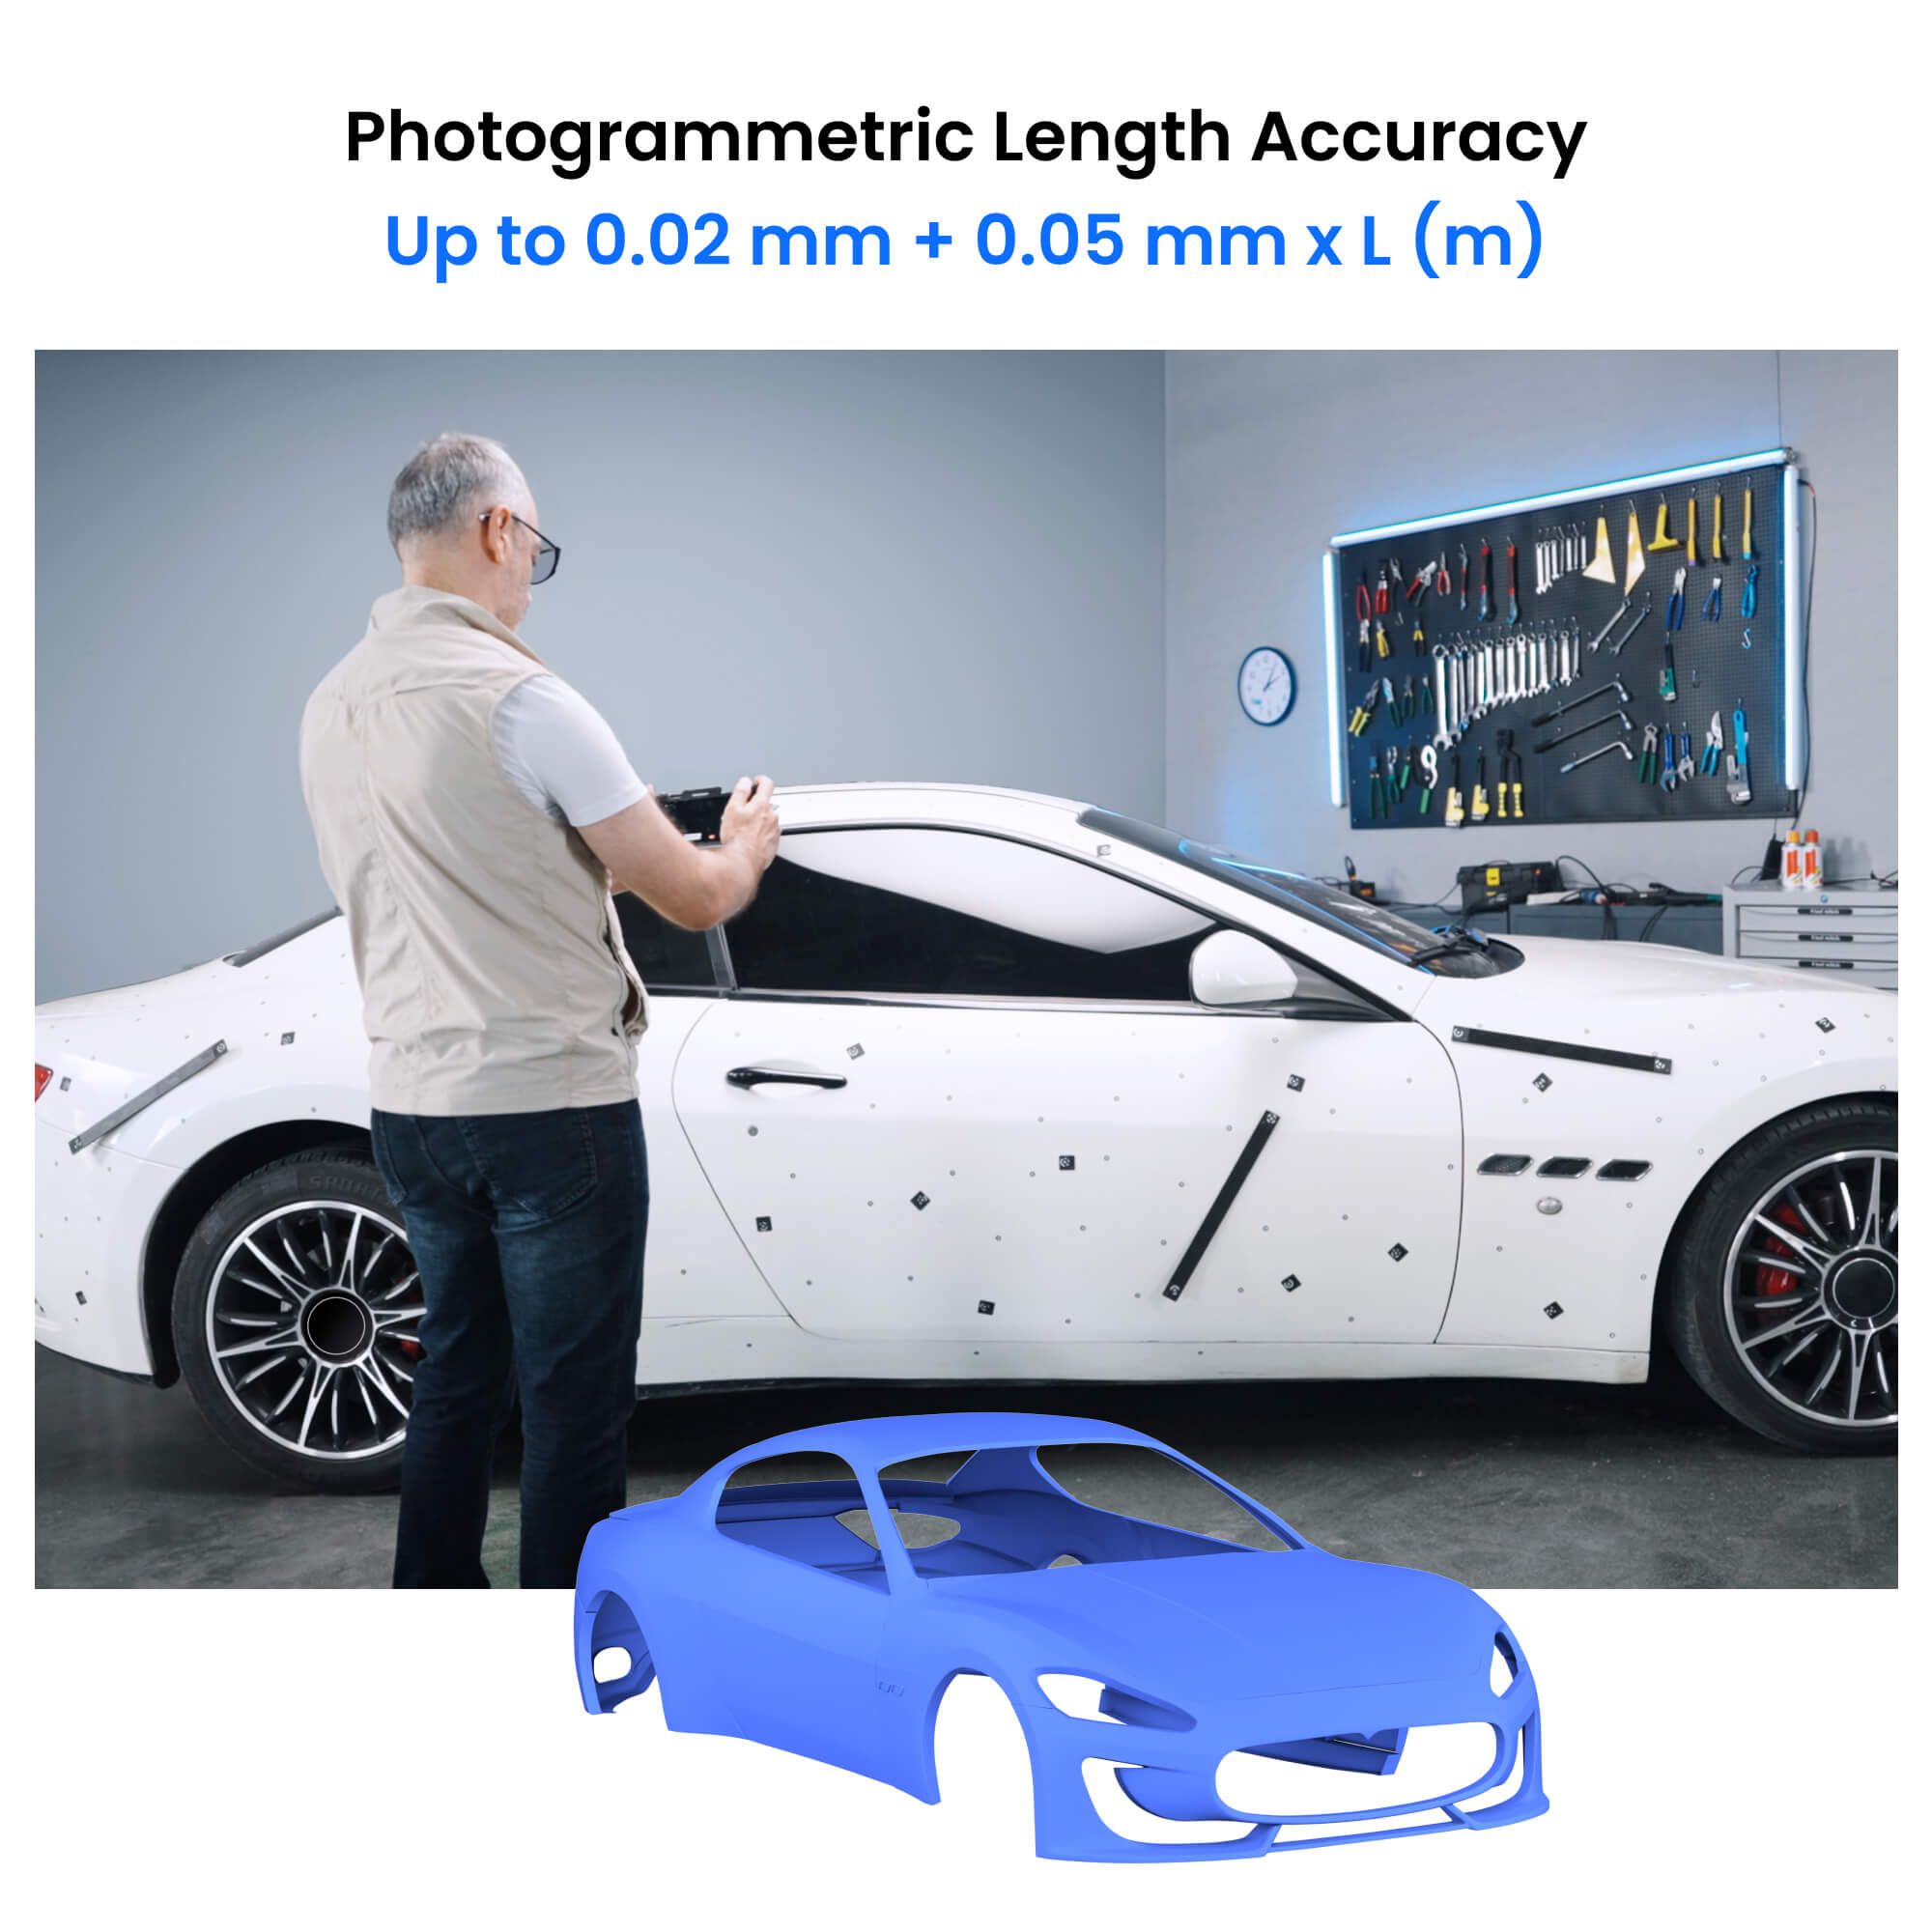
· Photogrammetric Length Accuracy 0.02 mm + 0.05 mm x L (m)
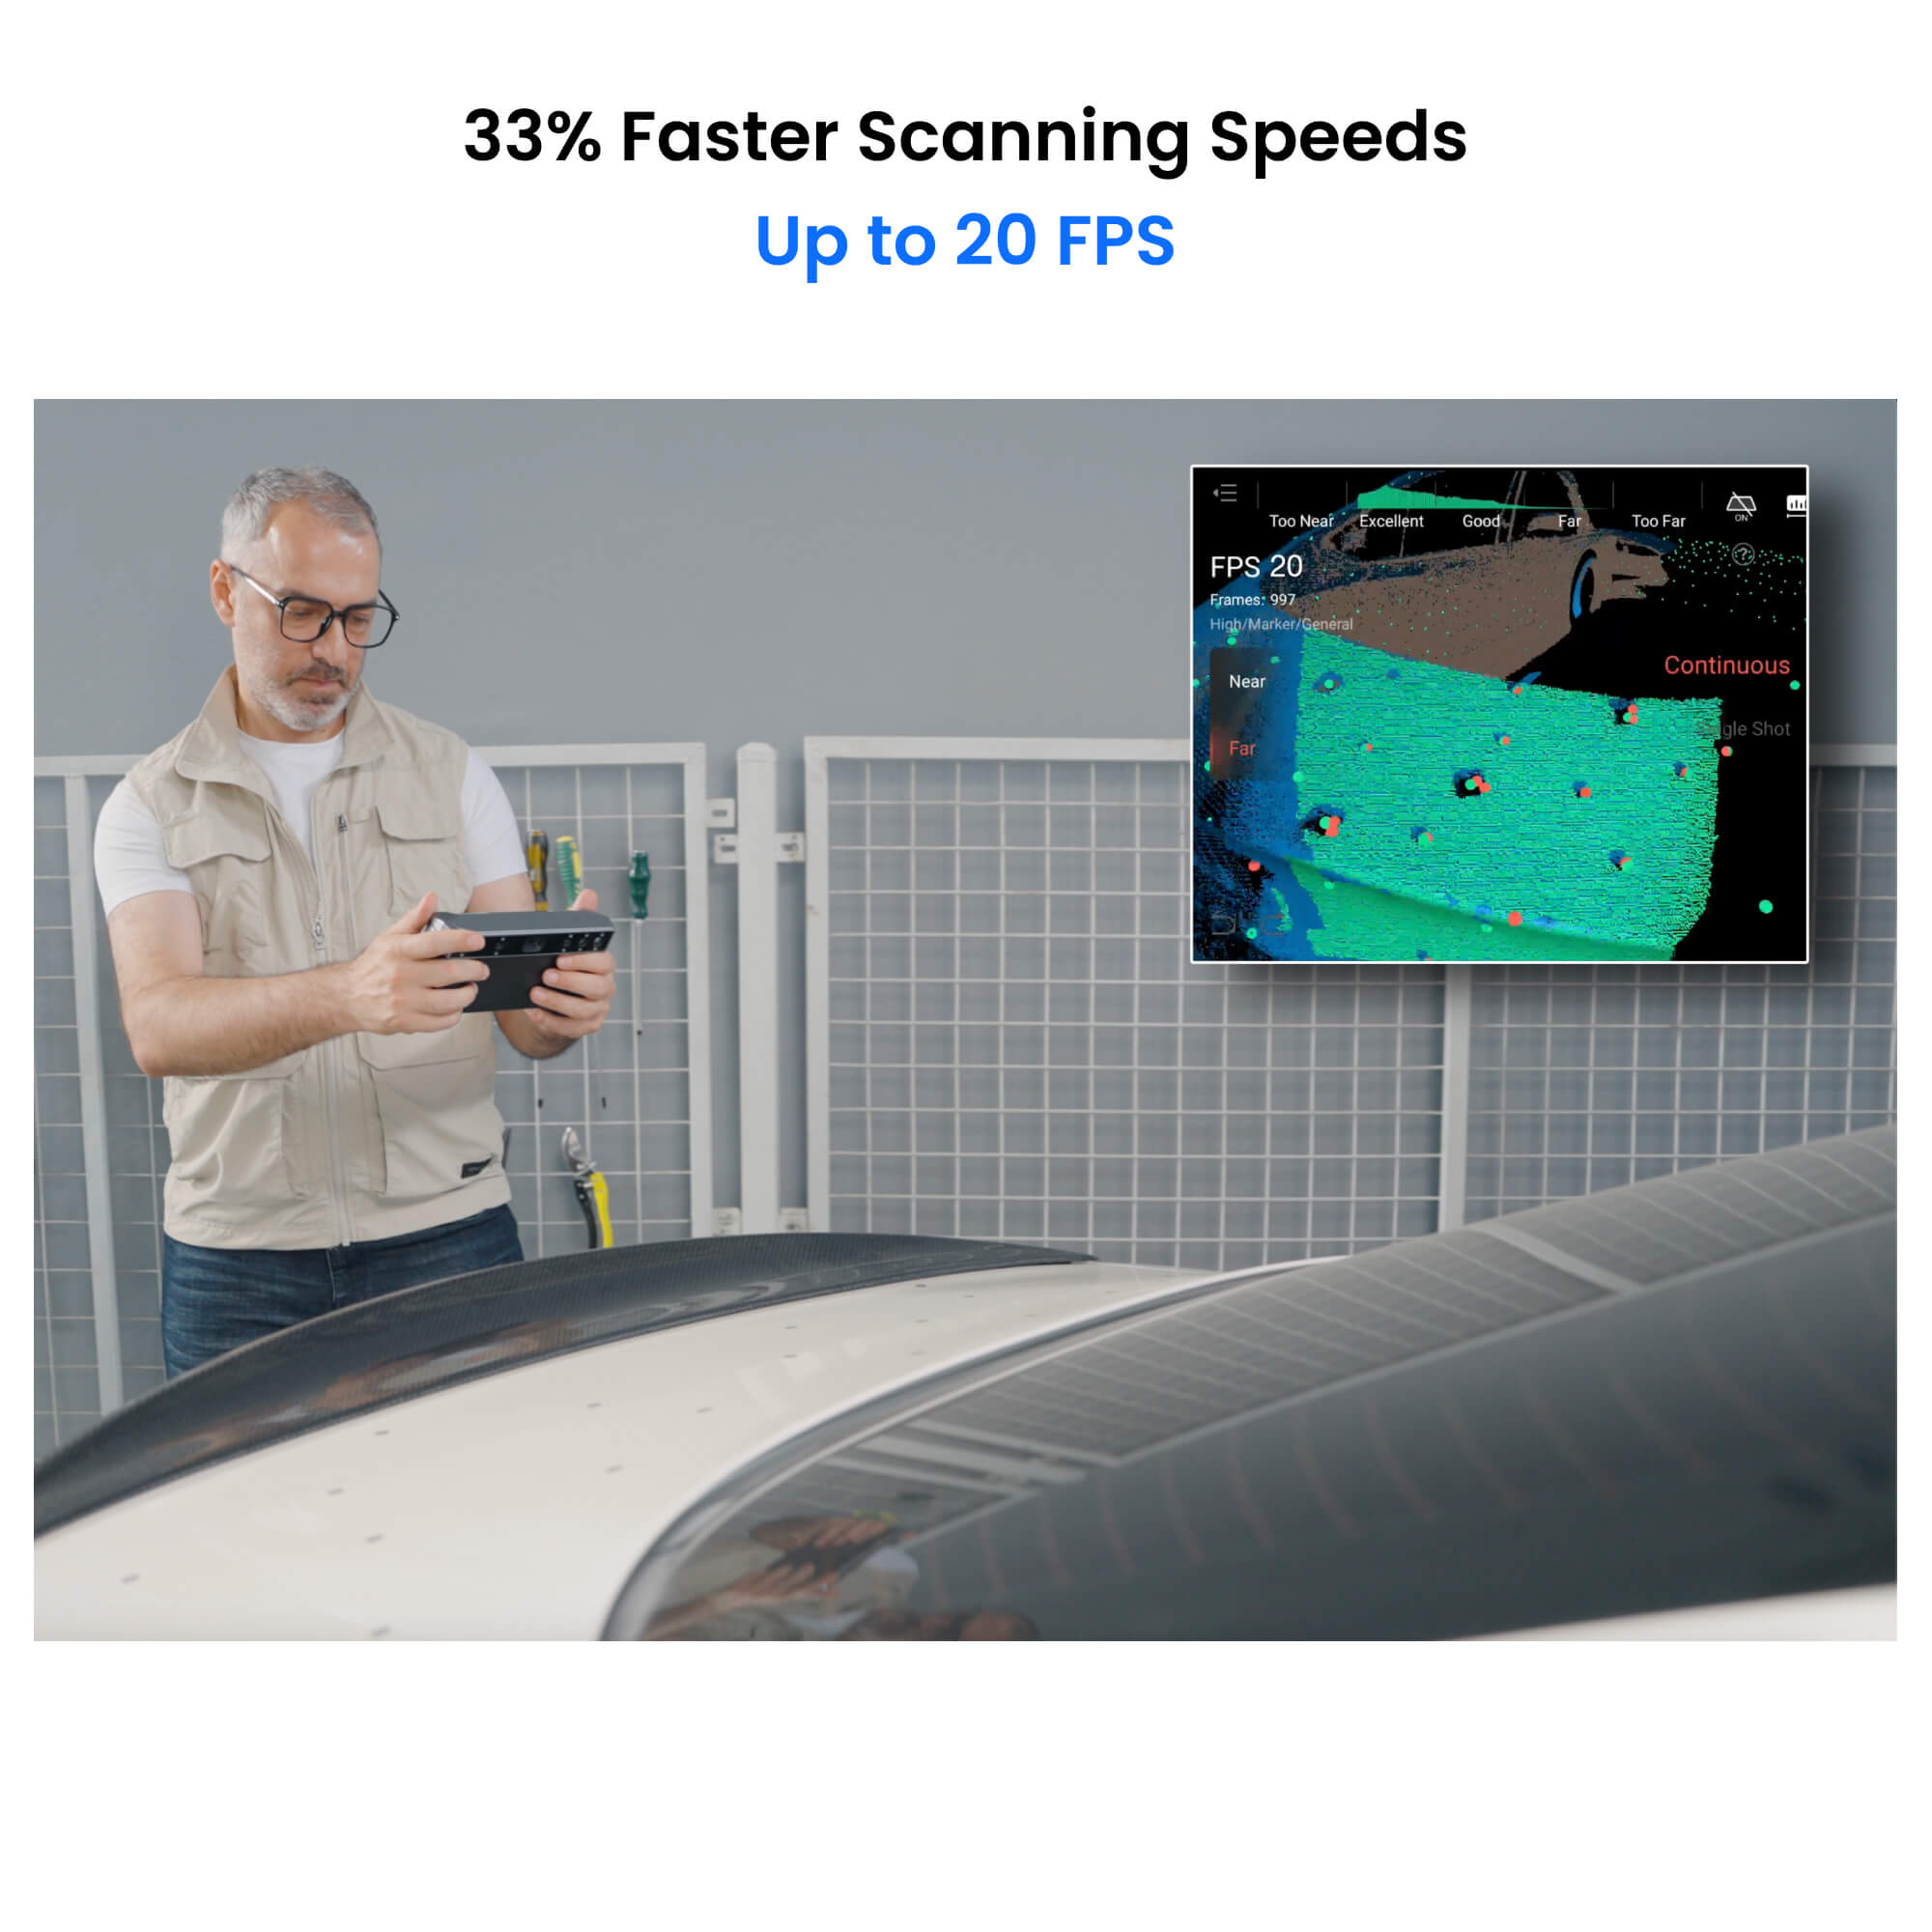
· Fast Scanning Speed Up to 20 FPS
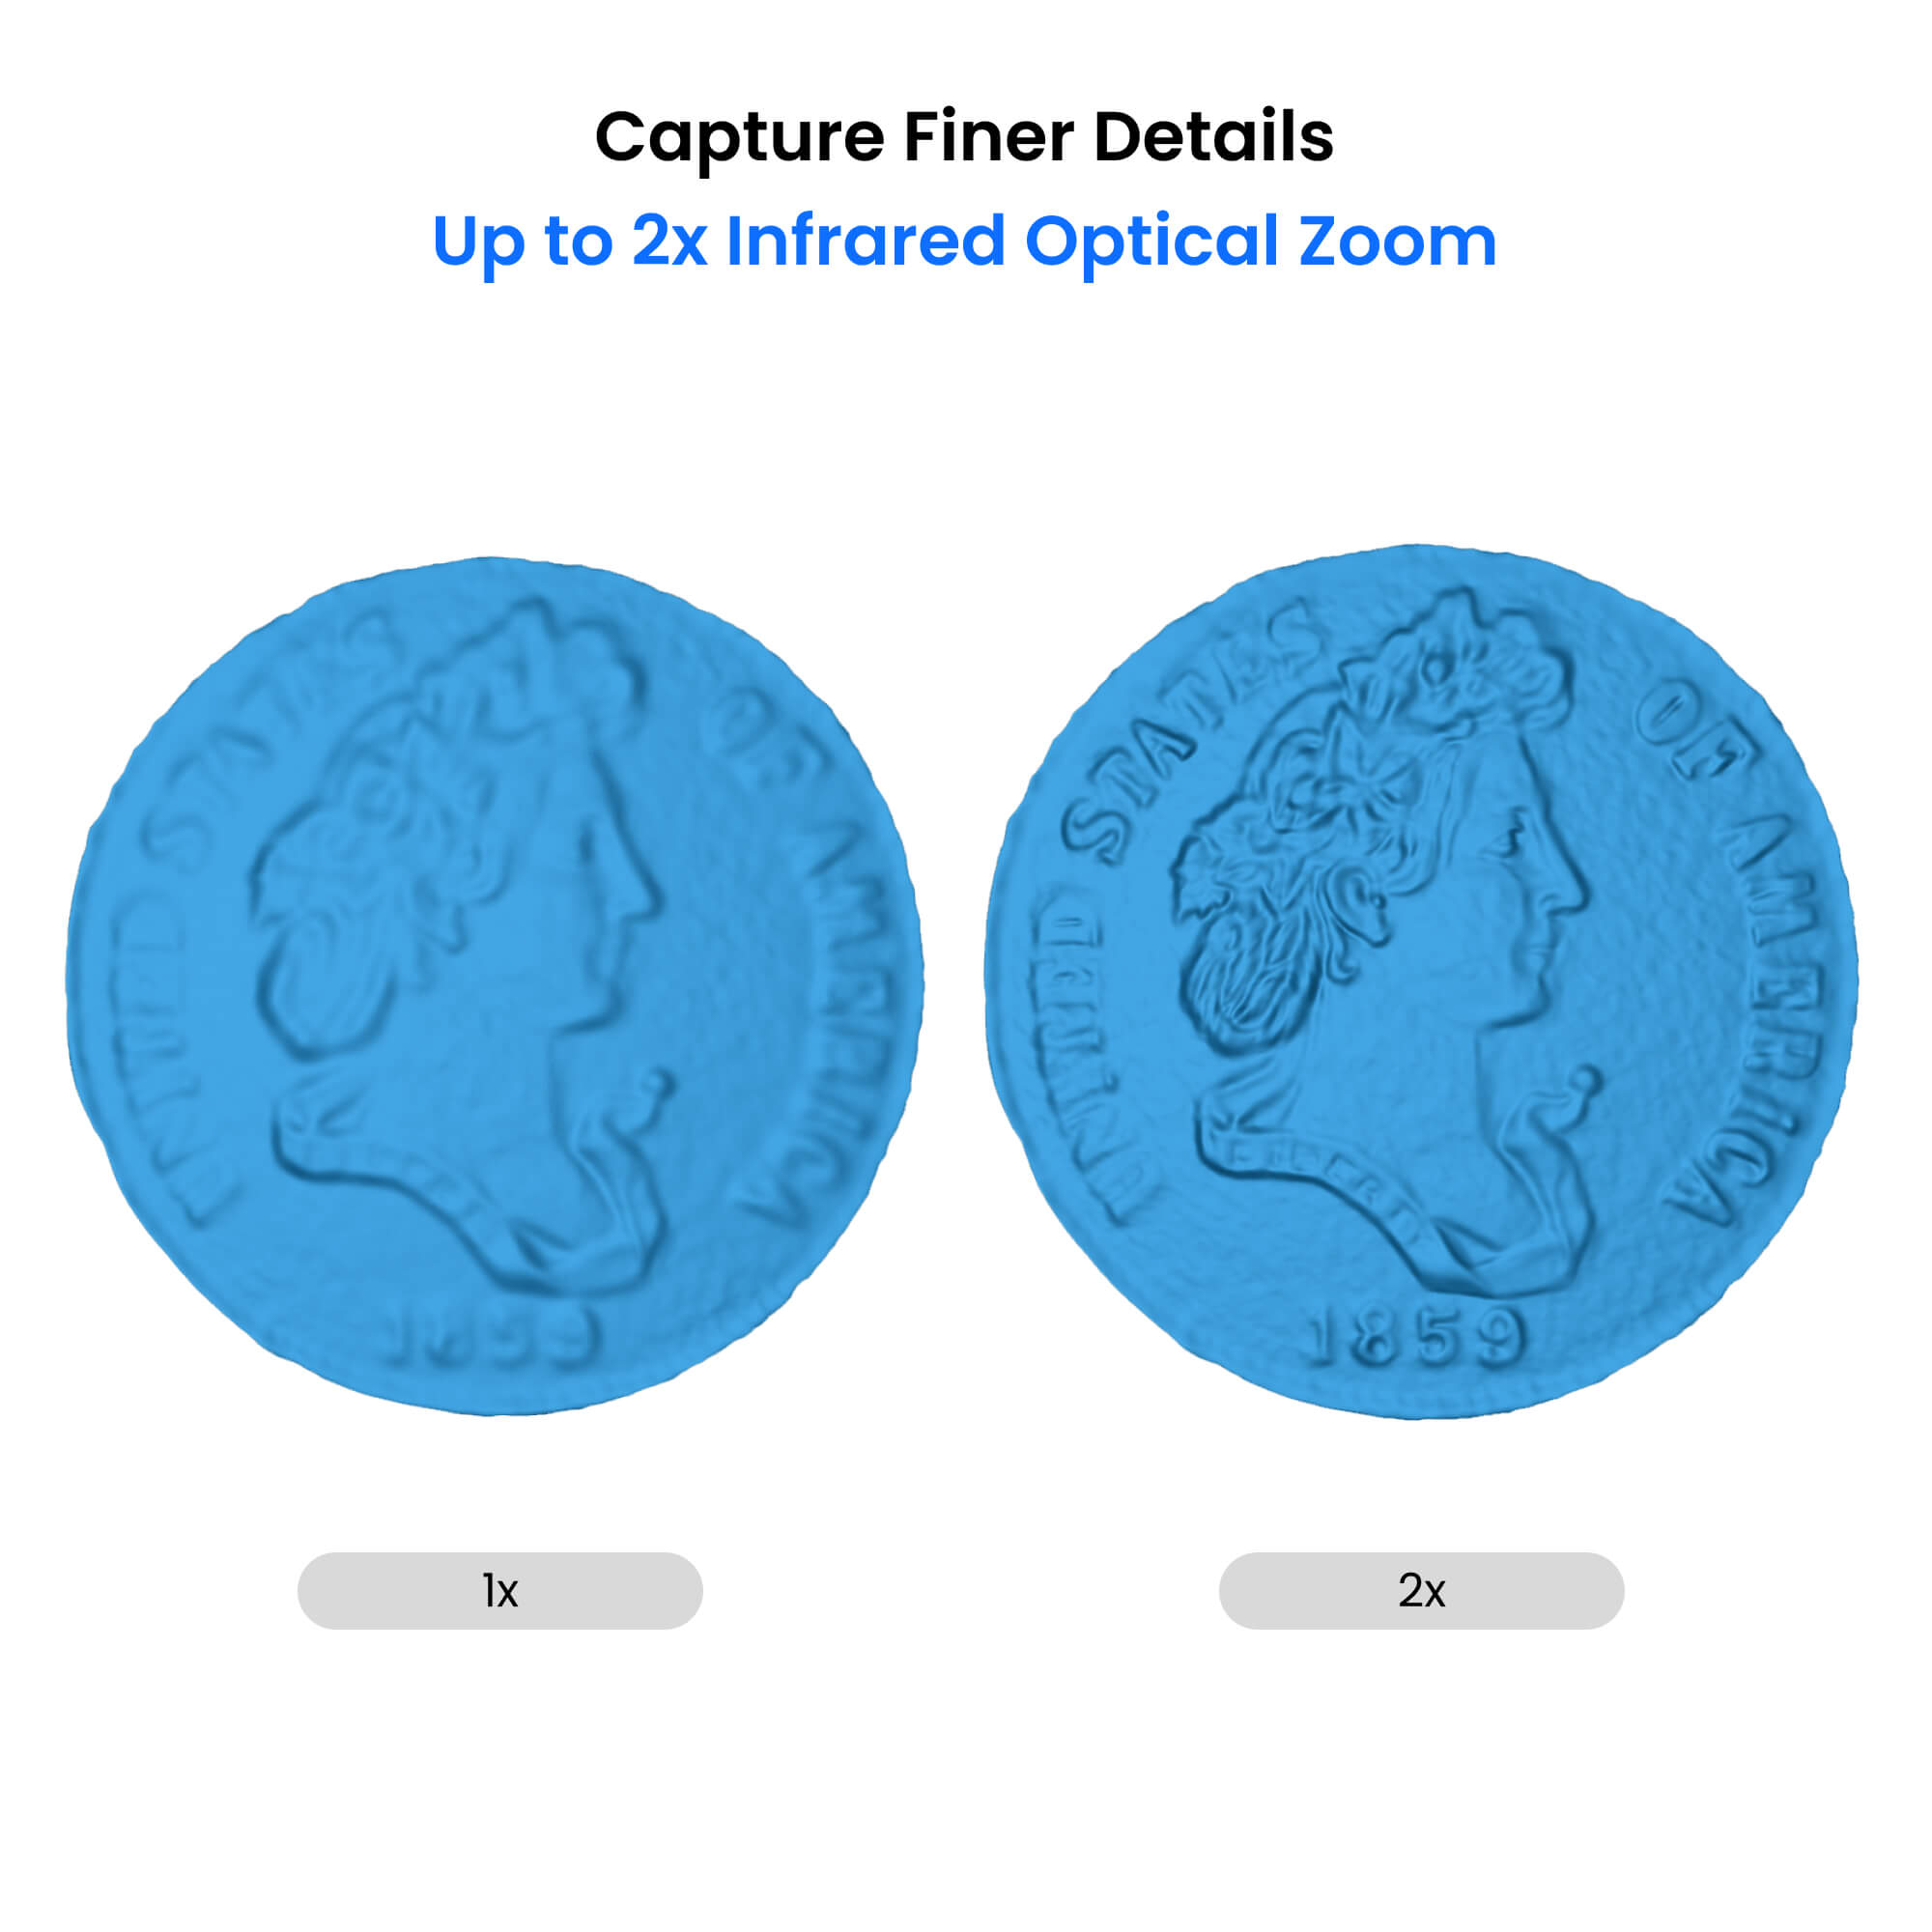
· 2x Infrared Optical Zoom
· Single-shot & Continuous Modes
Free shipping for 3D scanners, 3-5 days fast receipt.


Safe and Reliable Payment Methods.


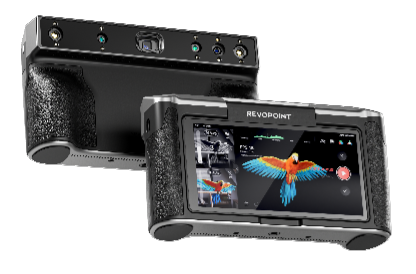
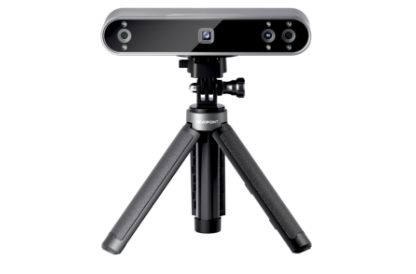
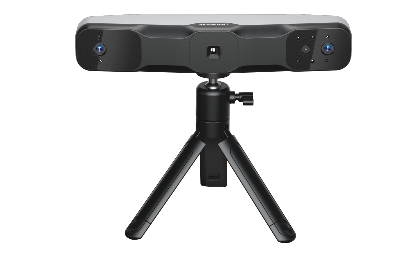
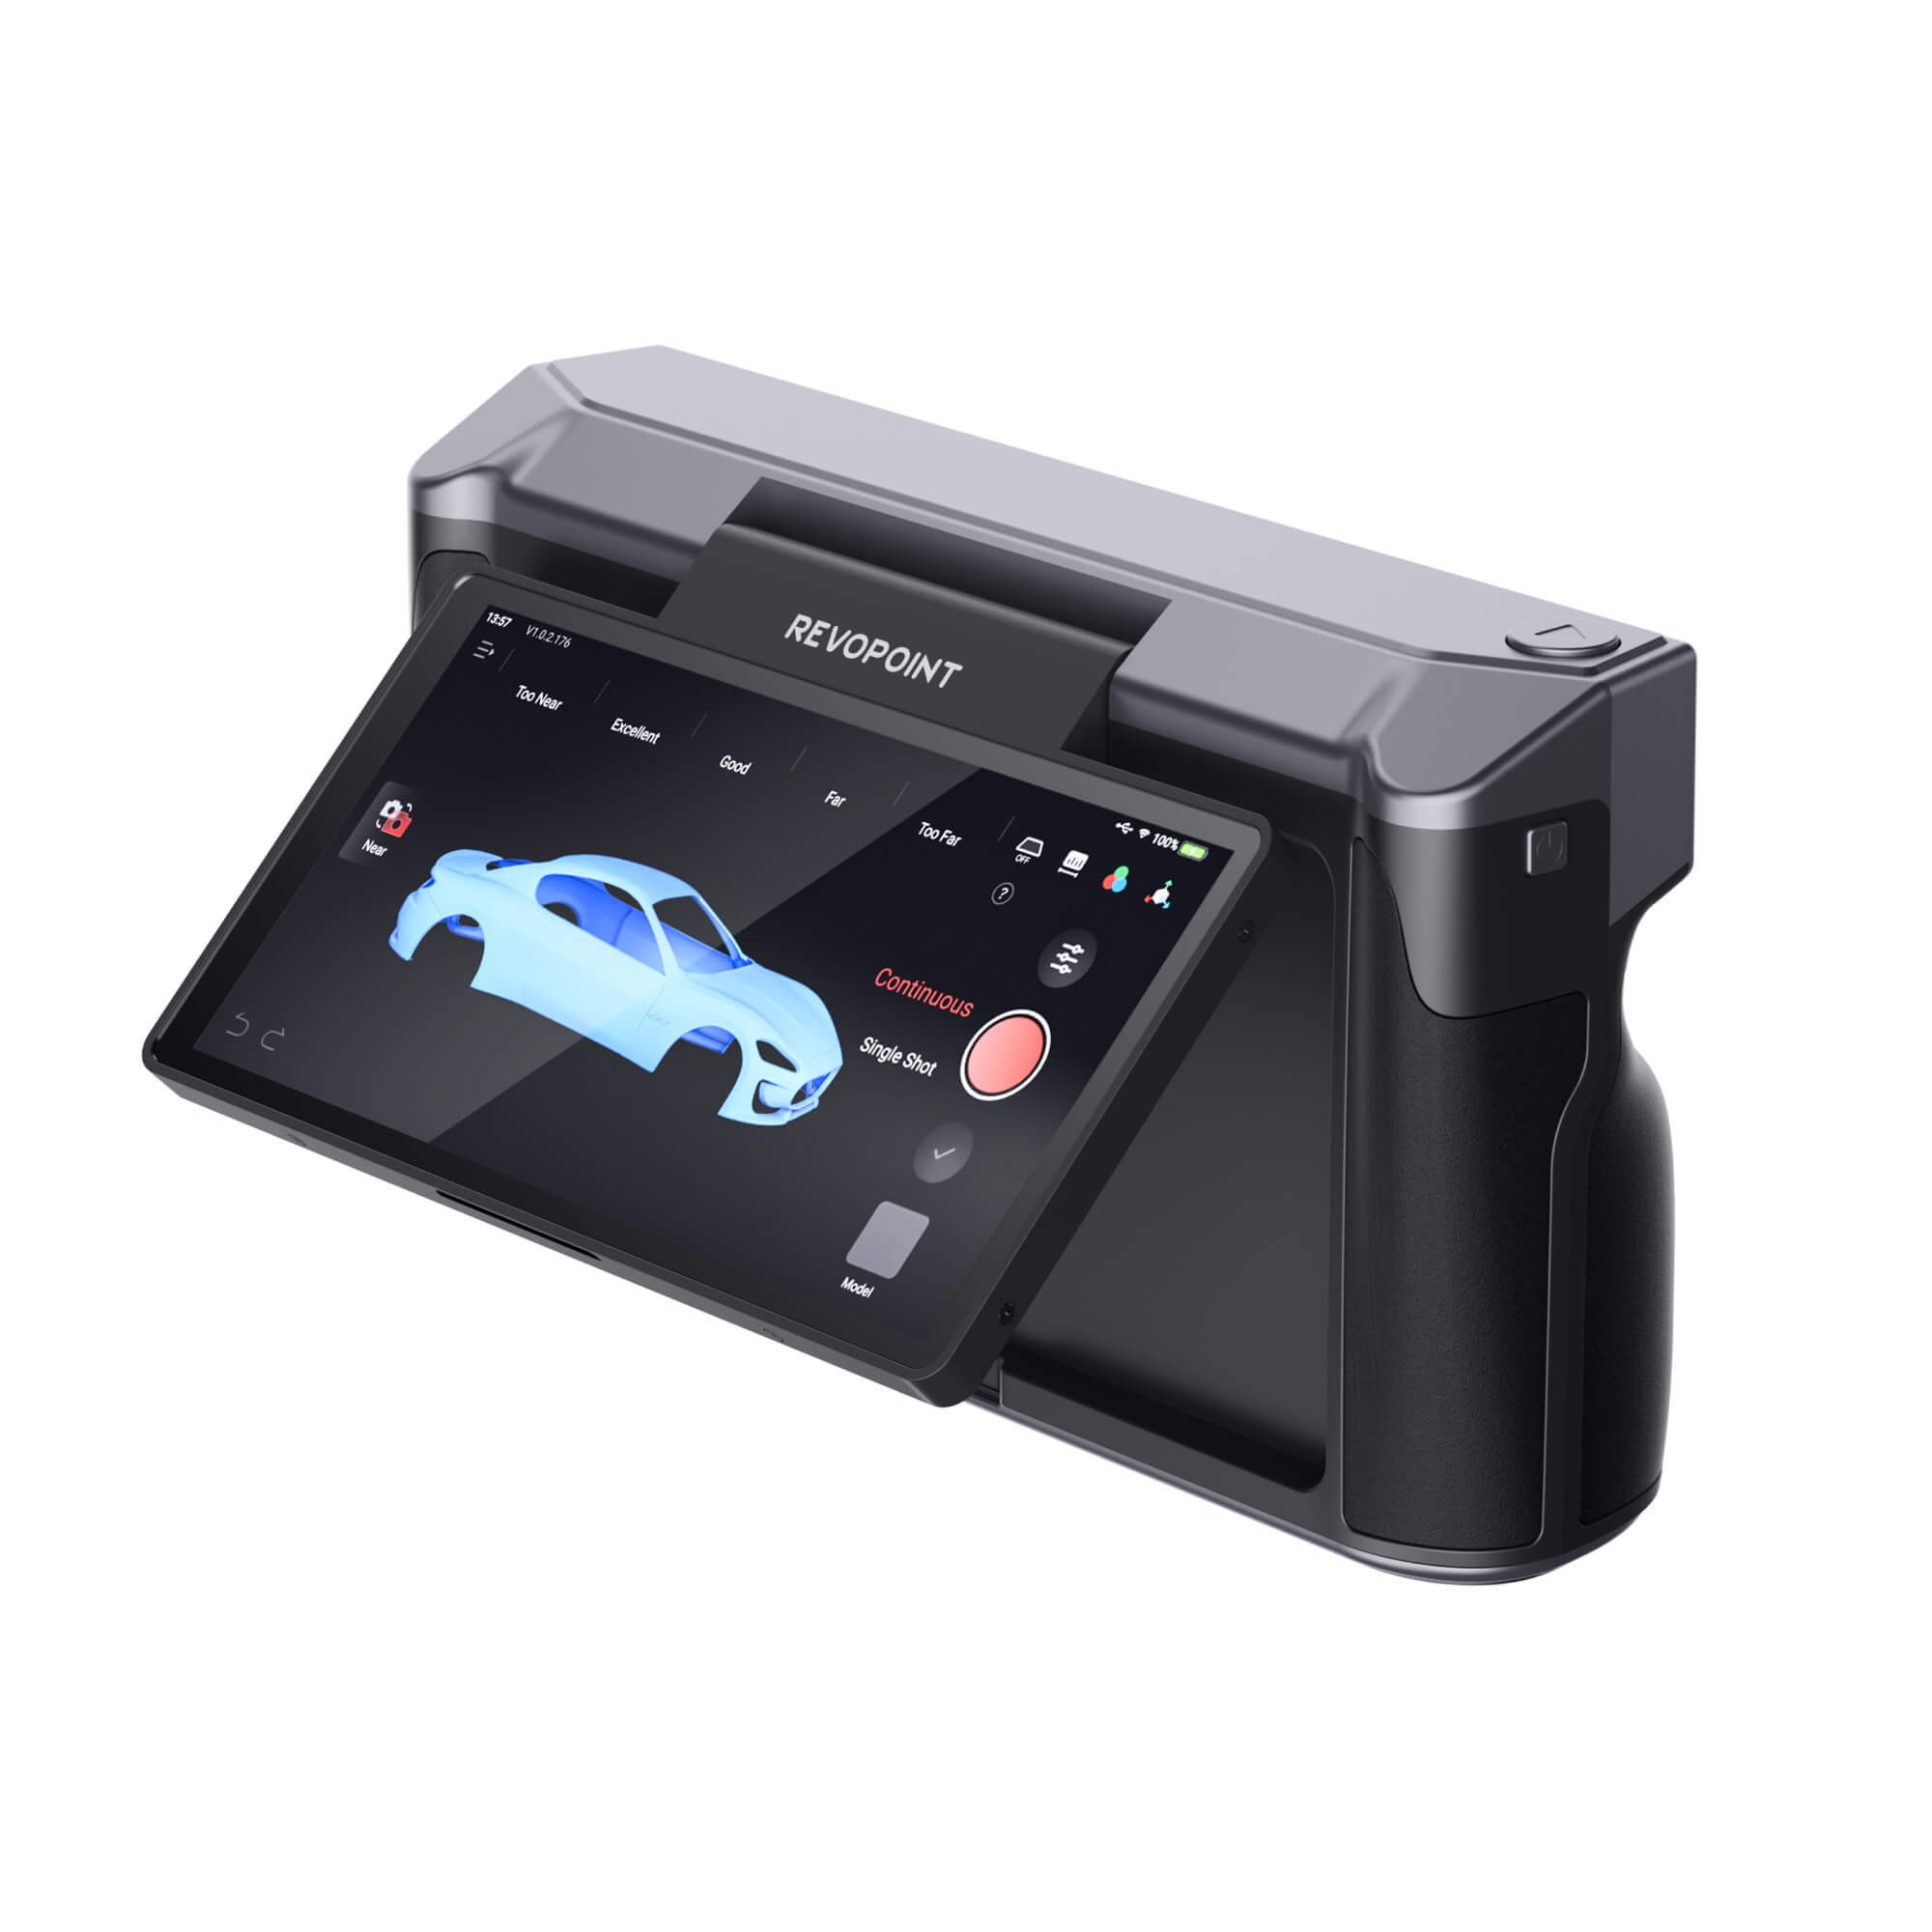
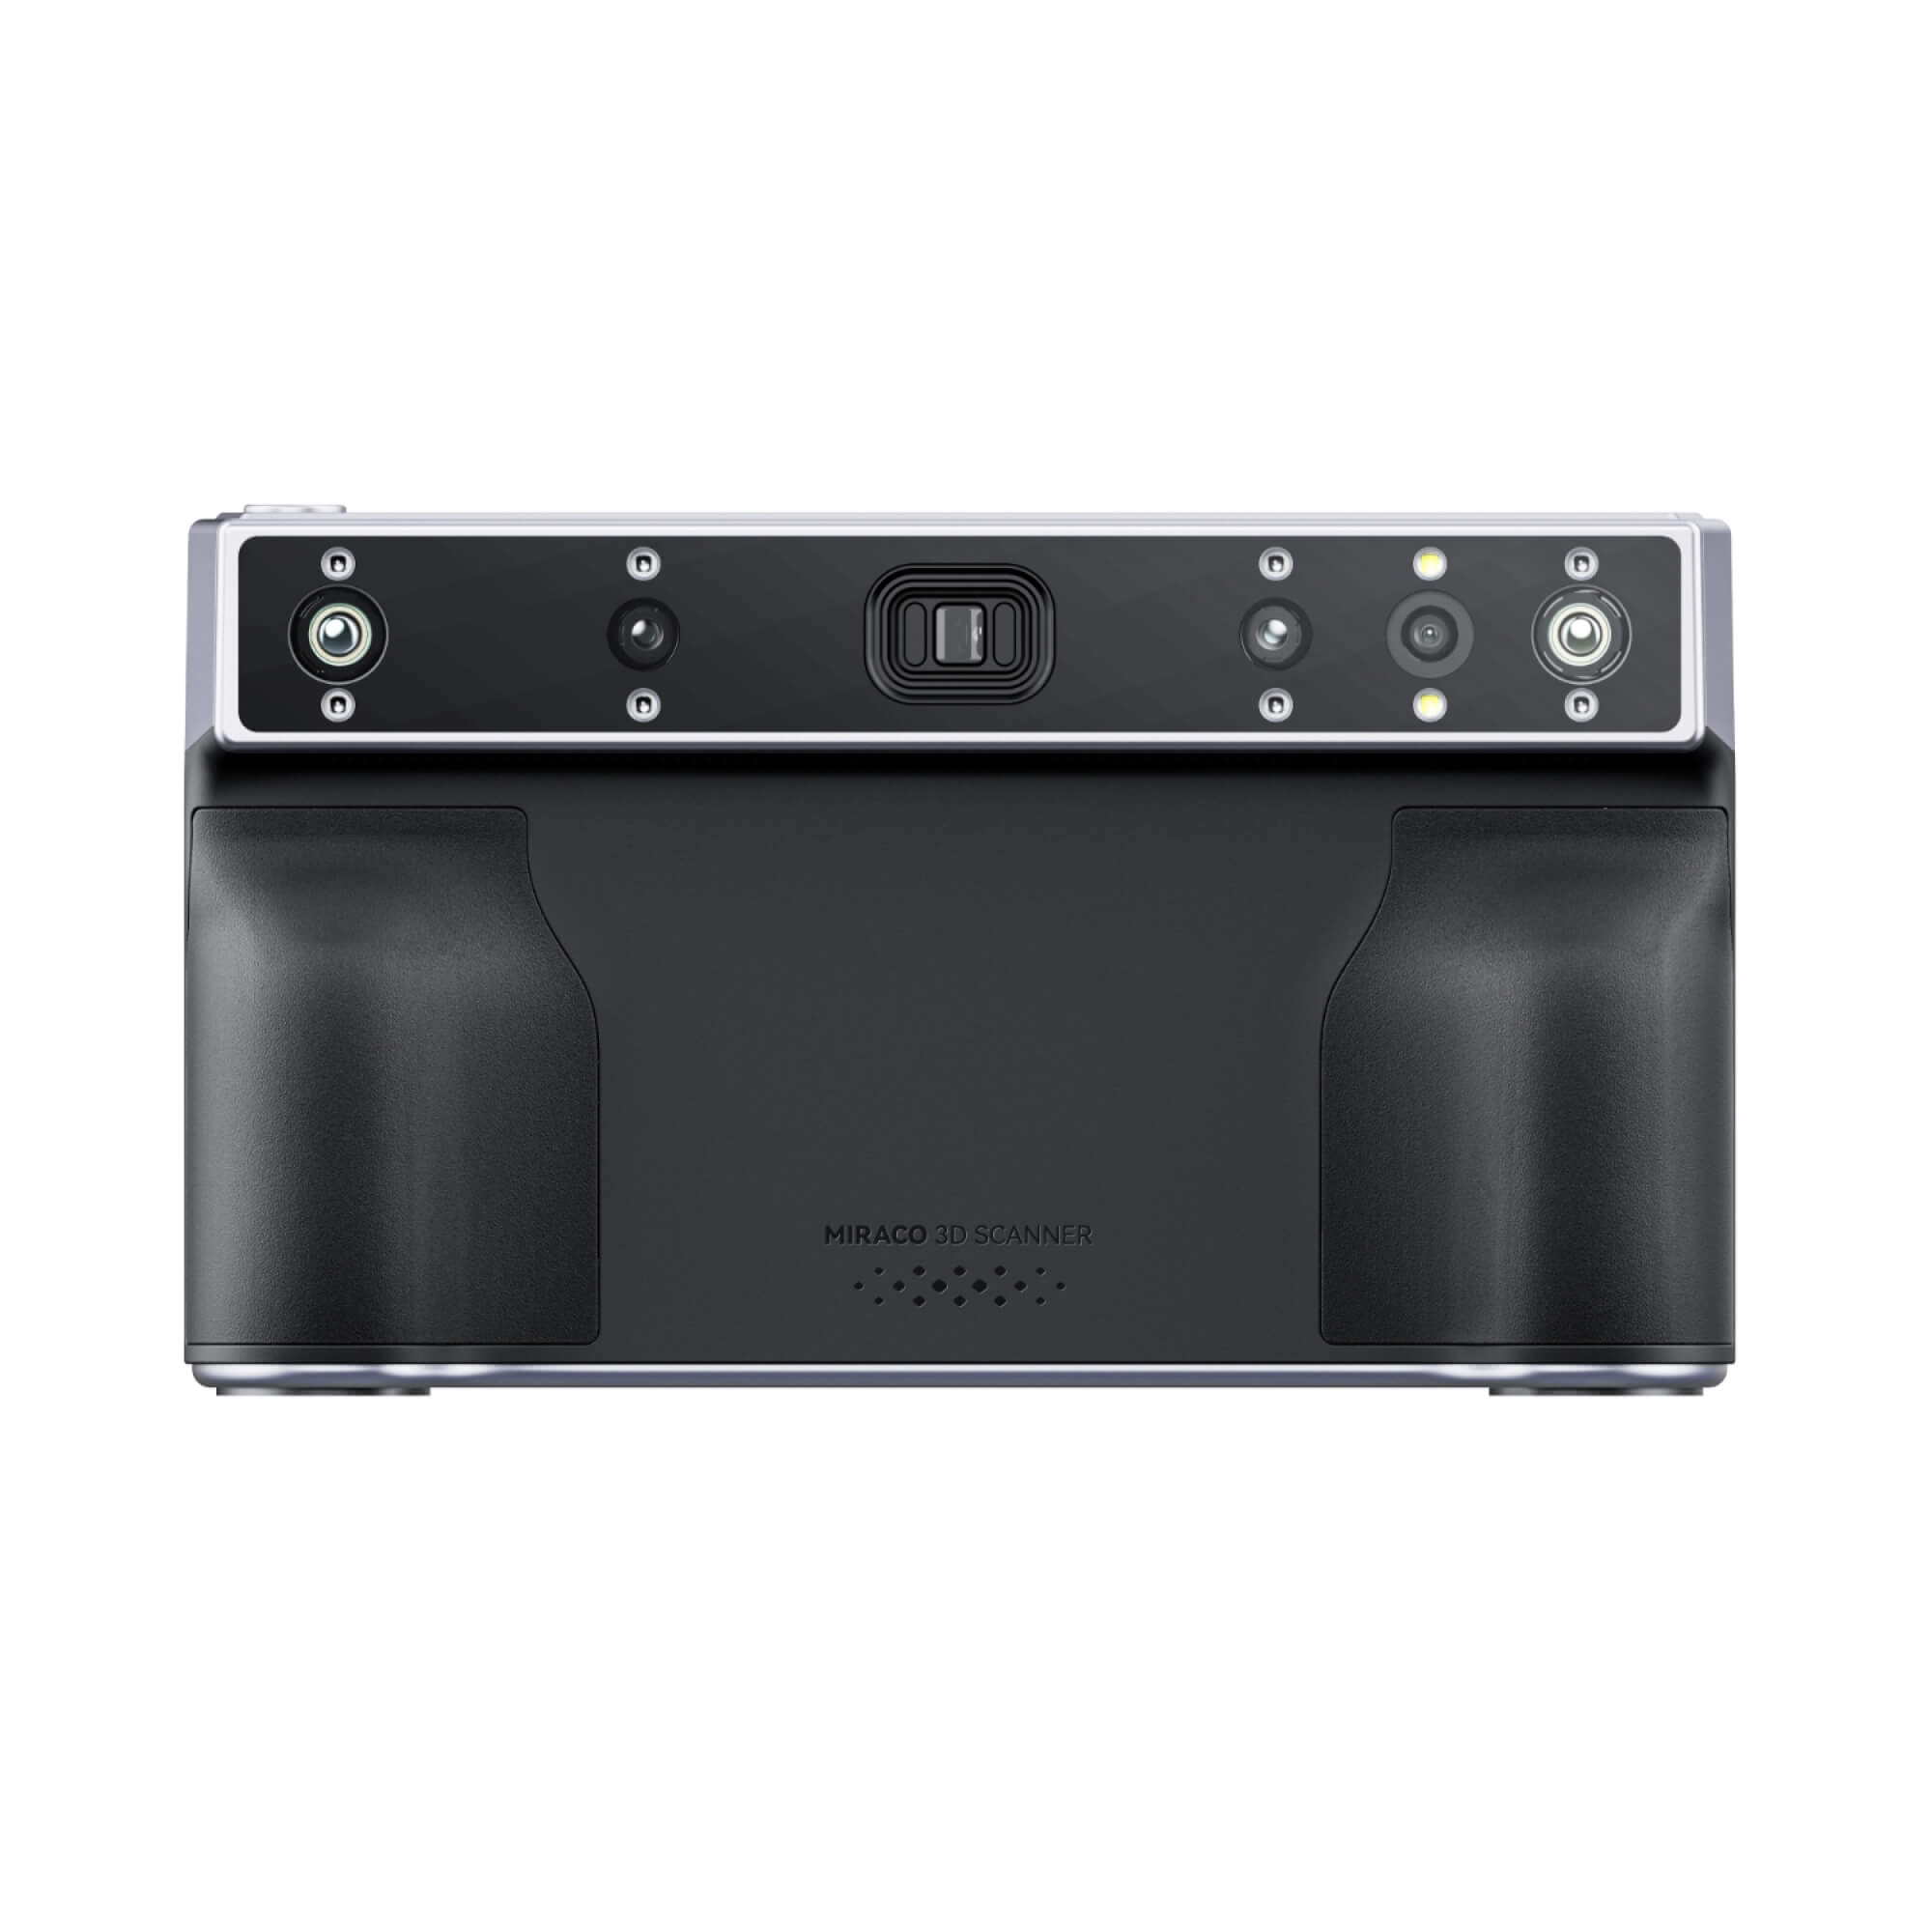
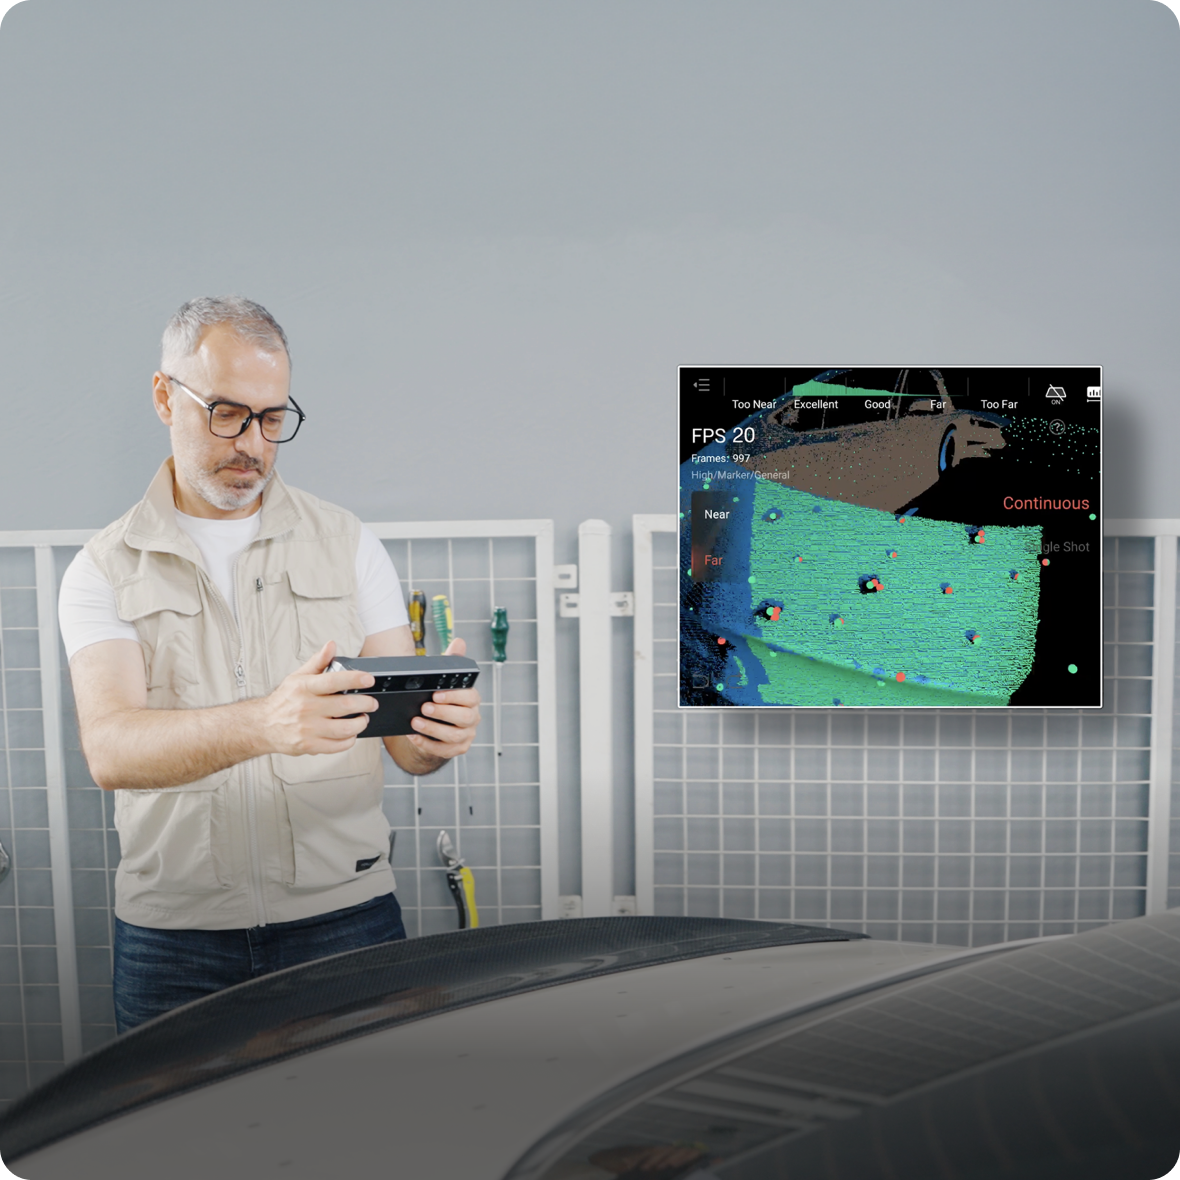
MIRACO Plus 3D Scanner
First All-in-one Photogrammetric
Metrology and Scanning
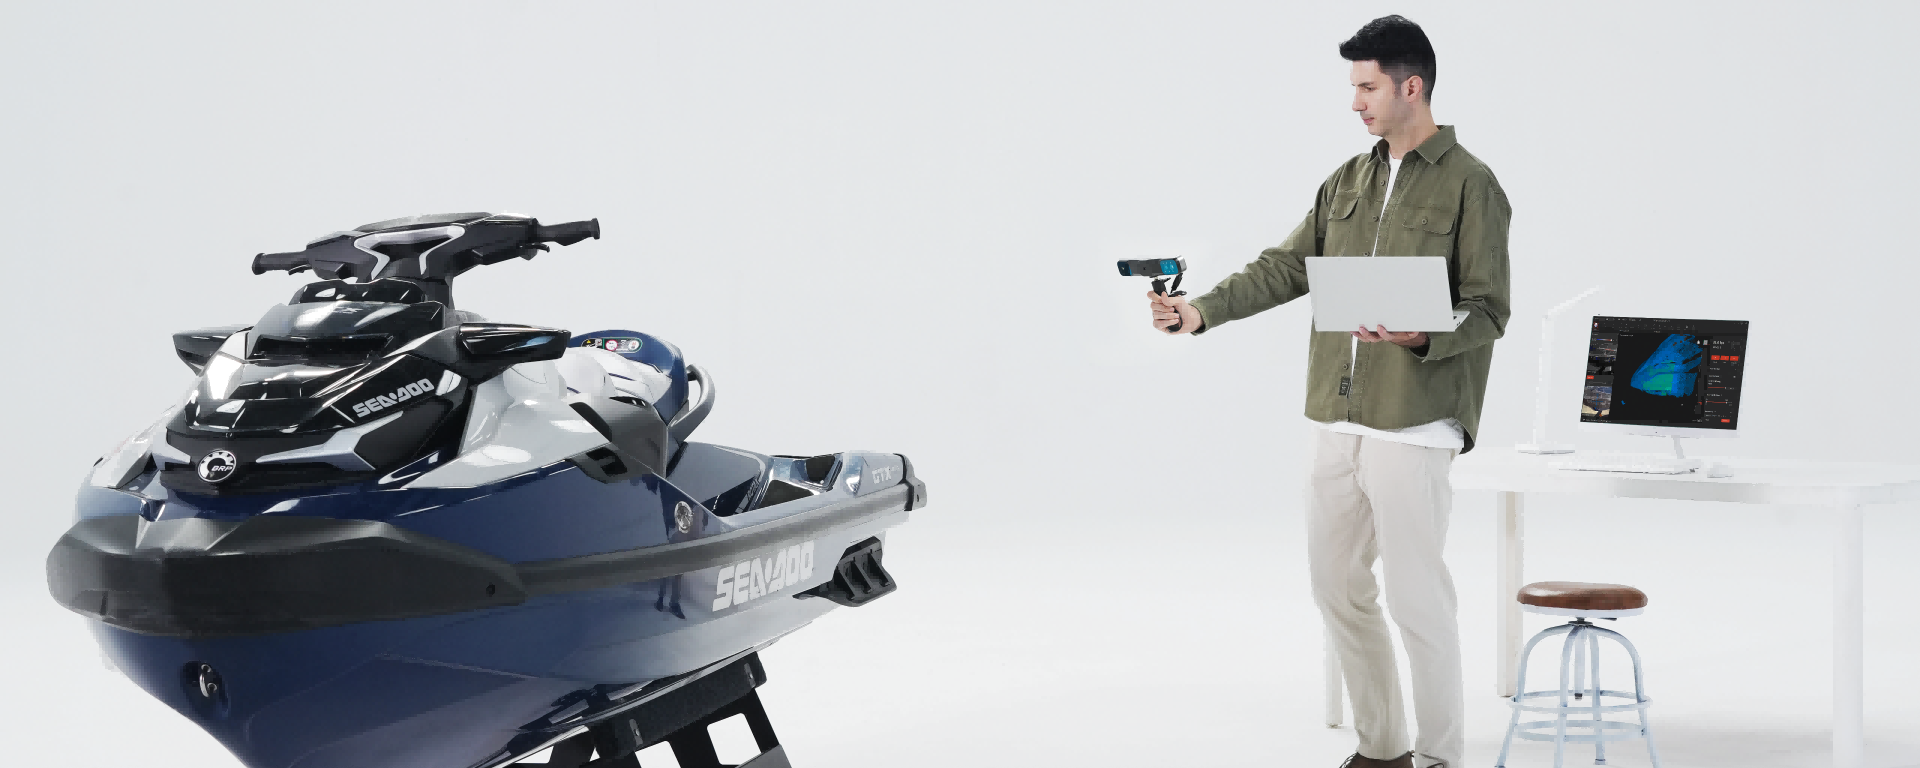
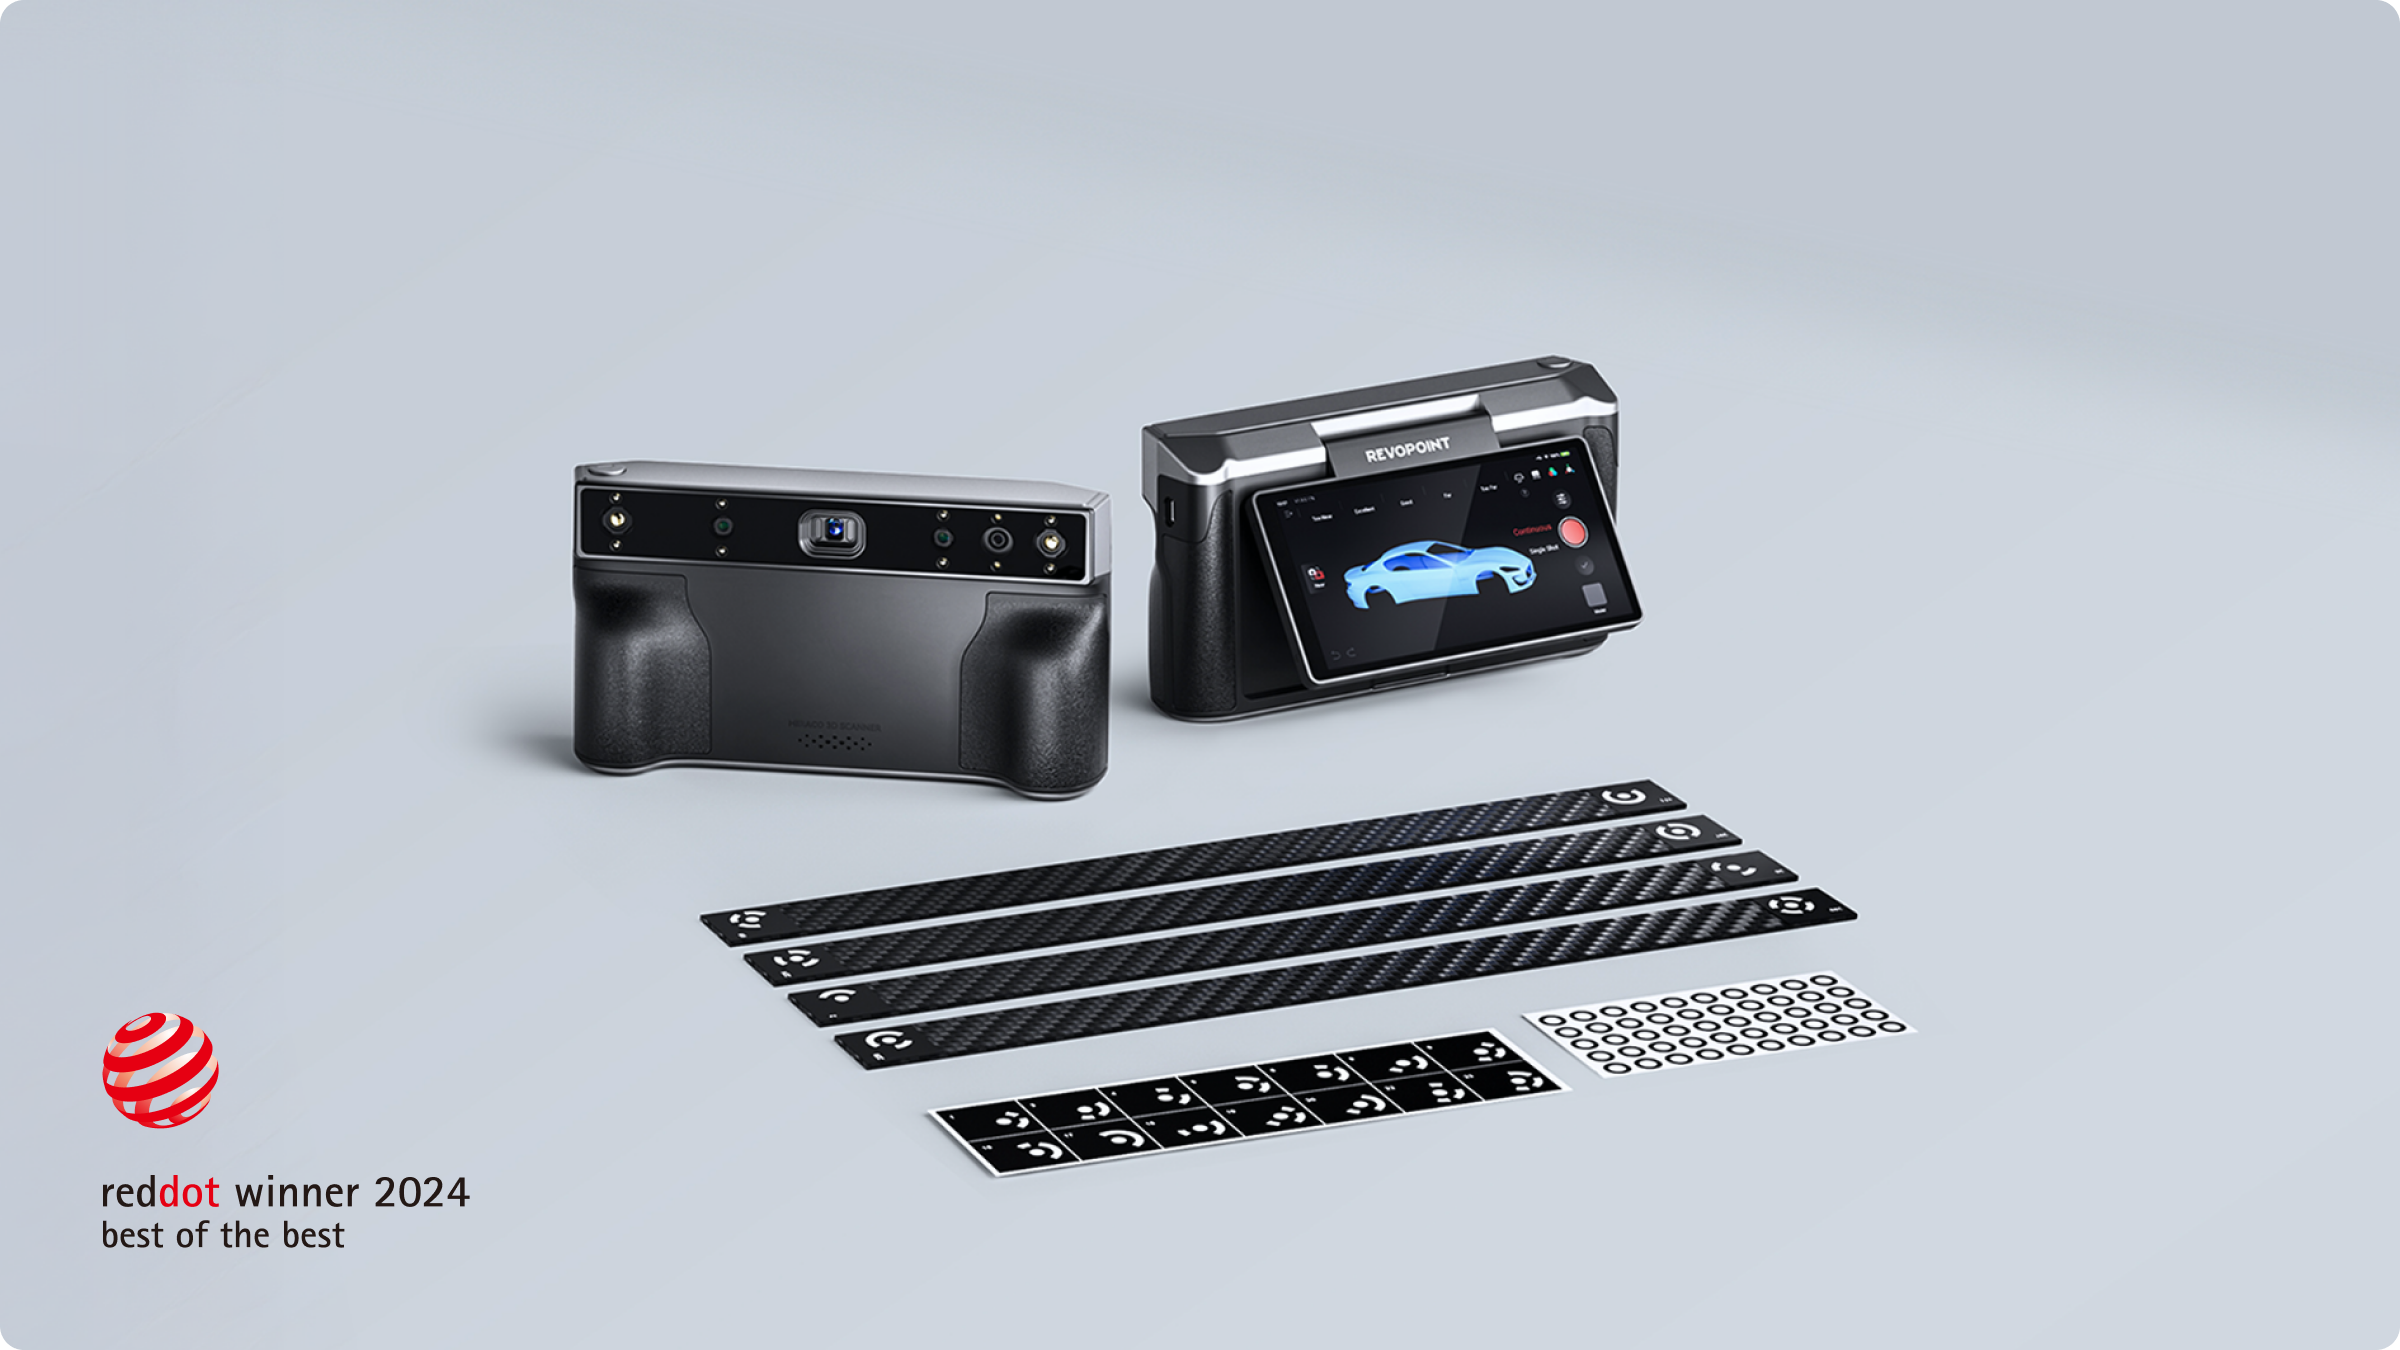
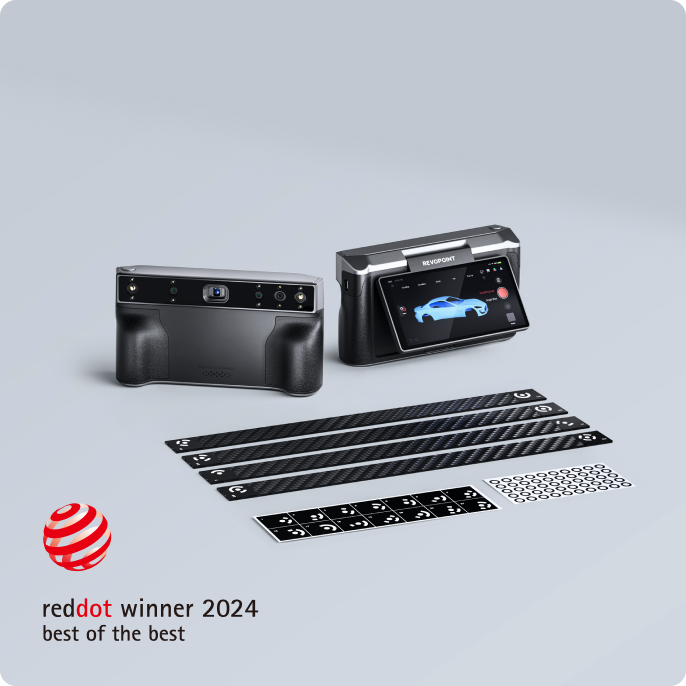
The Revopoint MIRACO Plus is the world's first cost-effective all-in-one 3D scanner with photogrammetric metrology capabilities. With its Photogrammetric Metrology Kit (PMK) and improved accuracy and speed, the MIRACO Plus 3D Scanner expands the Red Dot award-winning MIRACO series with metrology-grade large object-capturing capabilities.
MIRACO Plus 3D Scanner
Everything in One Device: Scan, Measure, and Innovate
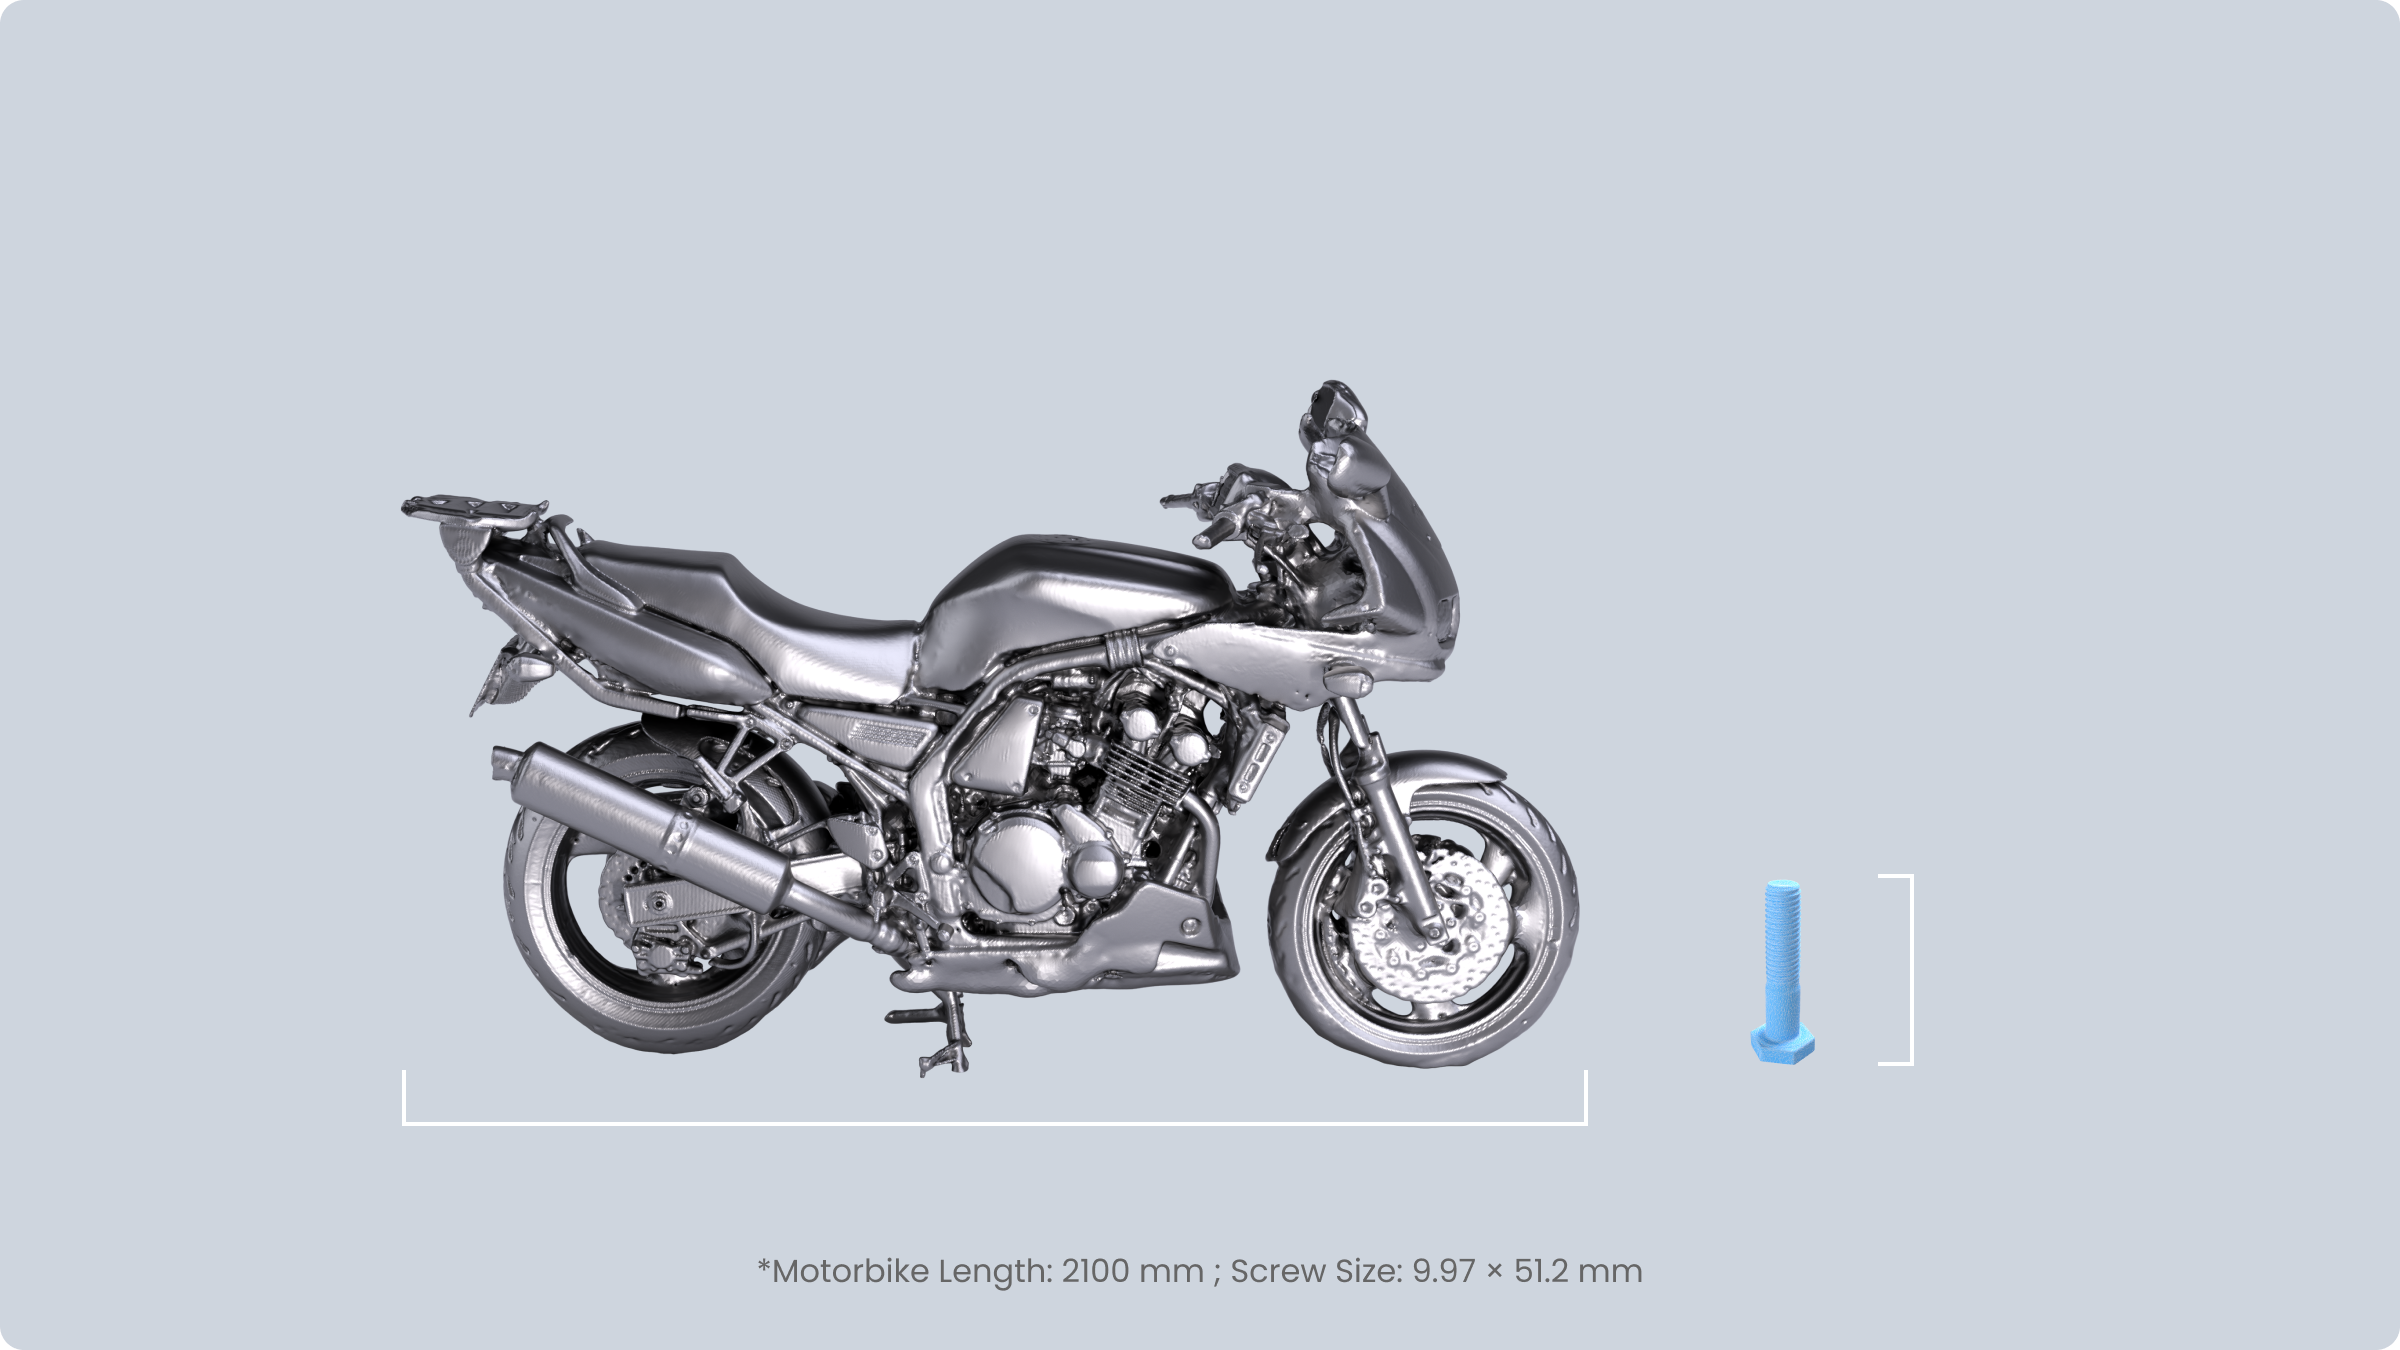
All-in-one Scanning
Go Big,Go Small

All-in-one Workflow
Create photogrammetric models all one device with the
MIRACO Plus and Photogrammetric Metrology Kit
Learn More >
Up to 0.02 mm + 0.05
mm x L (m)
Photogrammetric Length Accuracy
Up to 0.04 mm
Single-frame Accuracy
Up to 20 FPS
Fast Scanning Speed
Single-shot & Continuous
Capture Modes


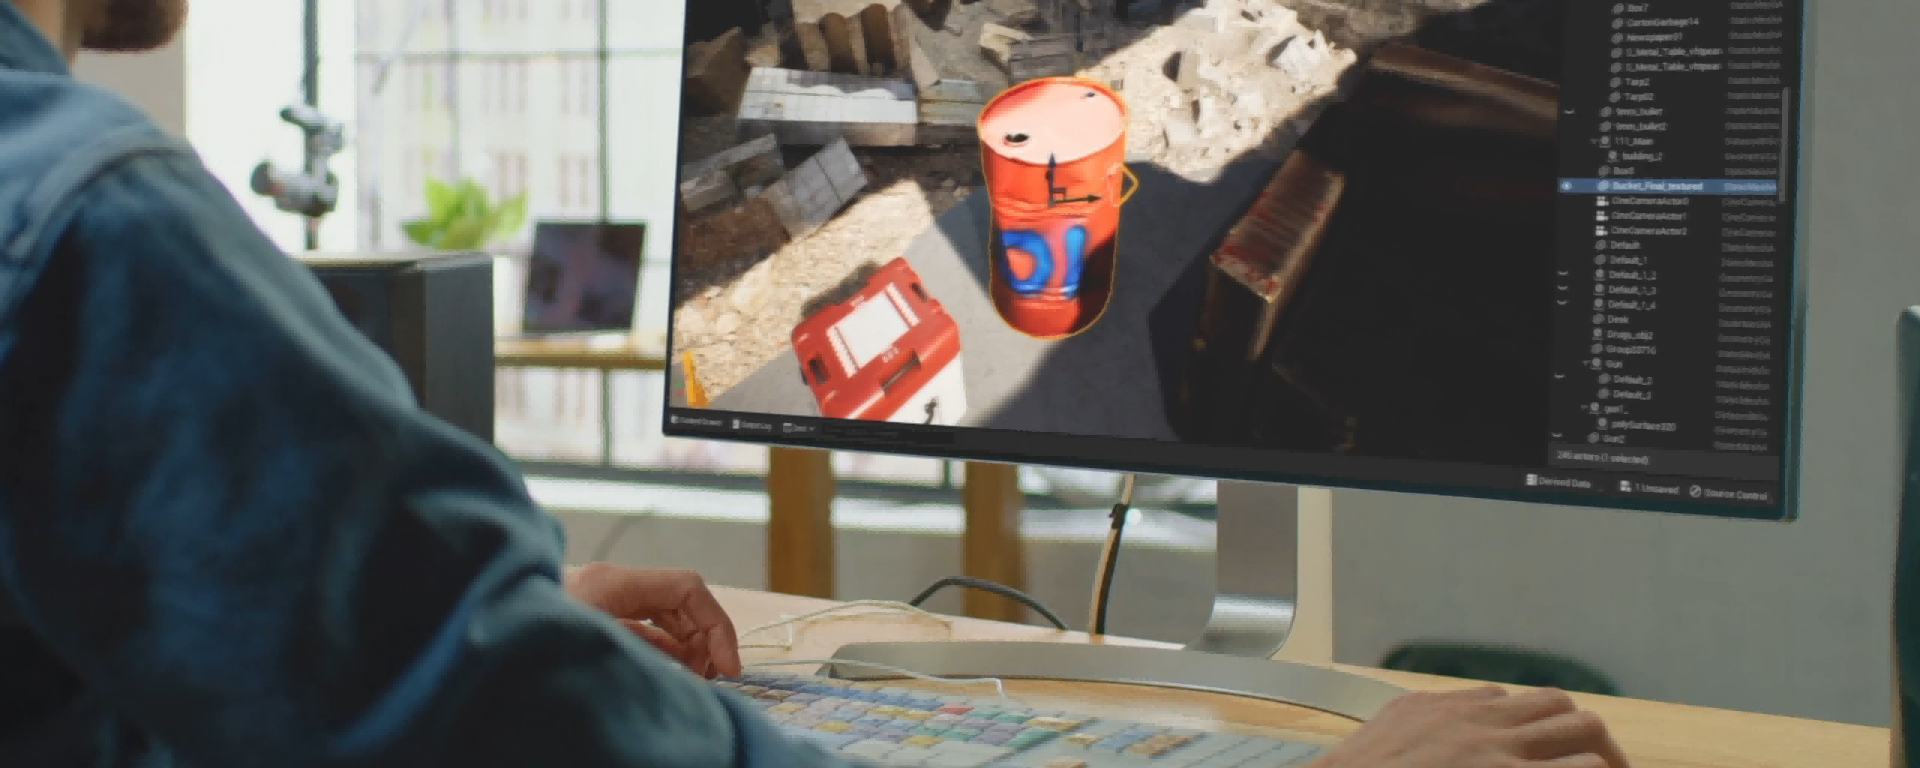
See MIRACO Plus's Amazing Scans
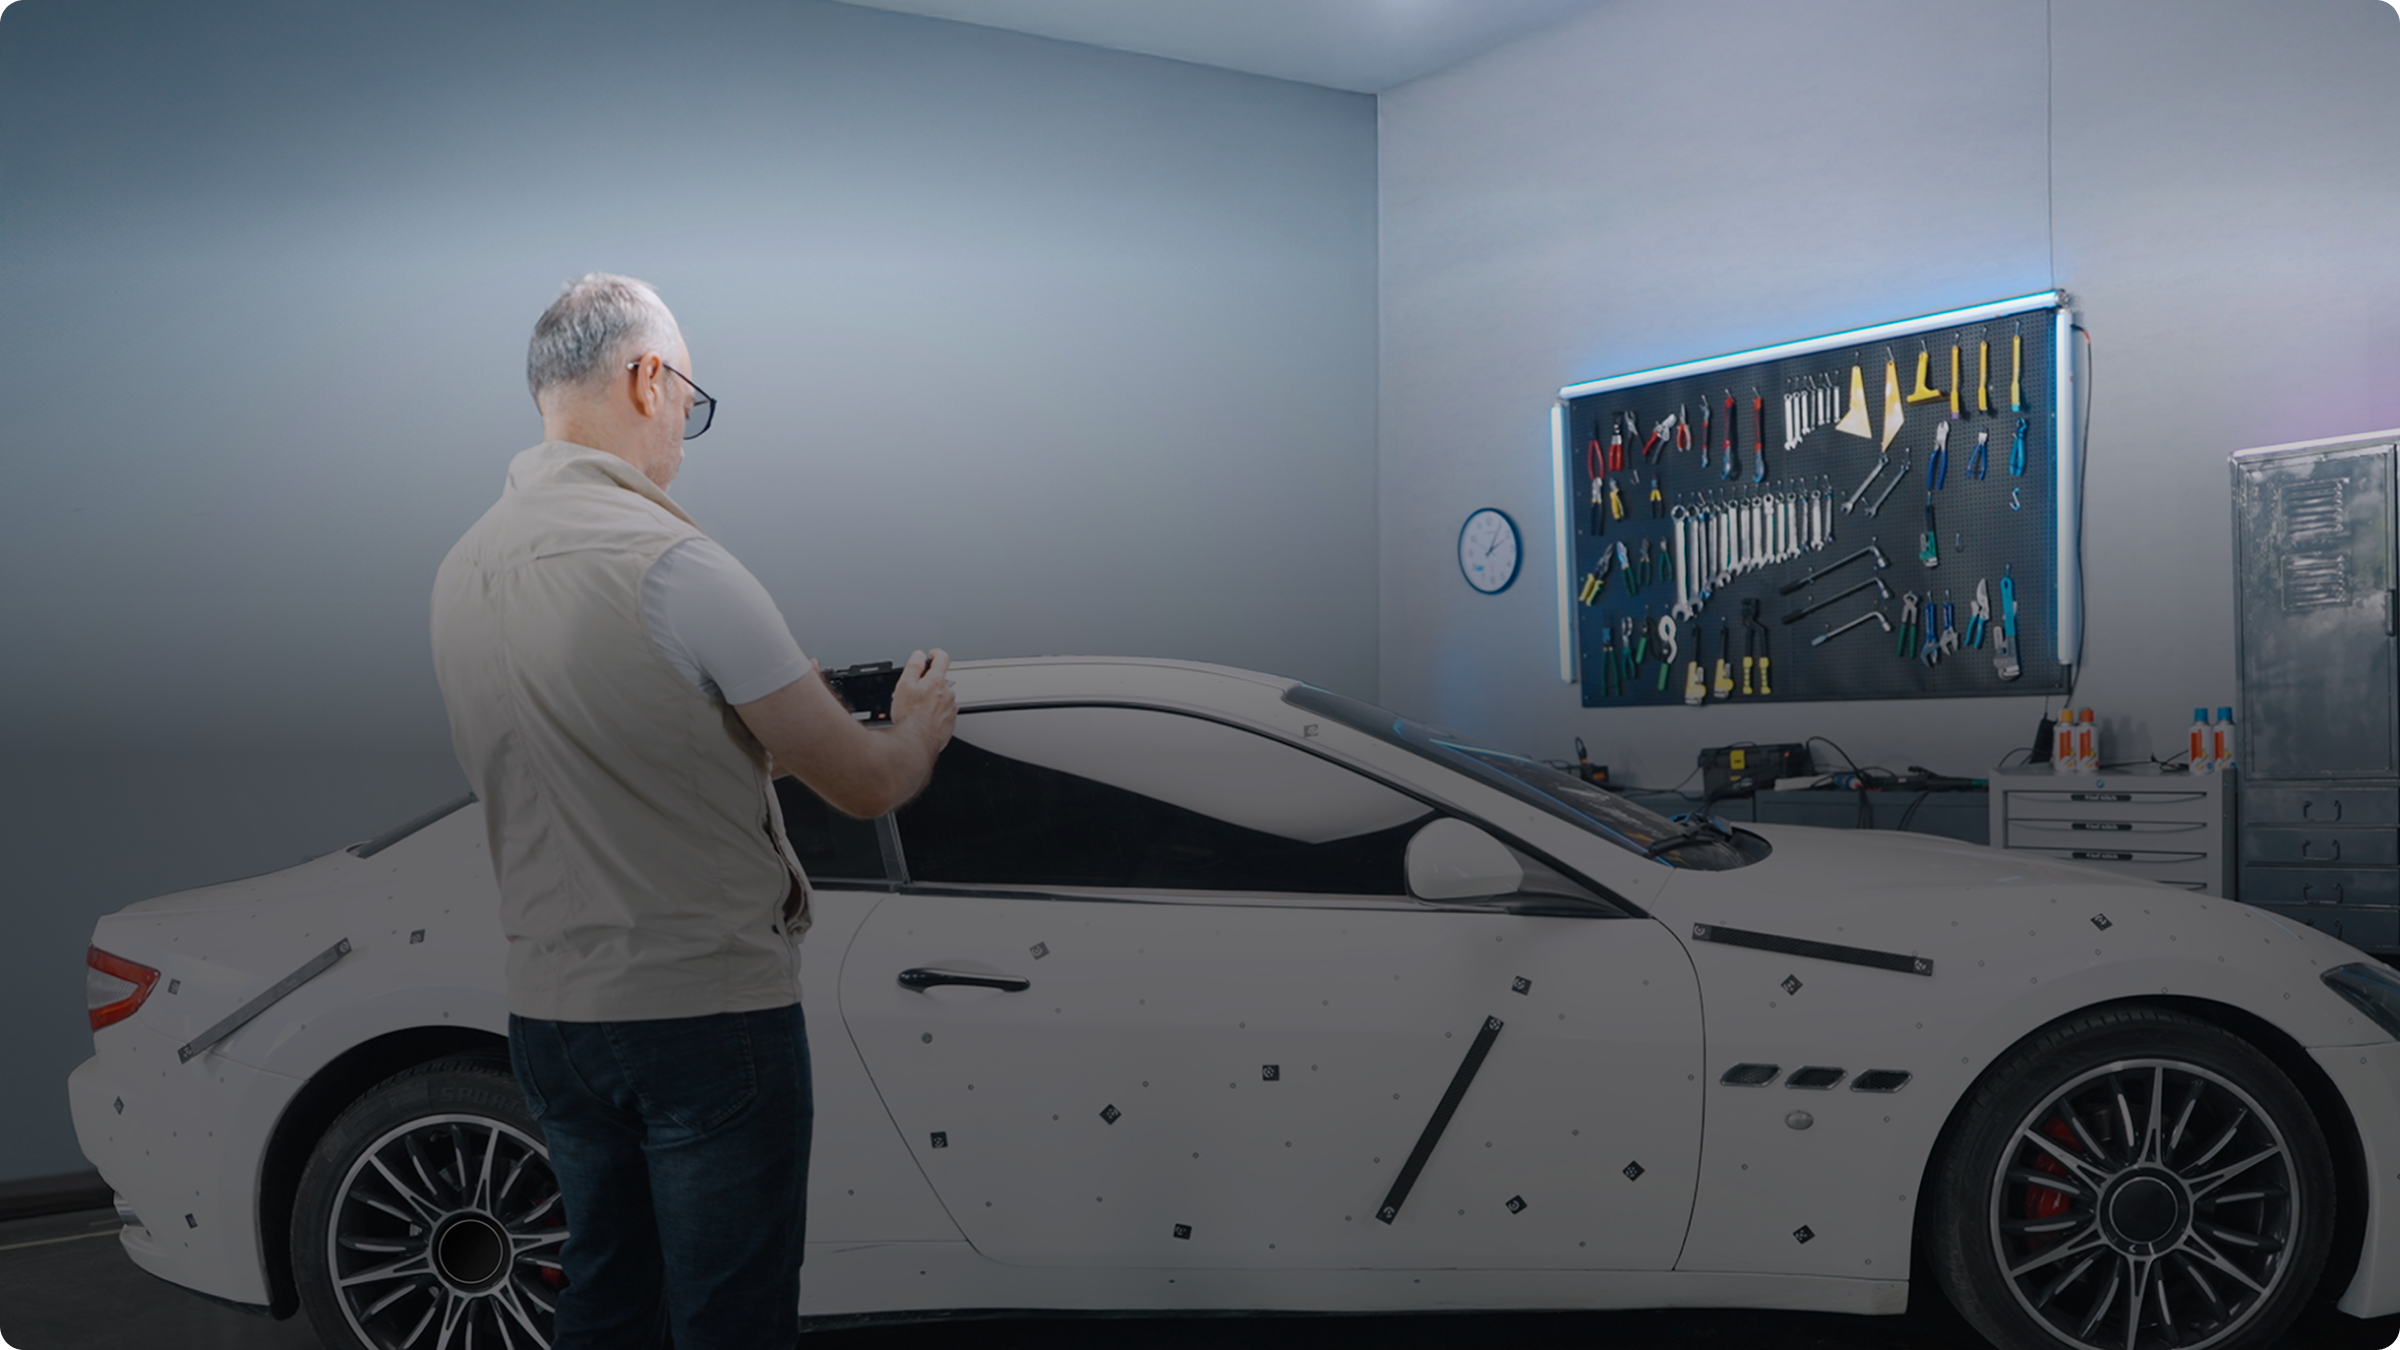
Efficient Workflows

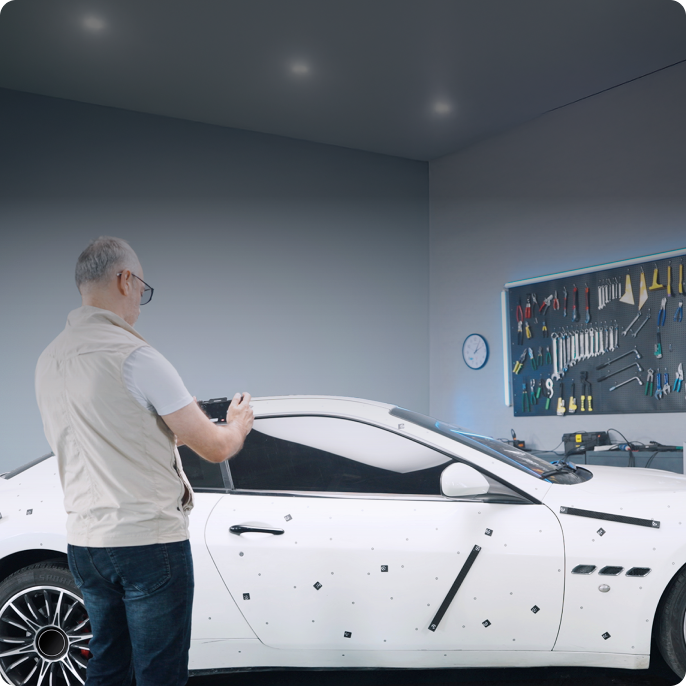
STEP 1 : Prepare
Place the scale bars, coded targets, and markers on or around the object's surface.

STEP 2 : Shoot
Shoot photos of the object at different heights and angles till fully captured.

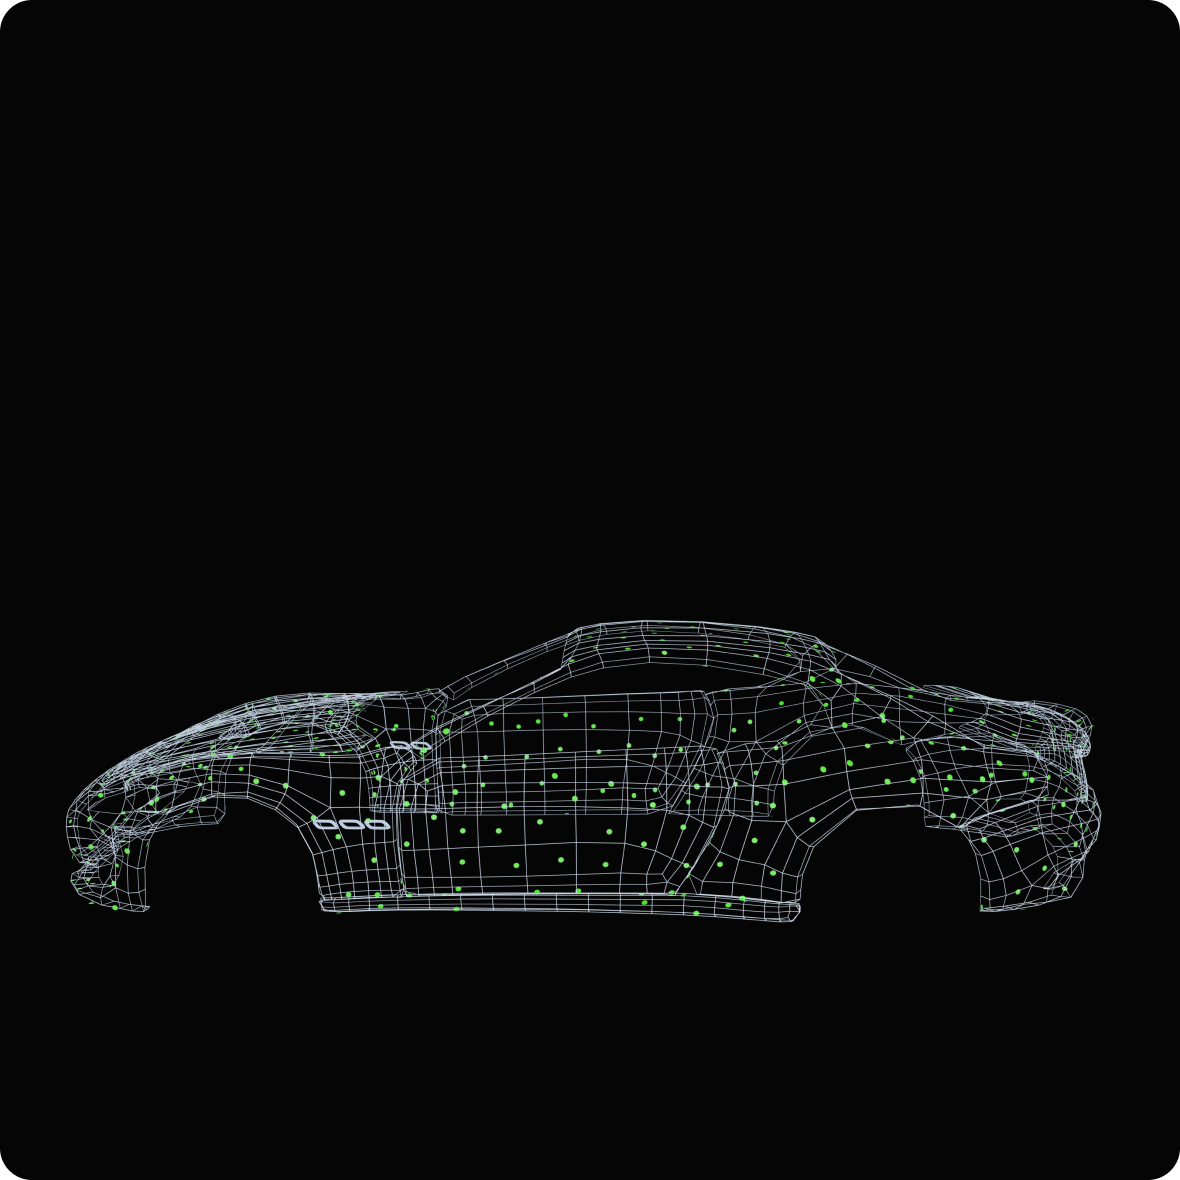
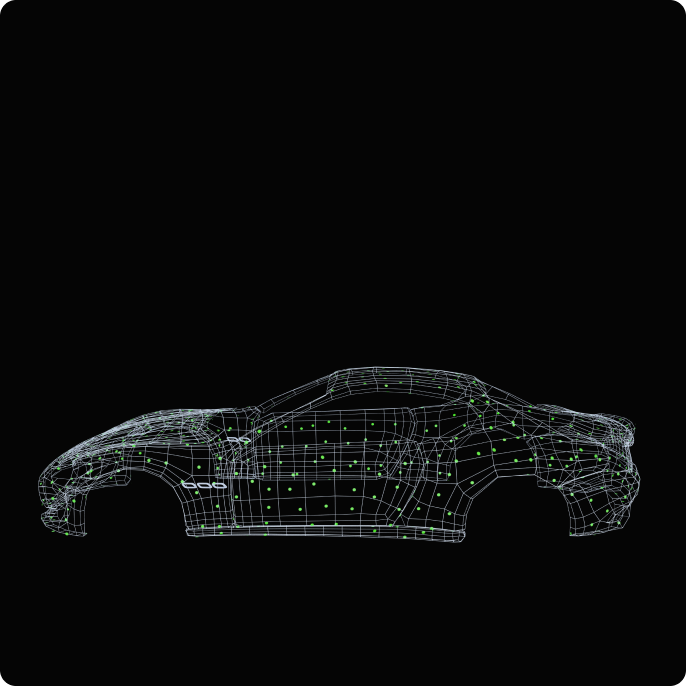
STEP 3 : Calculate and Capture Point Clouds
Calculate the markers, then capture the point clouds all on MIRACO Plus 3D scanner .

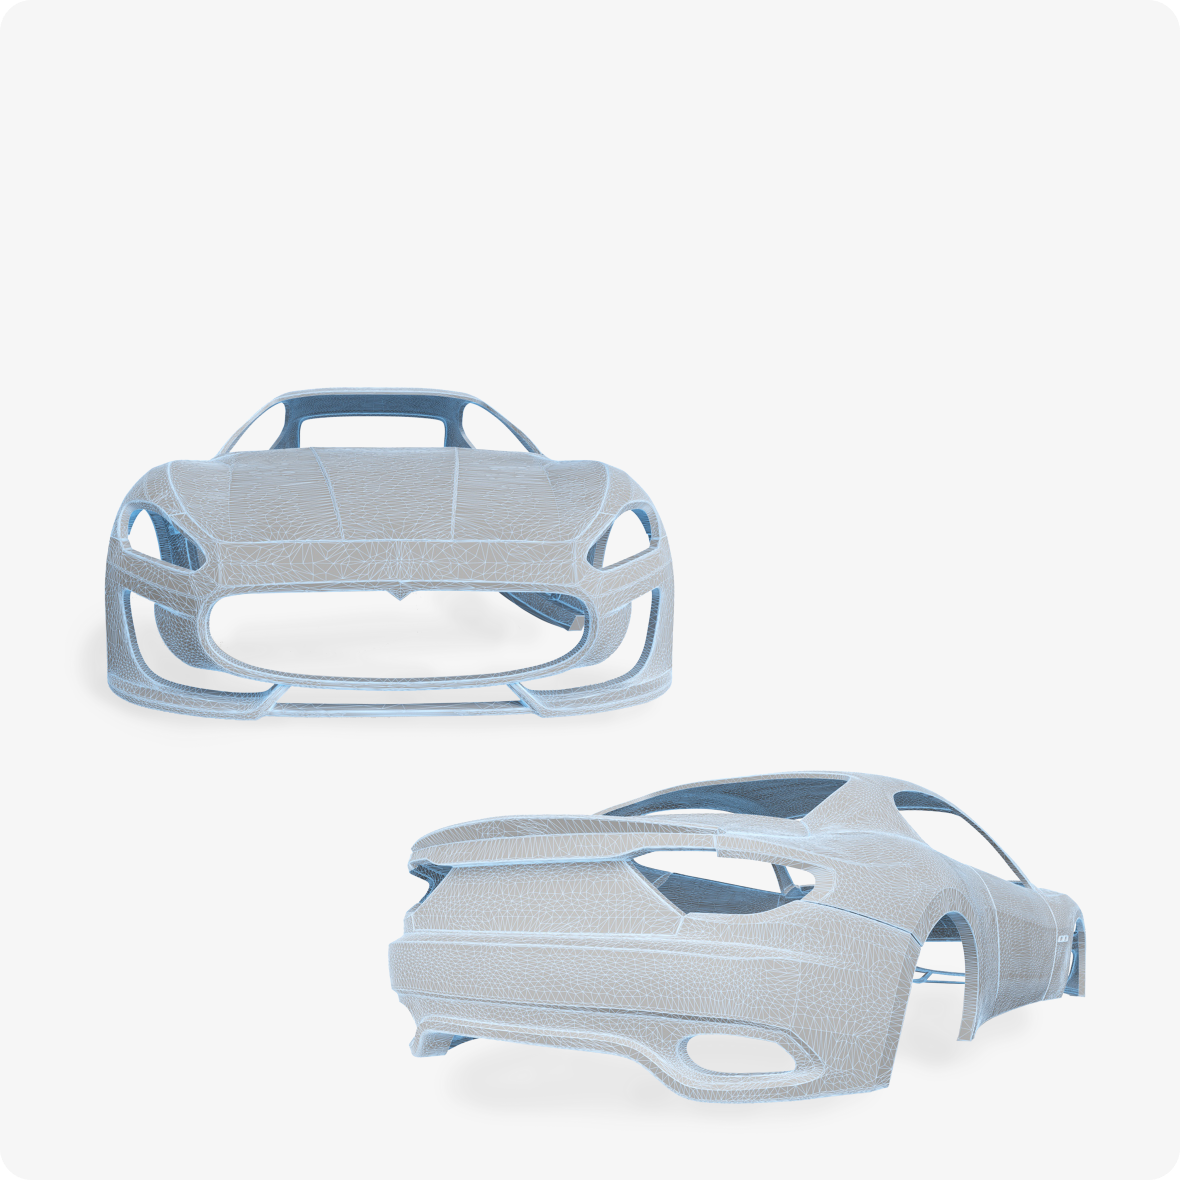
STEP 4 : Process and Export
Process, edit, and then transfer to a PC.
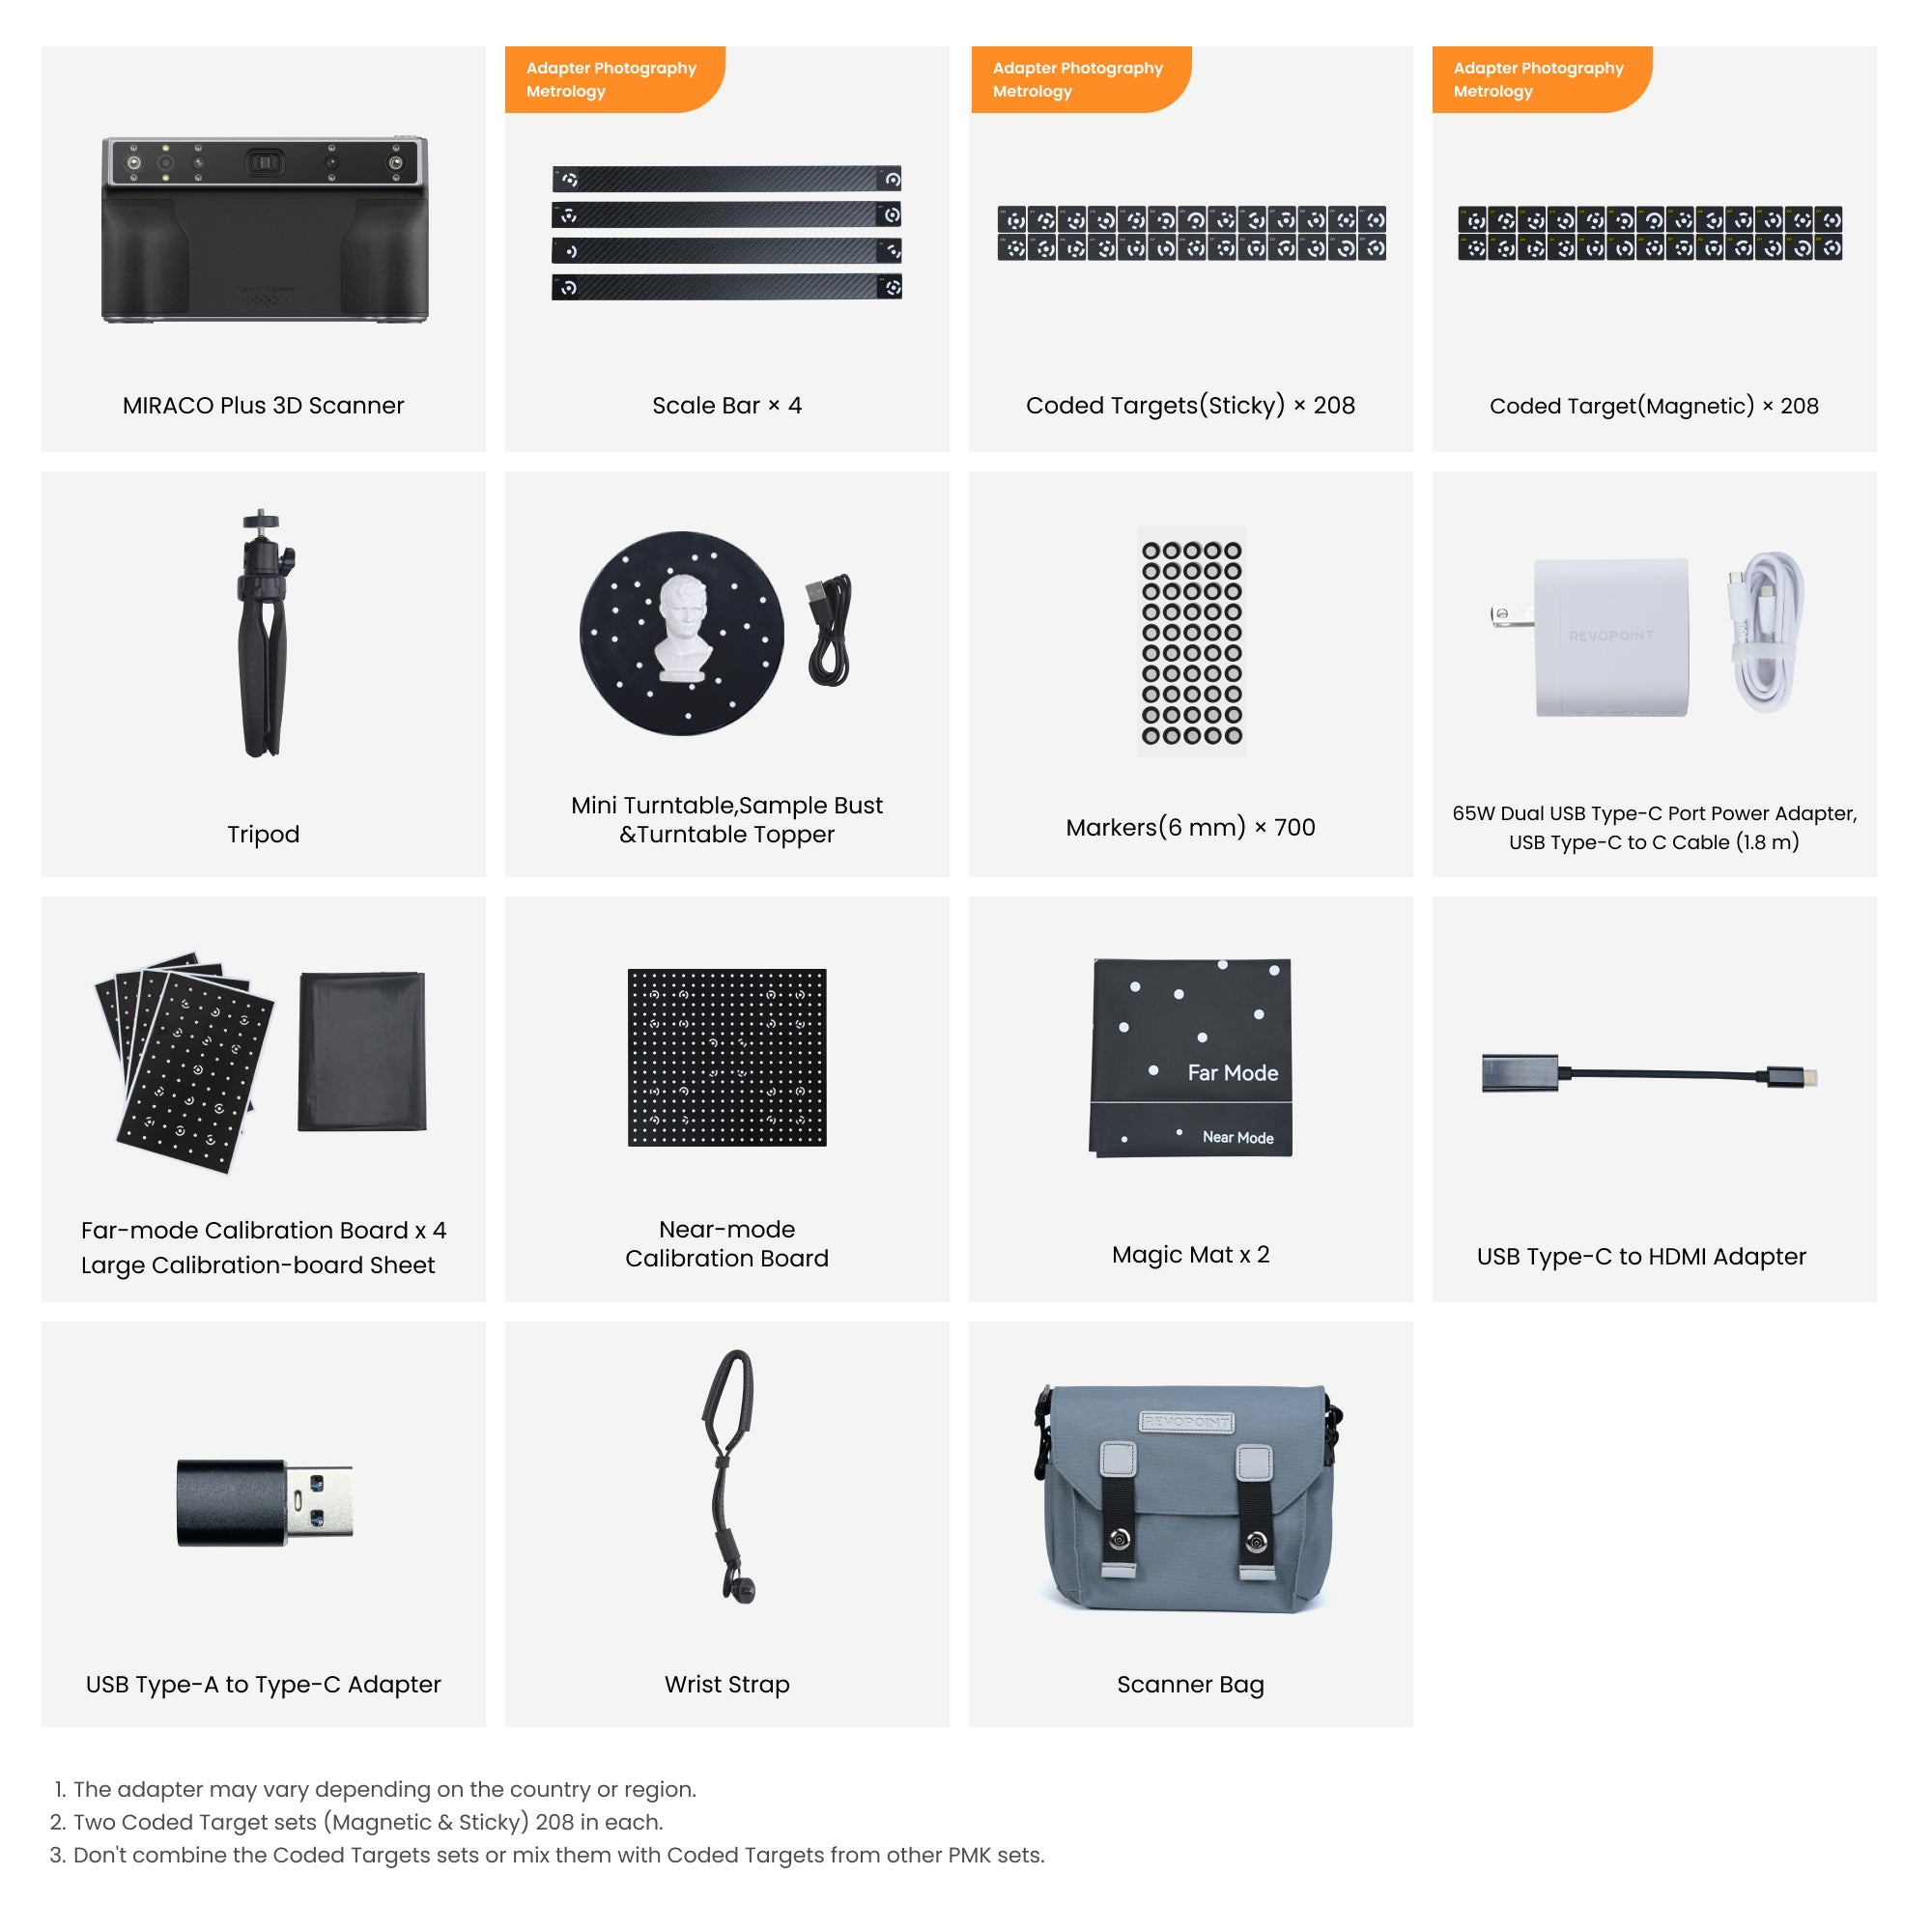
What’s in the Box?
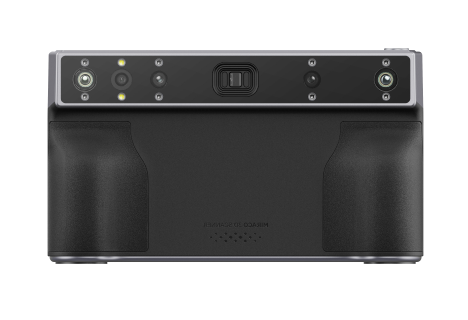
MIRACO Plus 3D Scanner
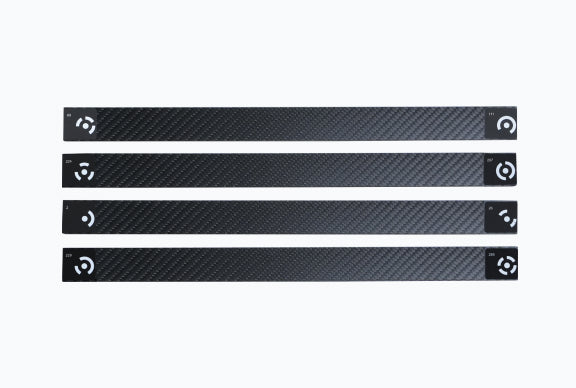
Scale Bar x 4
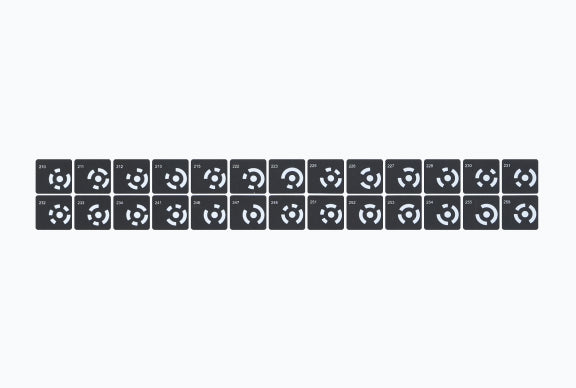
Coded Targets (Magnetic)
x 208
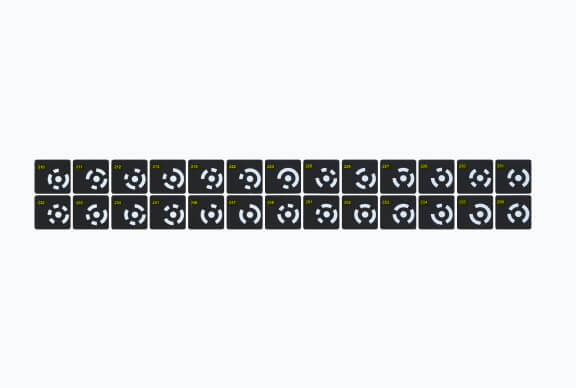
Coded Targets(Sticky)
x 208
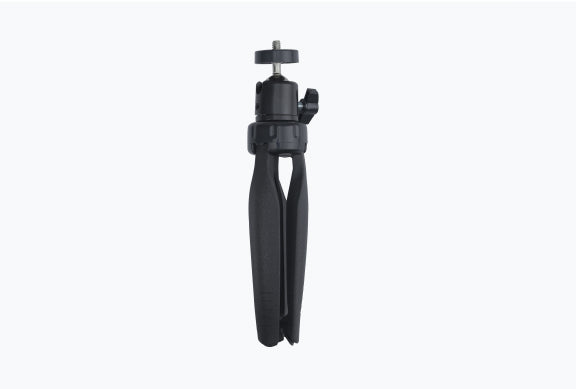
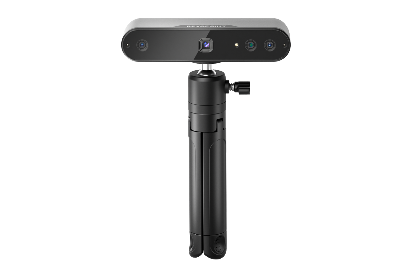
Tripod
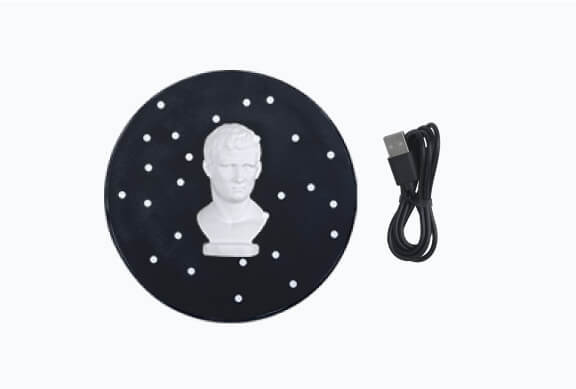
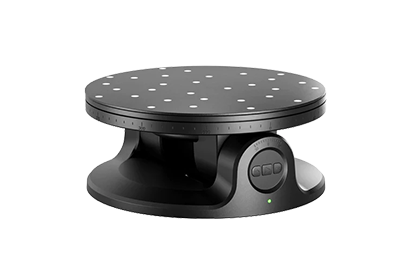
Mini Turntable, Sample Bust, Turntable Topper
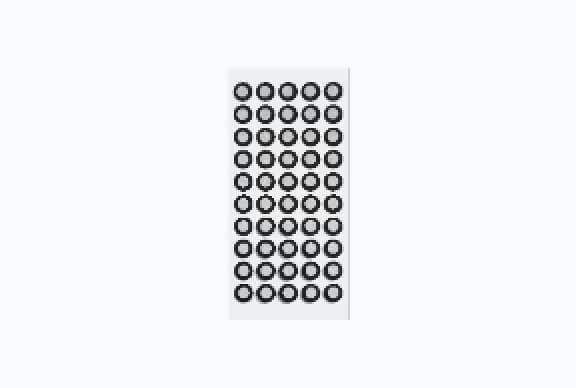
Markers x 700
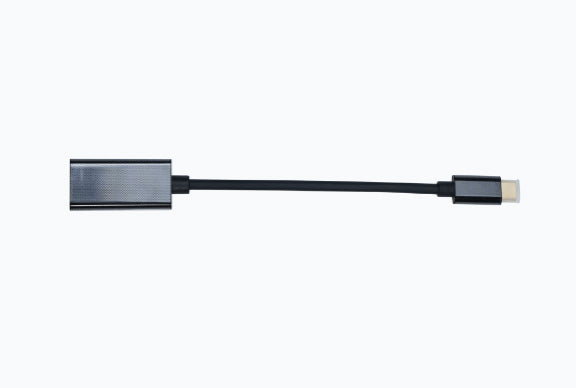
USB Type-C to HDMI Adapter
Far-mode Calibration Board x 4, Large Calibration-board Sheet

Near-mode Calibration Board
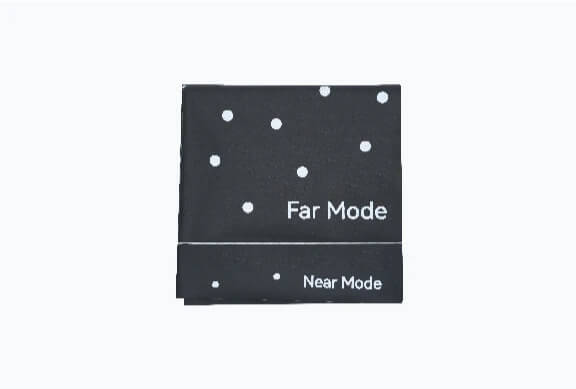
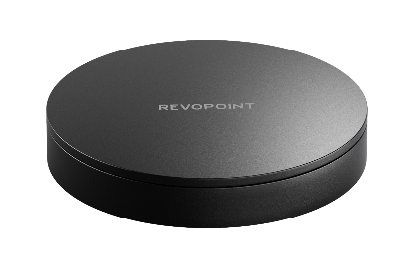
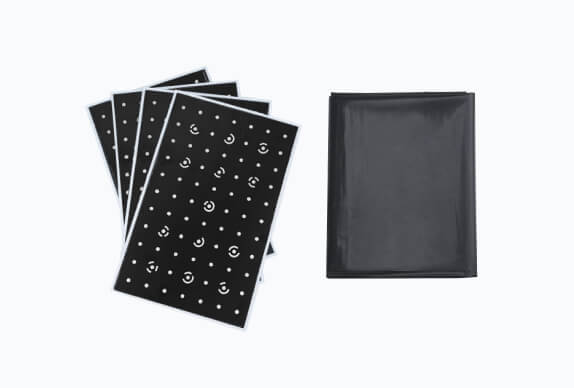
Magic Mat x 2
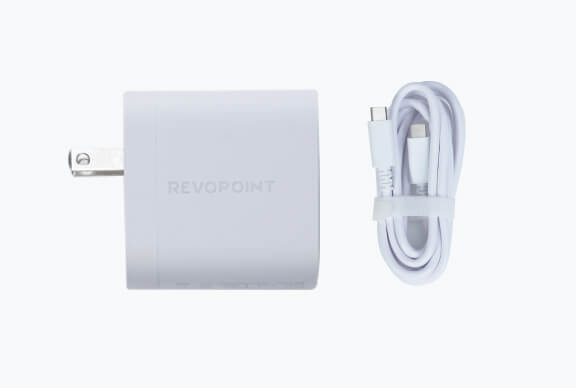
65W Dual USB Type-C Port Power Adapter, USB Type-C to C Cable (1.8 m)

USB Type-A to Type-C Adapter
Wrist Strap
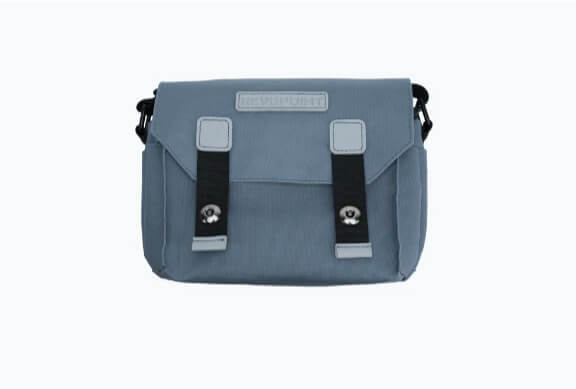
Scanner Bag
1. The adapter may vary depending on the country or region.
2. Two Coded Target sets (Magnetic & Sticky) 208 in each.
3. Don't combine the Coded Targets sets or mix them with Coded Targets from other PMK sets.
Specifications
Product Name
MIRACO Plus 3D Scanner
Technology
Quad-camera Infrared Structured Light
with Optical Zoom, and Ultra-resolution
Photogrammetric Metrology
Single-frame Accuracy
Up to 0.04 mm
Single-frame Precision
Up to 0.02 mm
Photogrammetric Length Accuracy
0.02 mm + 0.05 mm x L (m)
(L is the maximum measuring distance in meters.)
Battery
Internal 5000 mAH
Internal Storage
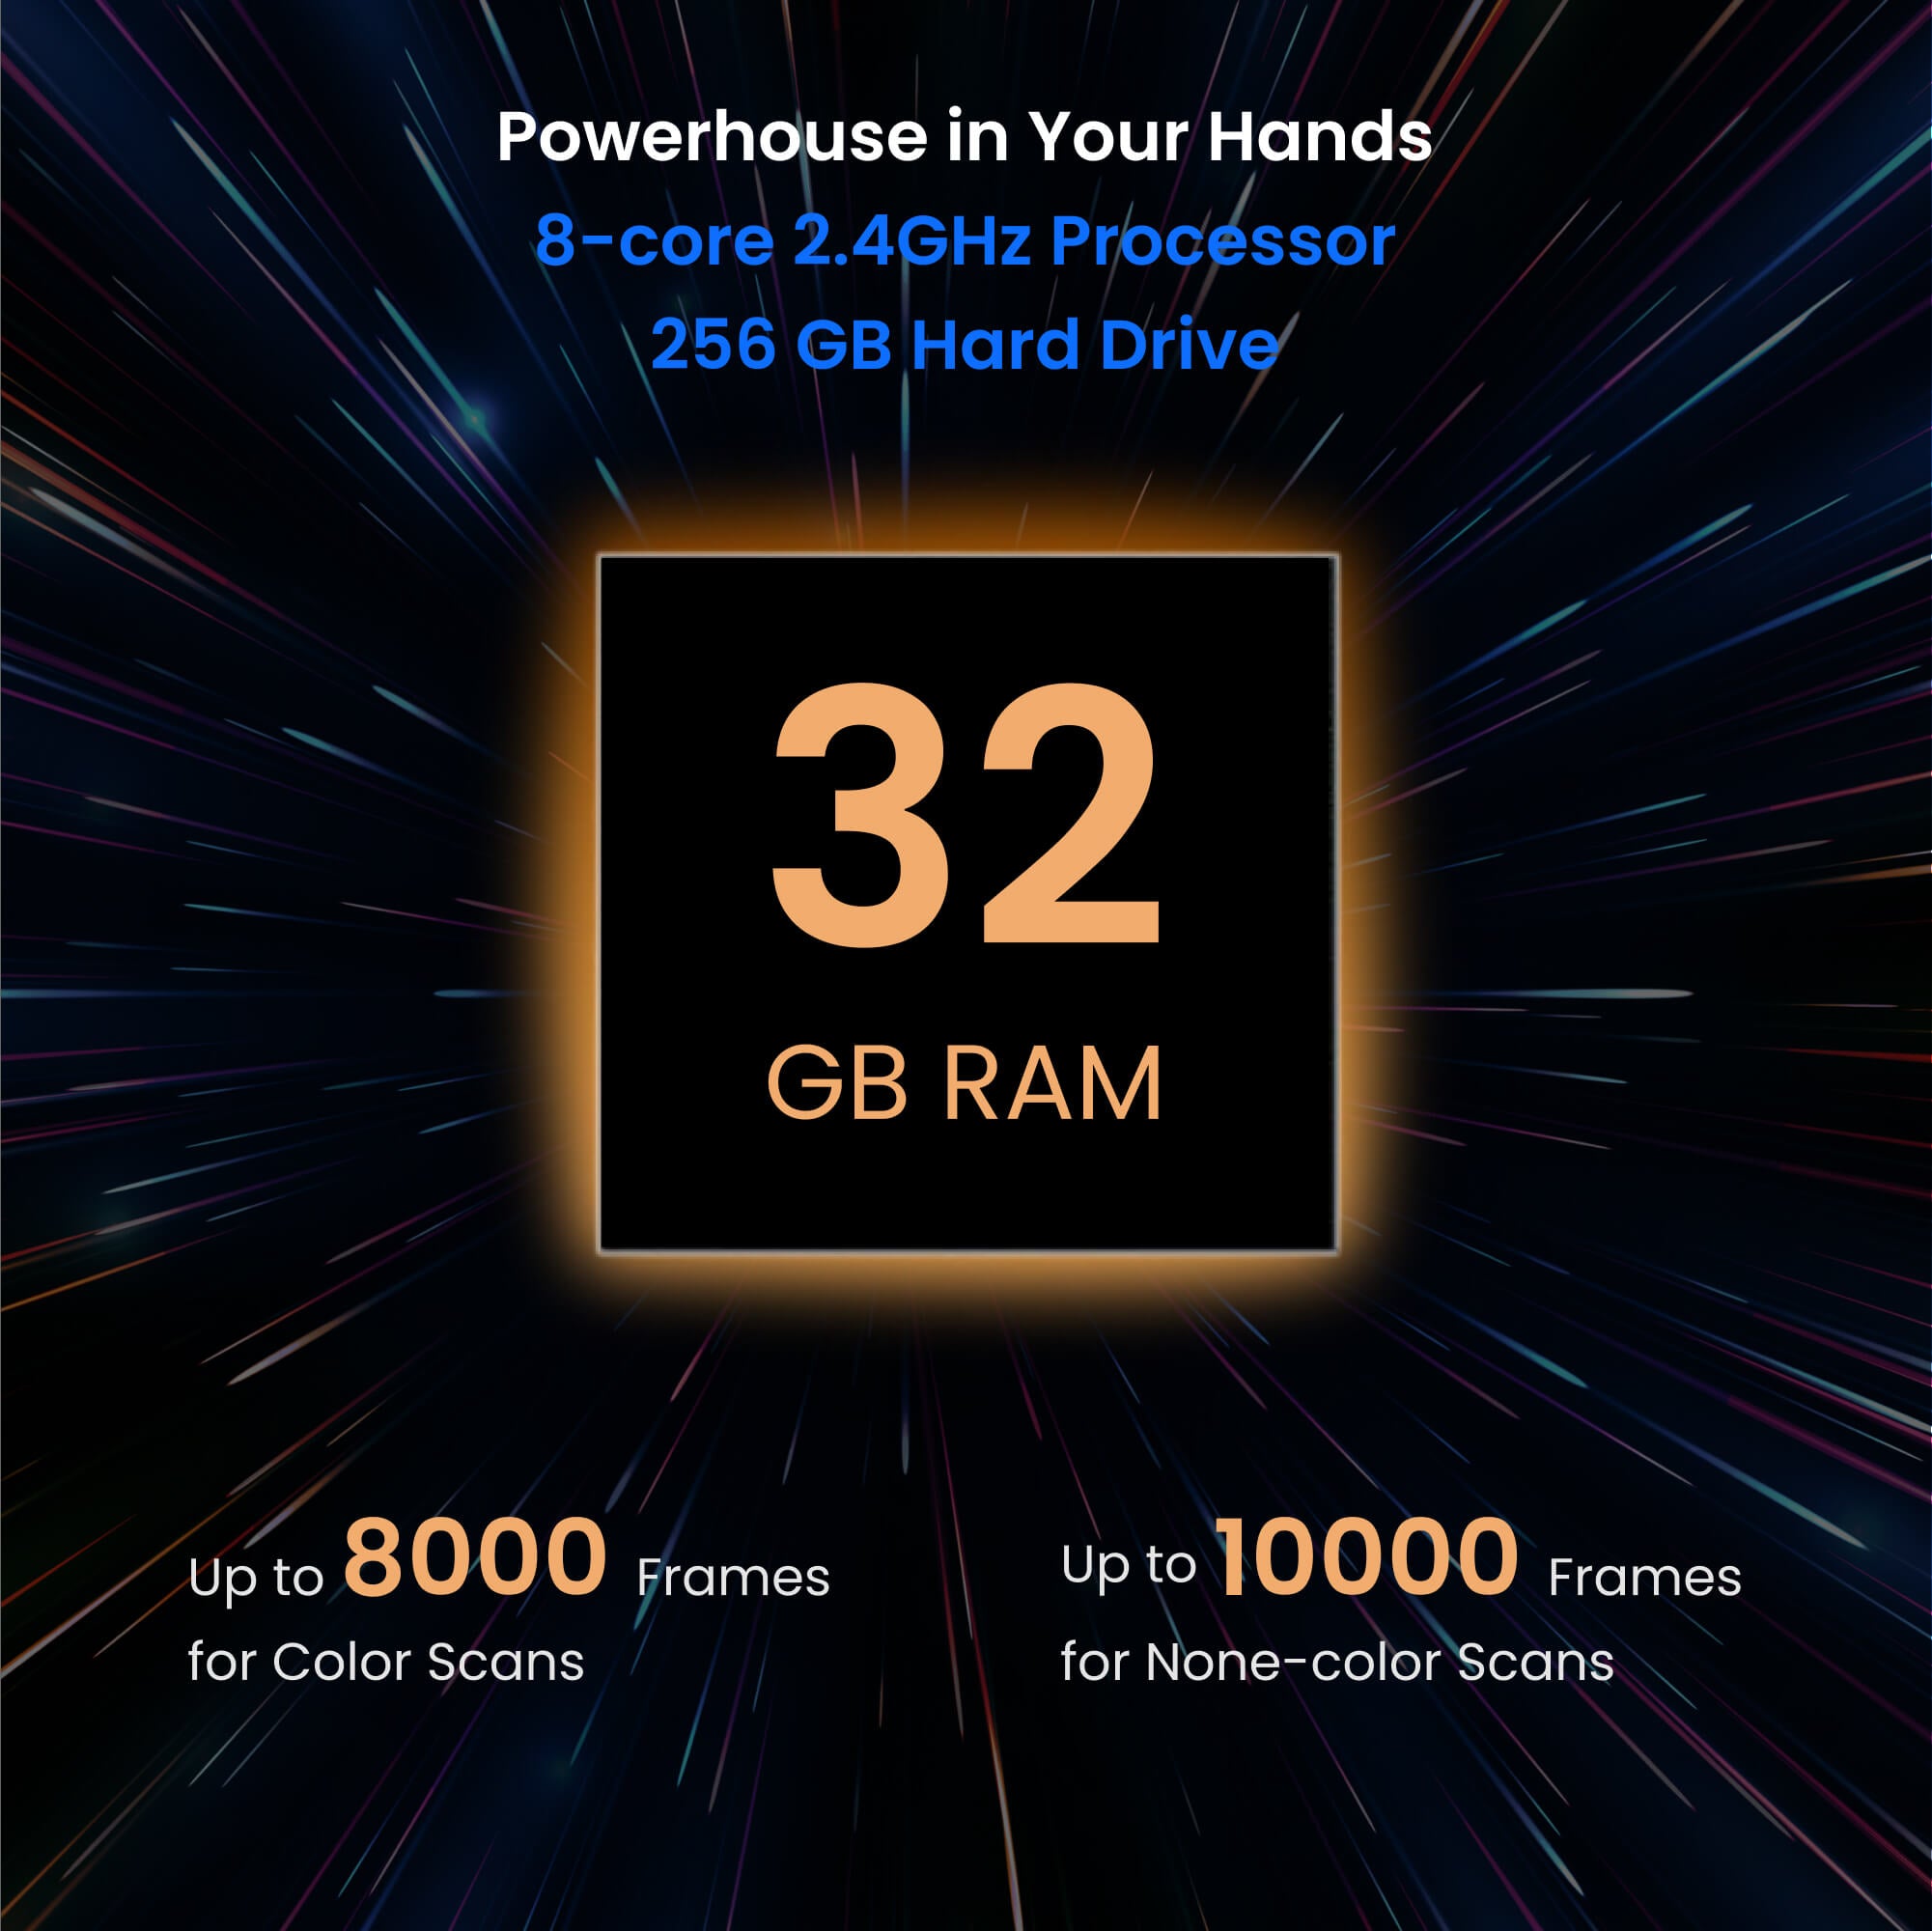
256 GB
Memory (RAM)
32 GB
Scanning Speed
Up to 20 fps
Fused Point Distance
Up to 0.05 mm
Single Capture Area
at Nearest Distance
28 x 53 mm at 100 mm
Single Capture Area
at Furthest Distance
975 x 775 mm at 1000 mm
Scanning Type
Standalone Handheld and Desktop,
and photogrammetric metrology
Working Distance
100 ~ 1000 mm
Minimum Scan Volume
10 x 10 x 10 mm
Maxmium Scan Volume
4 × 4 × 4 m
Auxiliary Lighting
Infrared Fill Lights,
White Flash LEDs
Angular Field of View (H × V)
Near 40 × 30°,
Far 56 × 42°
CPU
8 core ARM A76 , 2.4 GHz, Mali G52 GPU
Position Sensors
9-axis IMU
Scanner Weight
750 g
Dimensions(L x W x H)
200 x 50 x 110 mm
Tracking Methods
Feature, Marker, Global Marker
Buttons
2
Connector Type
USB Type-C
Power Requirements
DC 7-11V, 5A
Support 65-watt Fast Charging
Wi-Fi
6
Bluetooth
4.1
Special Object Scanning
Use scanning spray for transparent,
dark, or highly reflective objects.
RGB Camera Resolution
48 Megapixels
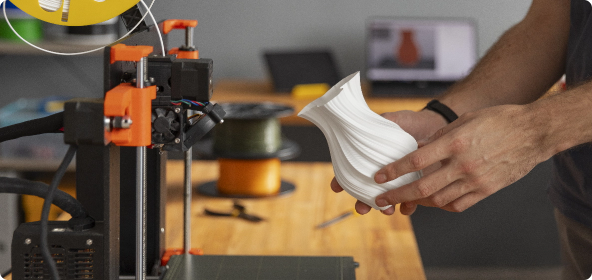
Ready to Print 3D Models
Yes
Output File Formats
PLY, OBJ, STL, ASC, 3MF, GLTF, FBX
User Recalibration
Yes
Supported Accessories
Large Turntable, Dual-axis Turntable, Large Calibration Board for MIRACO, Power Bank Kit, Photogrammetric Metrology Kit
Compatible Operating Systems
Windows 10/11 (64-bit),
macOS 11.0 or better
Light Type
Class 1 Infrared Light (Eye Safe)
Minimum PC
Requirements
macOS
CPU: M1 Pro or better;
RAM ≥ 8 GB
Windows
CPU: Intel i7 12th Gen or better;
RAM ≥ 16 GB
Recommended PC
Requirements
macOS
CPU: M3 or better;
RAM ≥ 8 GB
Windows
CPU: Intel i9 11th Gen or better;
RAM ≥ 32 GB
Reviews on YouTube

FAQ