- Photos
Photogrammetric Metrology Kit: High-accuracy 3D Measurements (Only Works with MIRACO Plus)
· Photogrammetric Length Accuracy 0.02 mm + 0.05 mm x L (m)
· Optimized for Large Objects
· Capture and Process Photogrammetric Data All on One Device
· Lightweight and portable
Usually, free shipping for most 3D scanners, 3-5 days fast receipt. Software is non-refundable, fast digital delivery via email.


Photogrammetric Metrology Kit
* Only compatible with MIRACO Plus
The Photogrammetric Metrology Kit (PMK) enables the creation of metrology-grade 3D models for inspection, reverse engineering, and other measurement applications. The MIRACO Plus 3D scanner works with the PMK to provide an all-in-one capture and processing device.
Lightweight and
Portable Kit
Photogrammetric Length Accuracy
0.02 mm + 0.05 mm x L (m)
Easily Handle
Large-Size Objects
Capture and Process
Photogrammetric
Data All on One Device
Features
Metrology-grade Accuracy
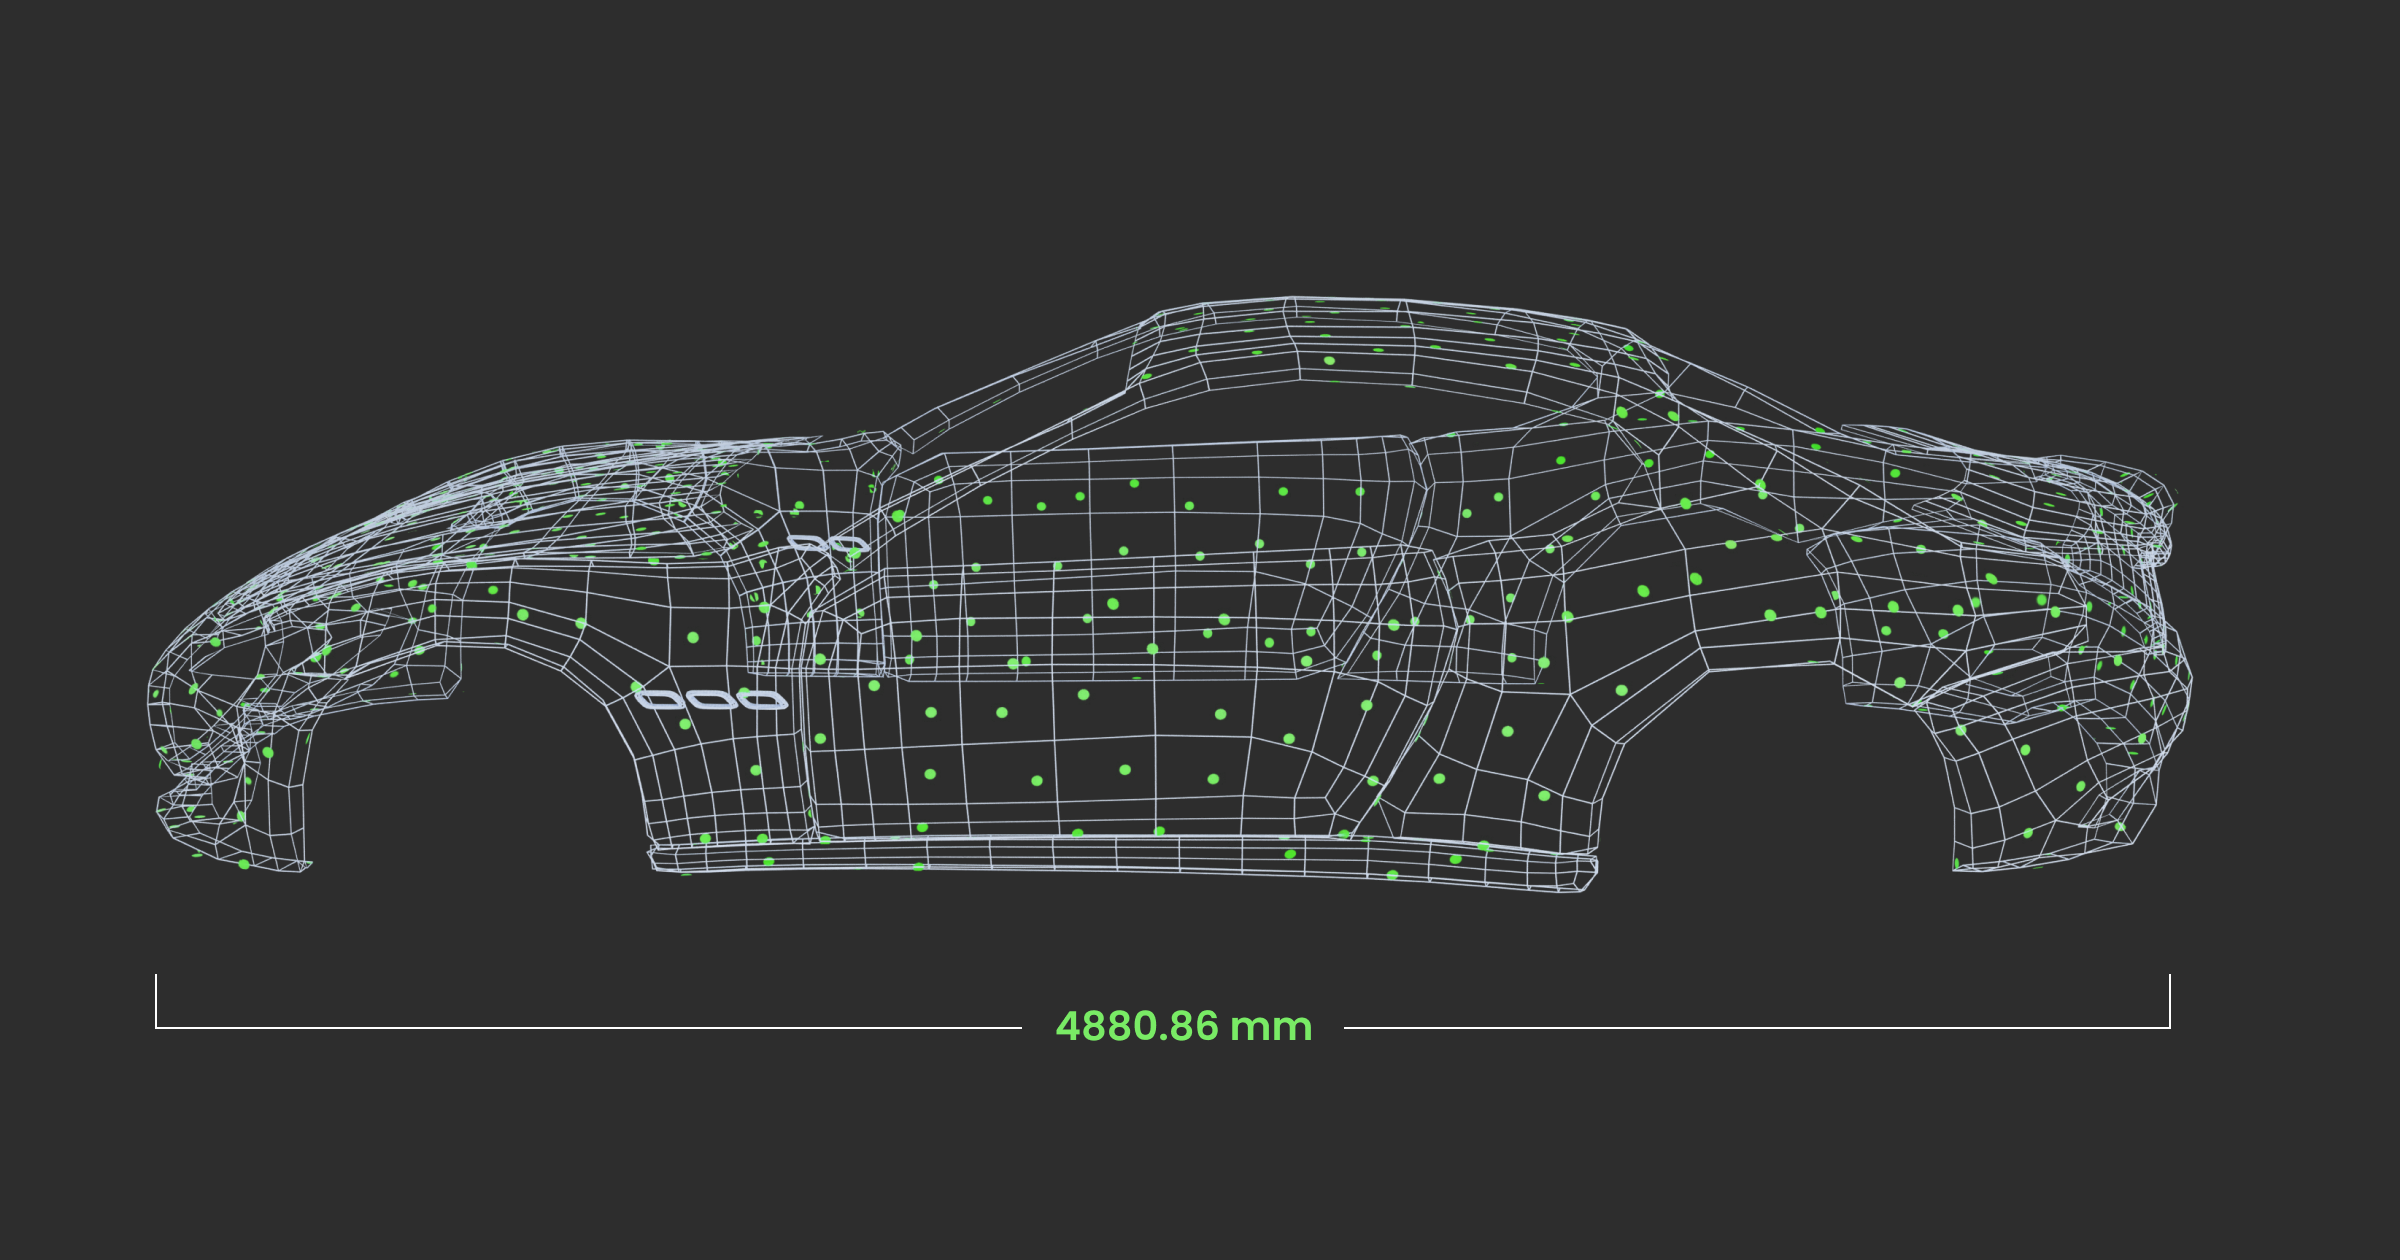
Create metrology-grade 3D models of large objects such as automobiles, ship or plane parts, and machinery. Achieve an impressive photogrammetric length accuracy of up to 0.02 mm + 0.05 mm x L (m).

All-in-one workflow


Lightweight and Portable
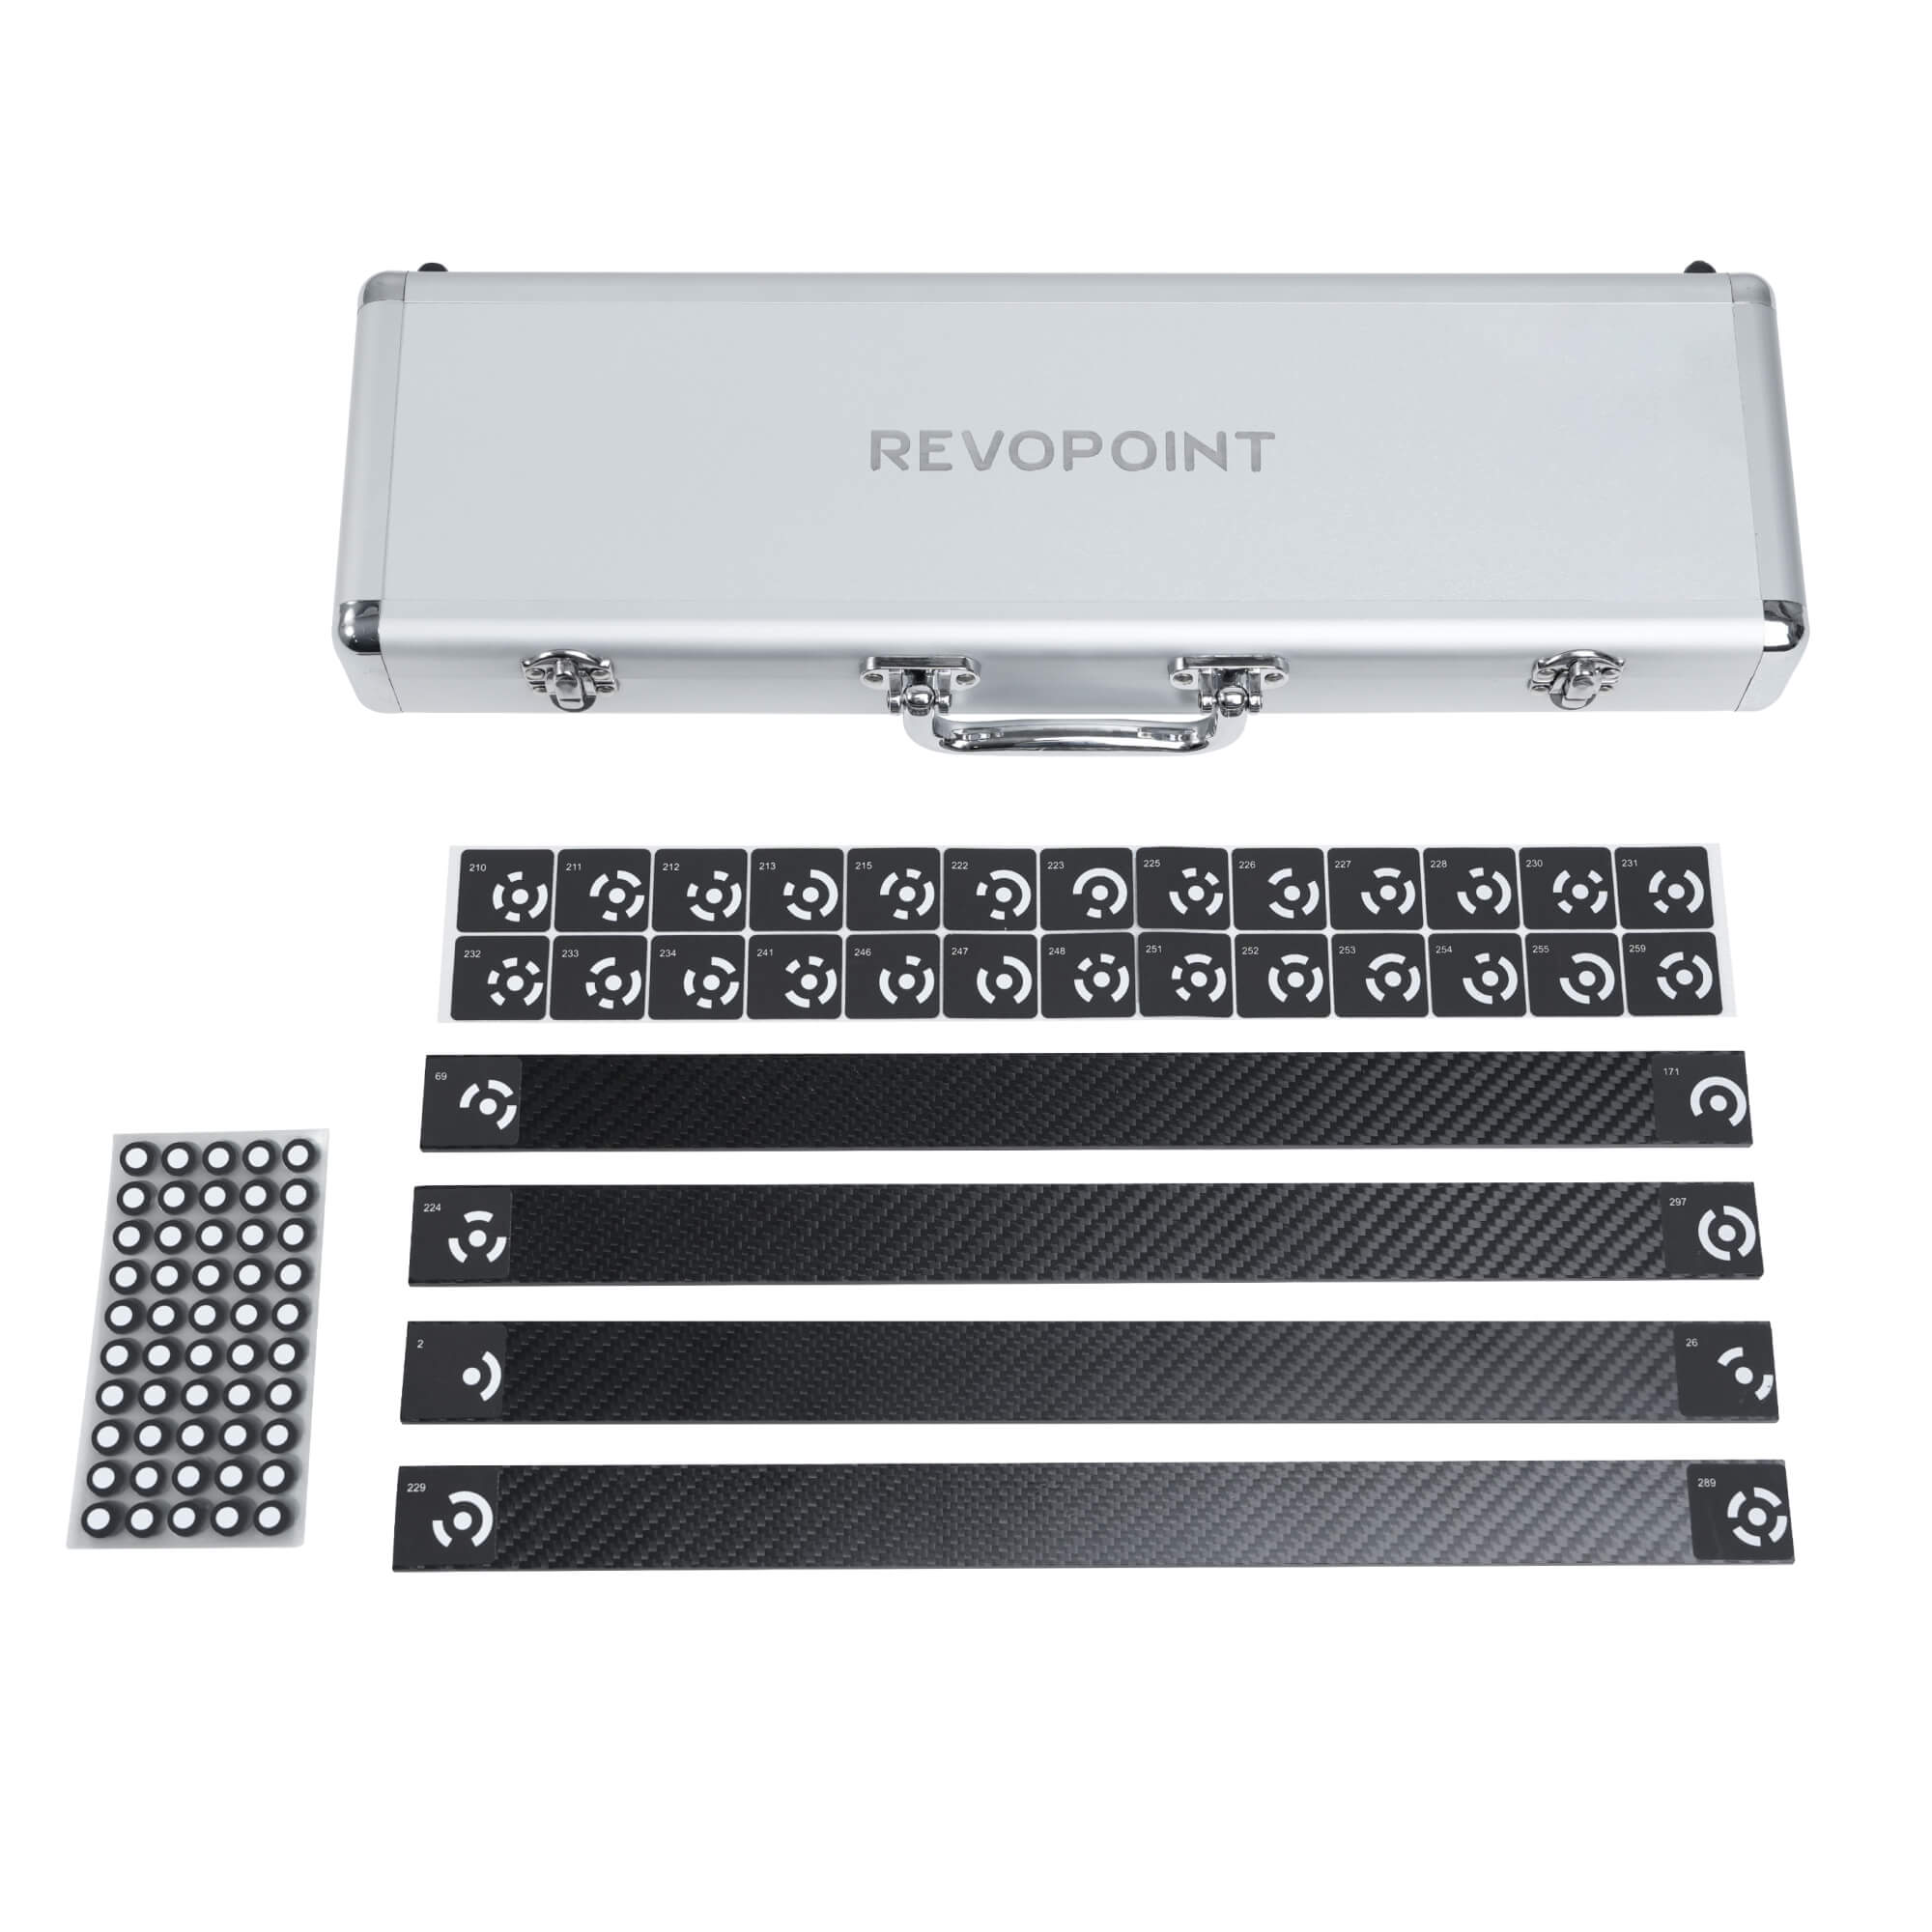
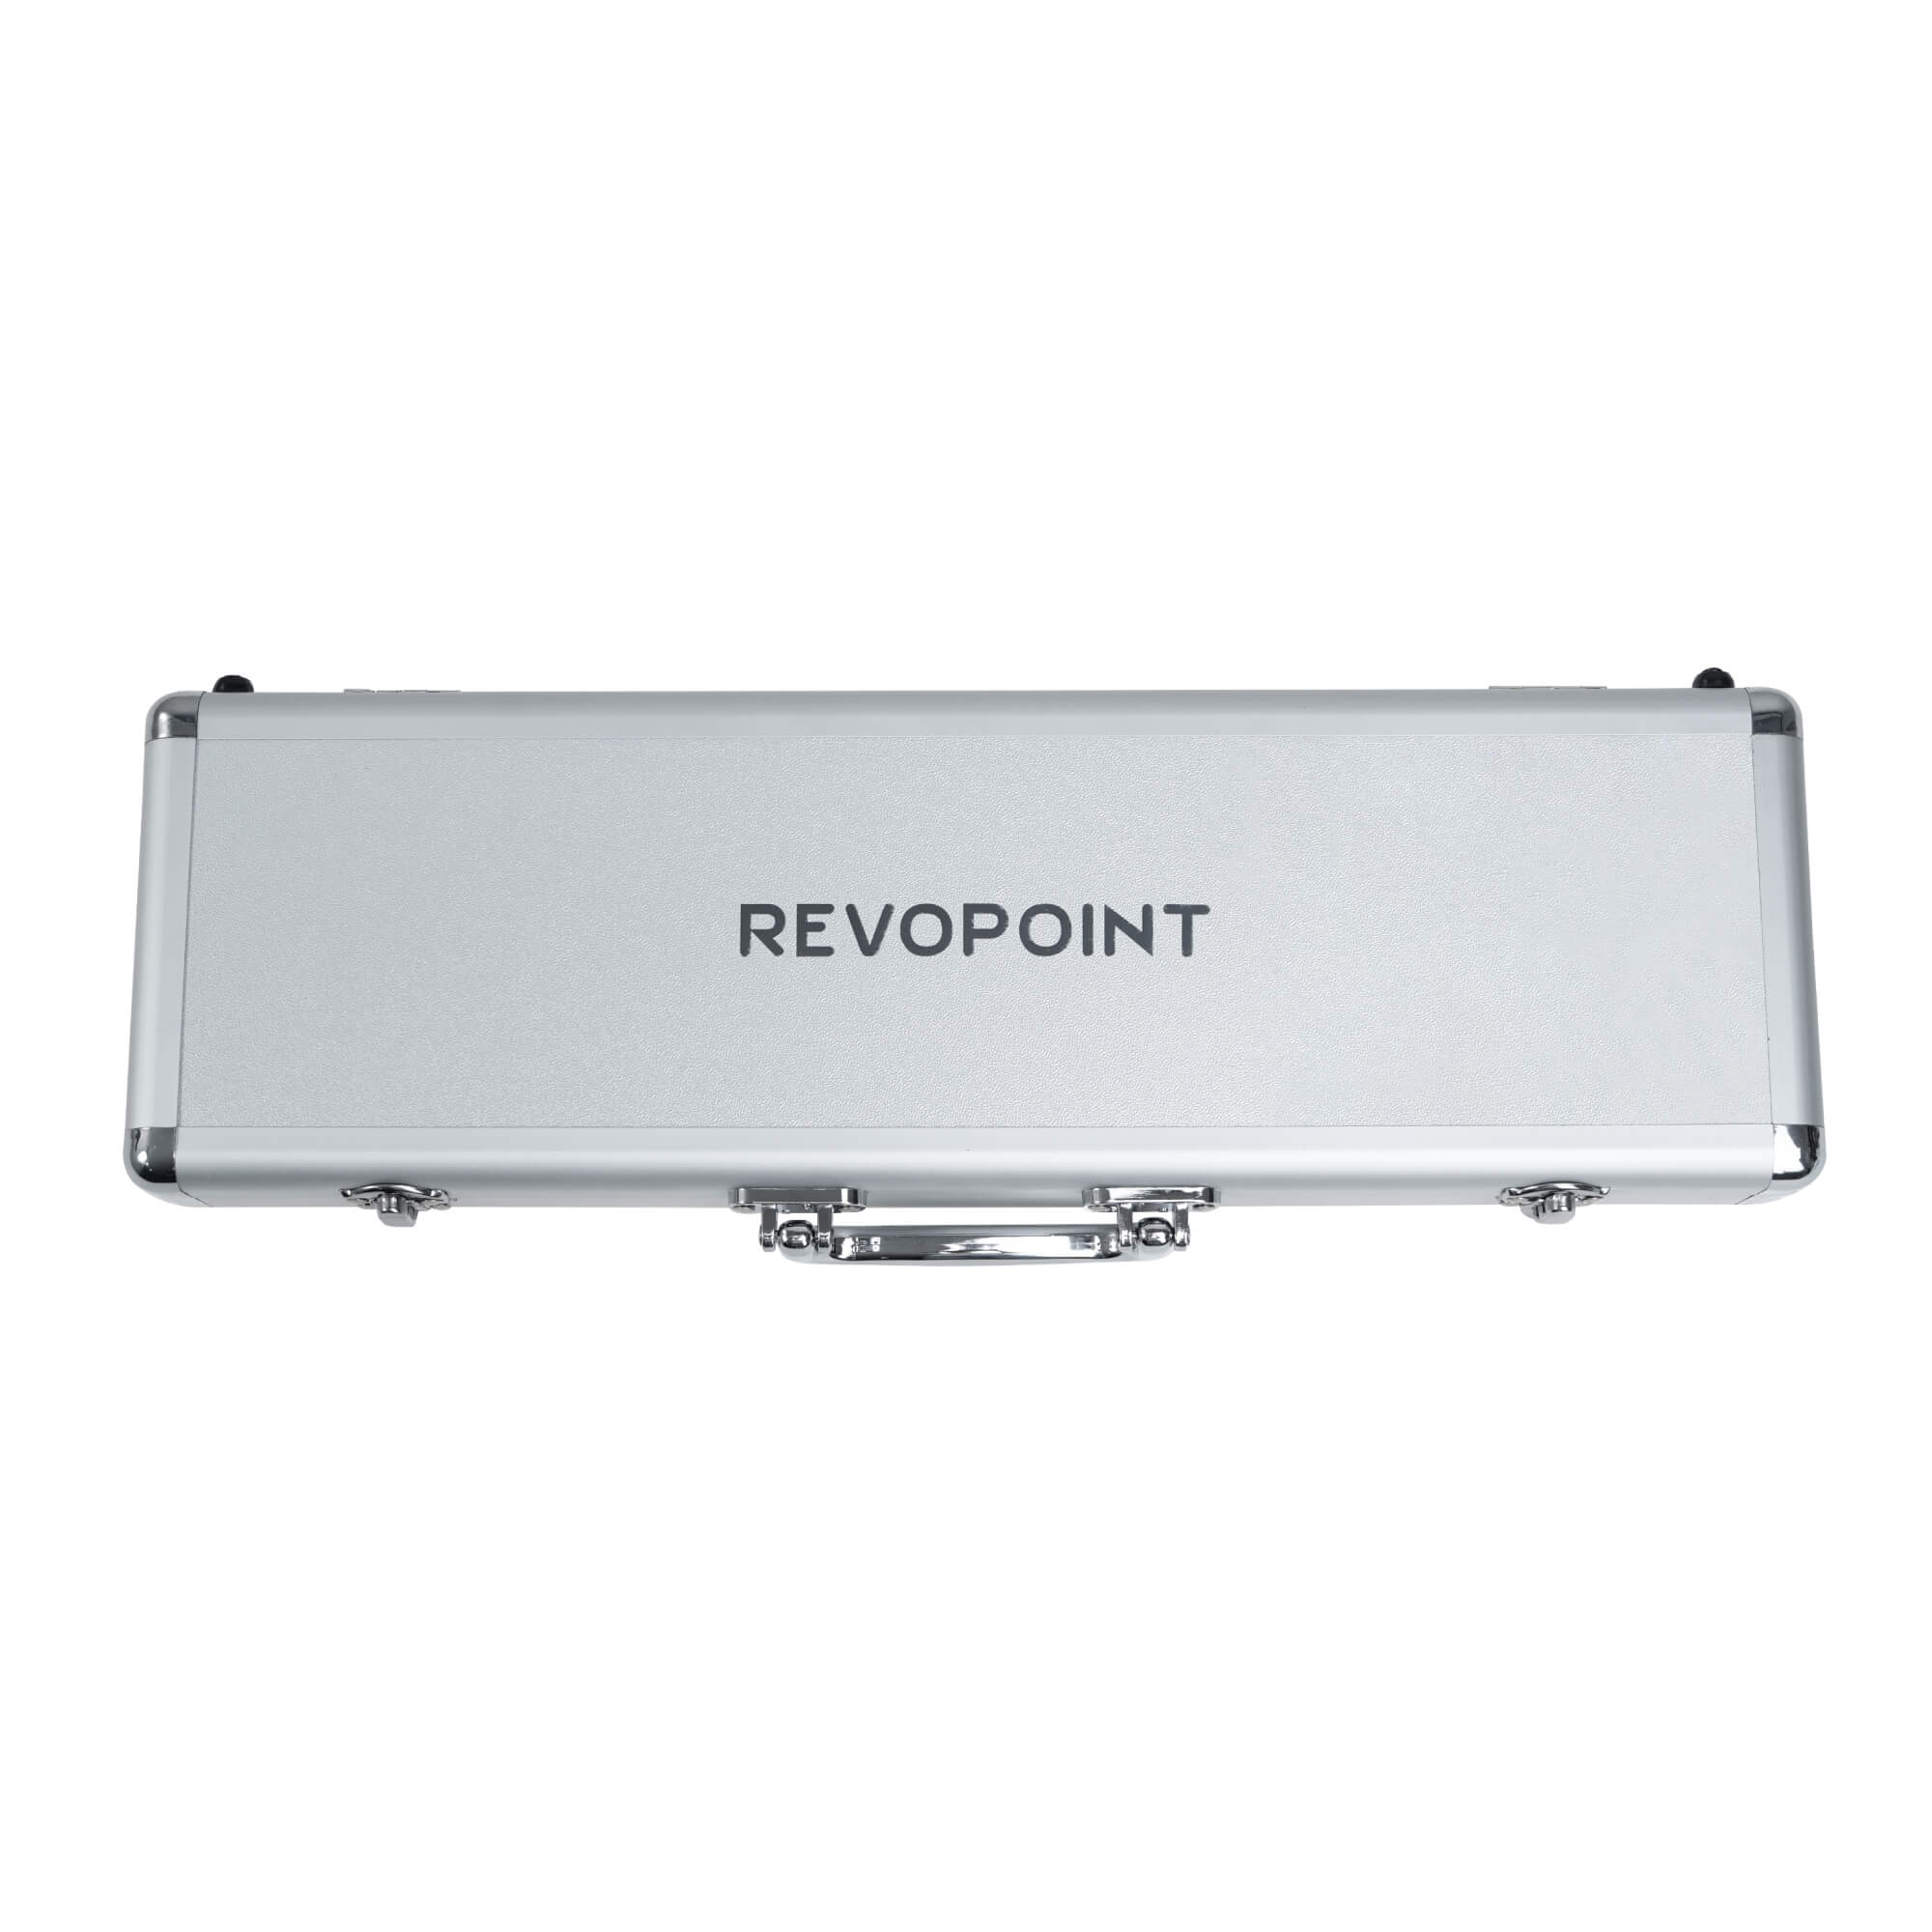
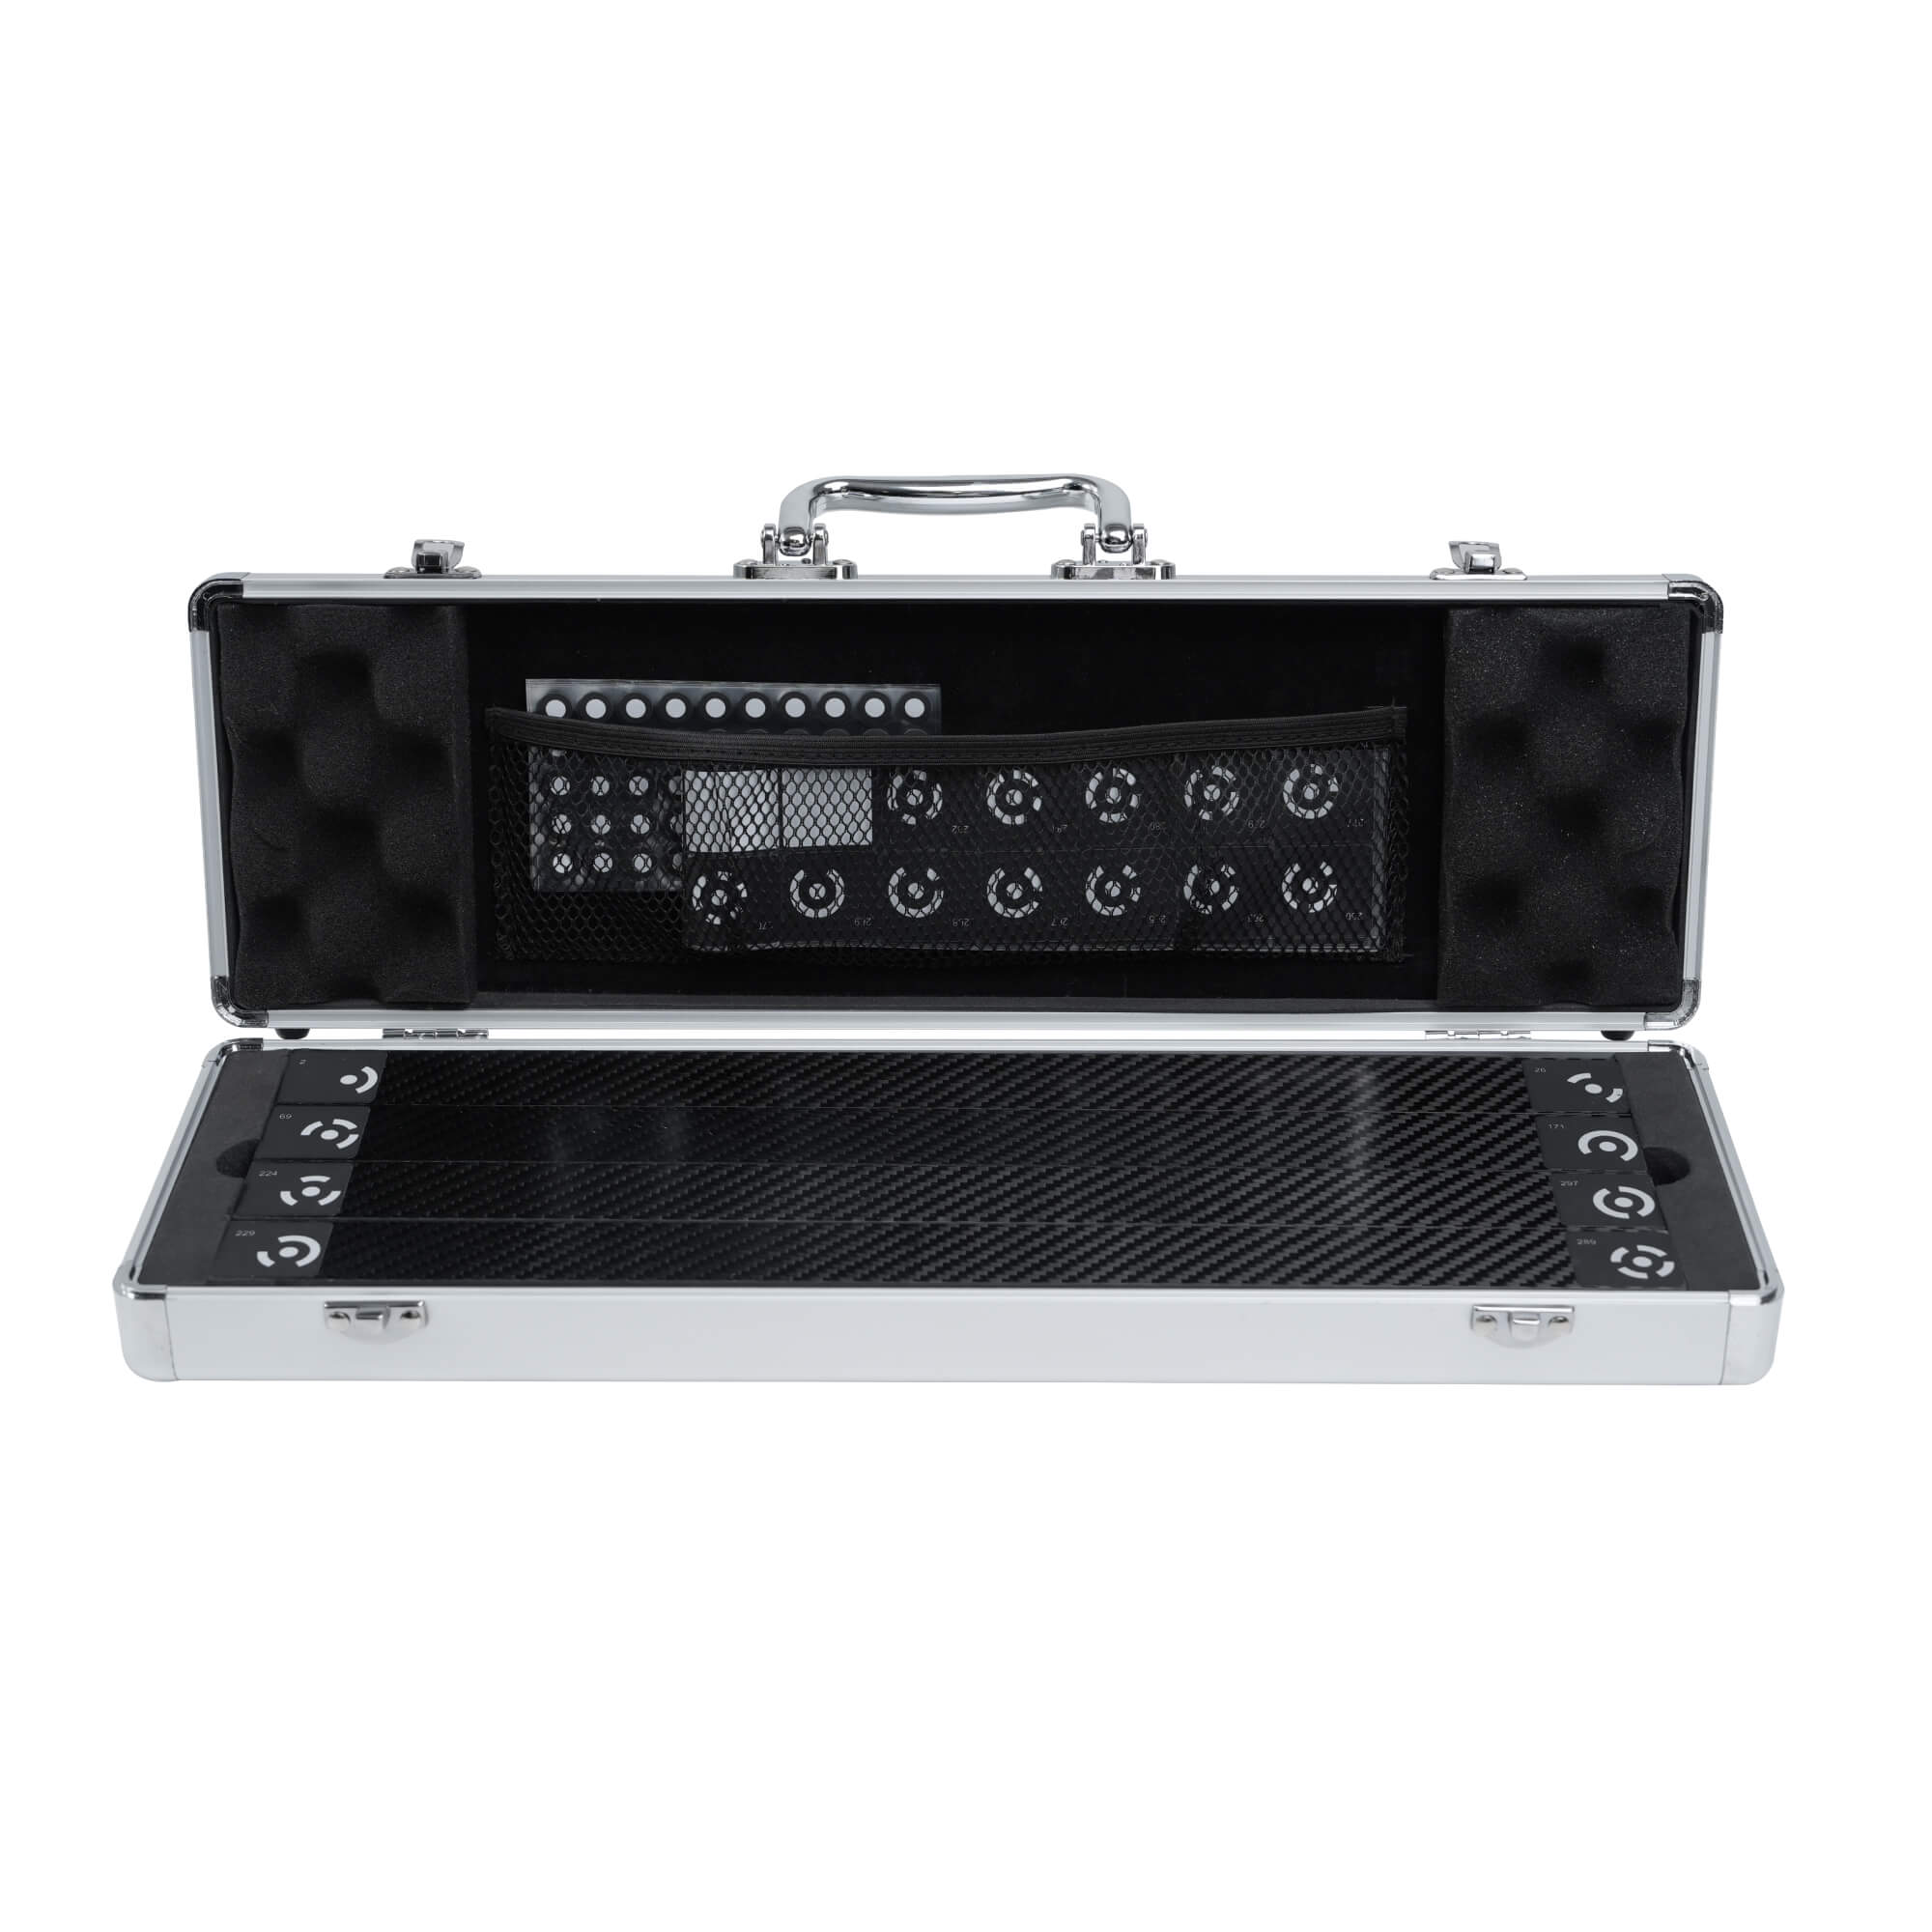
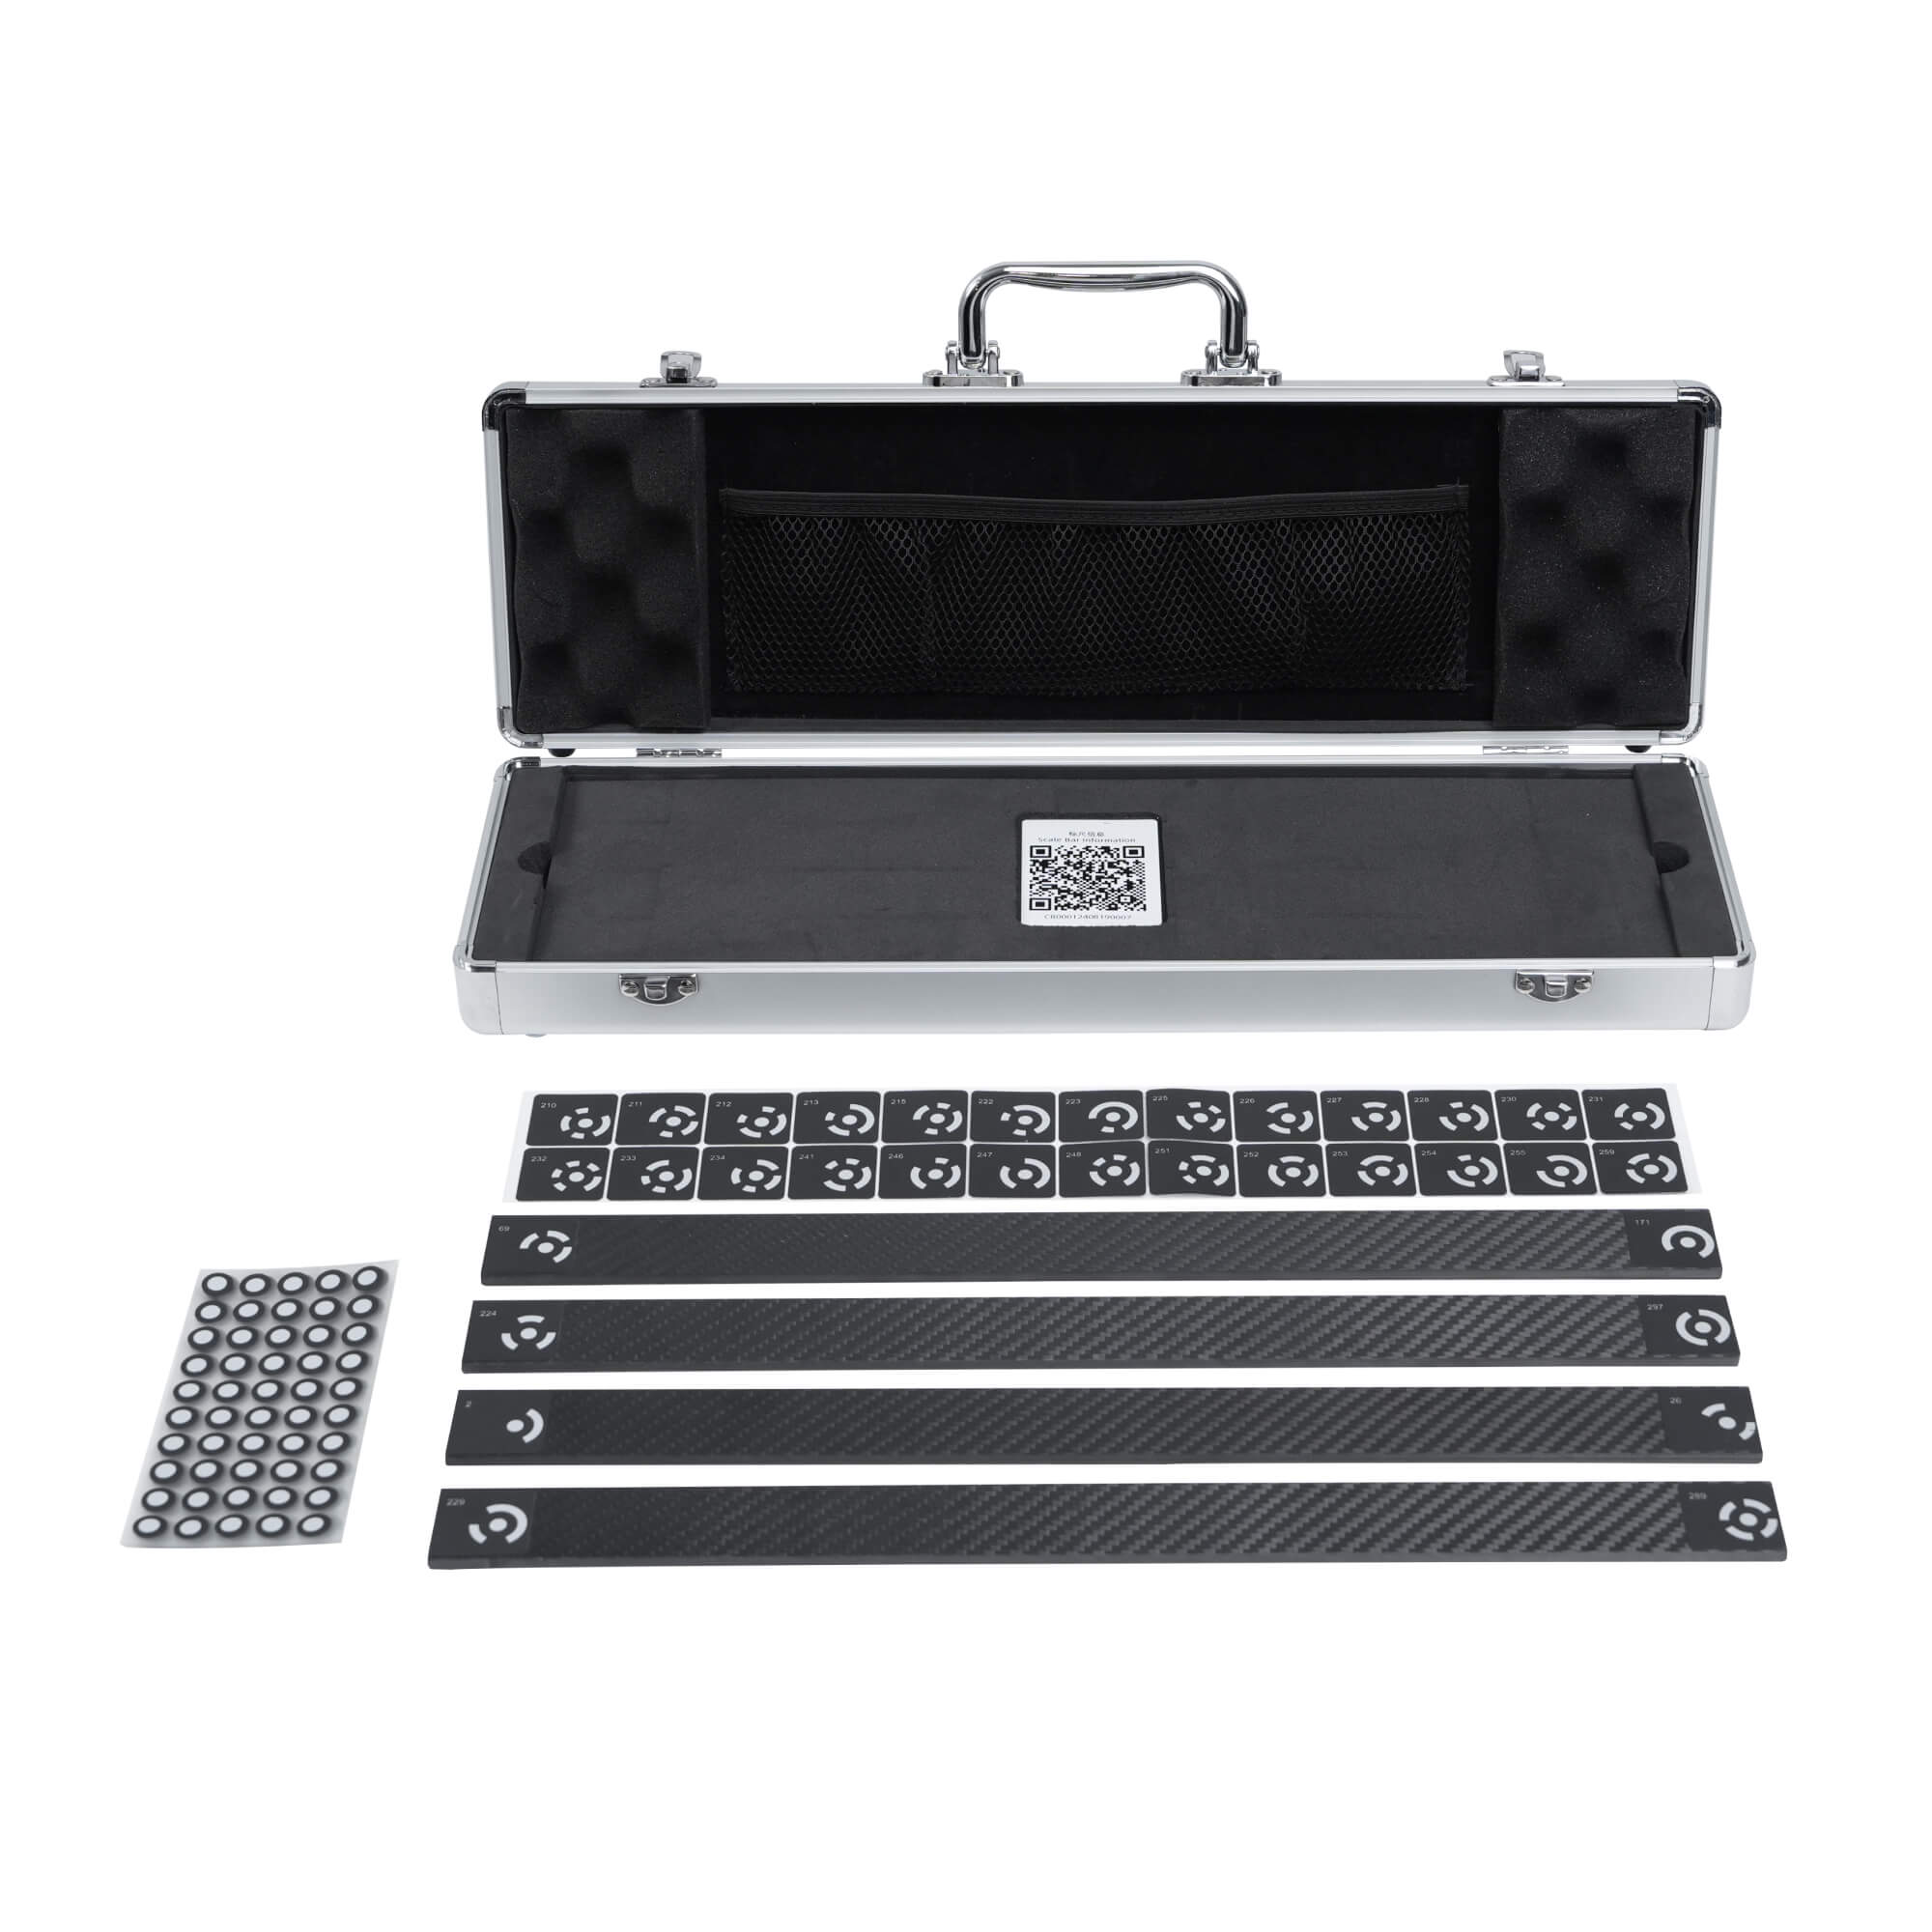
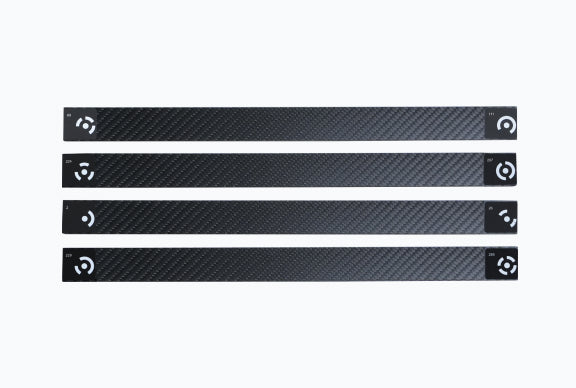
The PMK comes in a smart-looking aluminum carry case that securely holds the 4 magnetic high-precision carbon fiber scale bars, 2 sets of coded targets (sticky x208 and magnetic x208), and 500 markers.


Capture Complex Objects
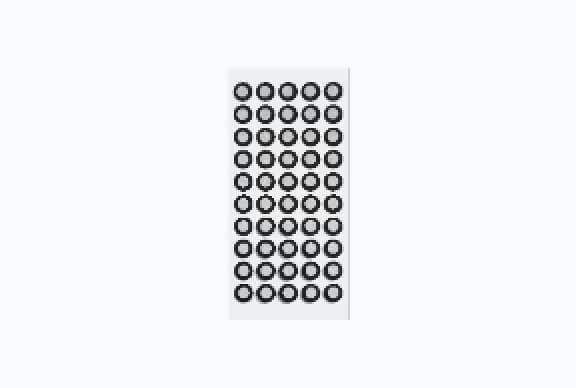
With hybrid photogrammetry, unique coded targets are used to determine point coordinates and high-contrast markers to increase surface area coverage for versatile capturing capabilities.


Full Workflow Integration
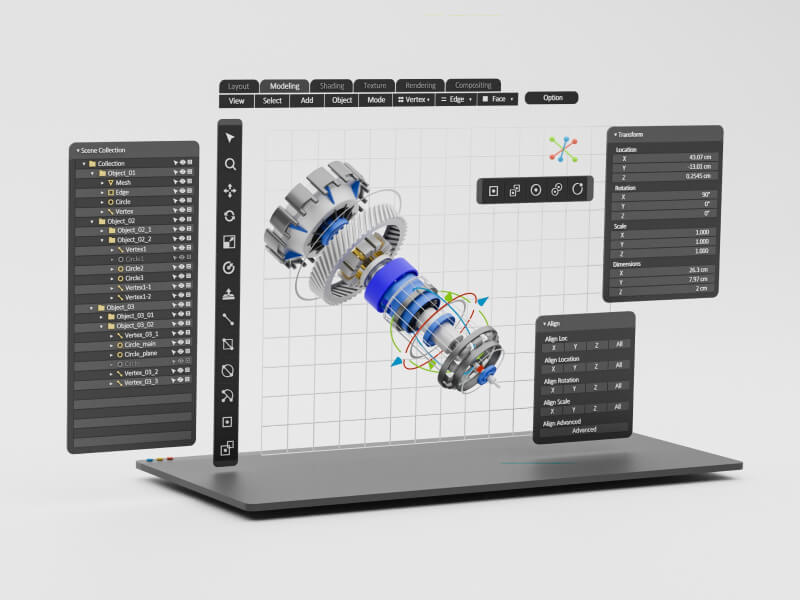
Easily transfer your photogrammetric models from MIRACO Plus over Wi-Fi or USB-C to a PC for easy importation into third-party software.


Professional Applications
Efficient Workflows
STEP 1 : Prepare
Place the scale bars, coded targets, and markers on or around the object's surface.


STEP 2 :Shoot
Shoot photos of the object at different heights and angles till fully captured.


STEP 3:Calculate and Capture Point Clouds
Calculate the markers, then capture the point clouds all on MIRACO Plus 3D scanner .


STEP 4:Process and Export
Process, edit, and then transfer to a PC.

What’s in the Box?
Scale Bar

Coded Targets
Markers

Toolbox
Specifications
Parts Included
Scale Bar ×4, Coded Targets × 2 set, Markers × 500, Toolbox × 1
1)Scale Bar
Material
Carbon Fiber
Size
400 × 30 × 4 mm
Weight
340 g (85 g × 4 )
Attachment
Magnetic
2)Coded Targets
Coded Targets Diameter
5 mm
Size
22 × 22 mm
Number
Coded Targets (Sticky) :208 per set,
Coded Targets (Magnetic):208 per set
3)Markers
Size
Inner Diameter - 6 mm,
Outer Diameter - 10 mm
4)Toolbox
Material
Aluminum Alloy
Weight
700 g
Size
450 × 161 × 53 mm
FAQ
What kind of objects is the Photogrammetric Metrology Kit suited for capturing?
The PMK is designed to help you capture large objects such as automobiles, plane or ship parts, or large machinery.
Can my current Revopoint scanner be used with the Photogrammetric Metrology Kit?
The Revopoint MIRACO Plus is the only scanner compatible with the kit.
What are the main applications for the Photogrammetric Metrology Kit?
The PMK is ideal for helping reduce manufacturing errors, rapidly carrying out quality control, speeding up the prototyping process, and reverse engineering applications.
Can I use the coded targets from both the sticky and magnetic sets in the same scan?
Yes, but you must ensure you don't use any identical coded targets (same ID number) from both sets.


