
In this brief guide, we’ll go over how to 3D scan a car’s rear body panel and get it right every time. So without further ado, let’s get into it.
What do You Need?
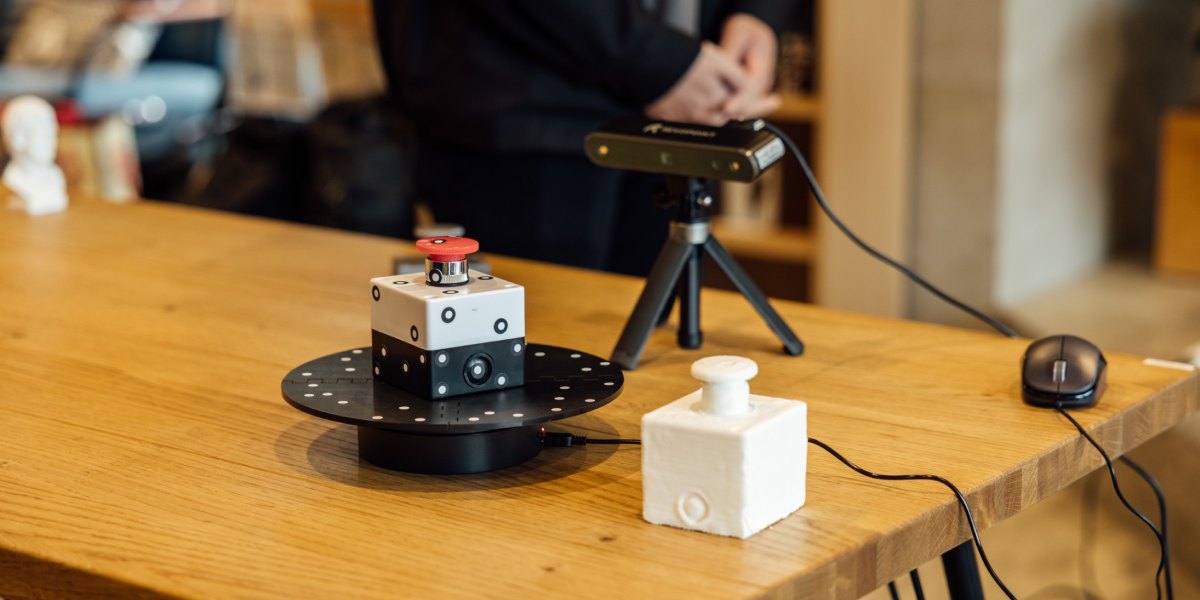
Scanner
Ideally, use a RANGE 3D Scanner because its large capture area makes this type of scan much easier. However, this scan can also be done with a POP 2, but it’ll require the use of more markers and patience when performing the scan.
Maker Points
You’re going to need quite a few marker points to help the scanner keep track during the scan. These should be placed in an irregular pattern across the rear body panel. If using the RANGE, you can have around an 8cm spacing between the points and around 8 to 15 points per frame.
If you’re using POP 2, the spacing will need to be smaller, around 4cm, and more than 5 markers per frame will be required by the scanner to maintain tracking.
Scanning Spray
If your car is filthy and the car’s rear body panel is covered in mud specks and dirt, today is your lucky day, as you won’t need any scanning spray. However, if it’s spotless, you’ll probably need to use scanning spray to deal with its reflective/shiny surface. When applying this, you don’t need to layer it on thickly. Just a light coating across the whole area will be fine.
Device
If you want to get this scan done in one go, you must use a laptop or mobile device with at least 16GB of RAM to deal with the amount of data captured in a single scan. If you don’t have a device with that much RAM, don’t worry; you can still do it, but the scan will need to be split into sections and merged once finished.
Preparation
Firstly, don’t try to do this on a bright sunny day or with strong light pointed directly at the rear panel, as this will interfere with the depth cameras’ ability to detect the structured light. If you have a garage and enough space to move around easily, that’ll be perfect if you don’t do it outside at dusk or on an extremely overcast day.
Secondly, prepare the rear panel with the marker points and scanning spray. Remember the spacing requirements for the marker points mentioned earlier.
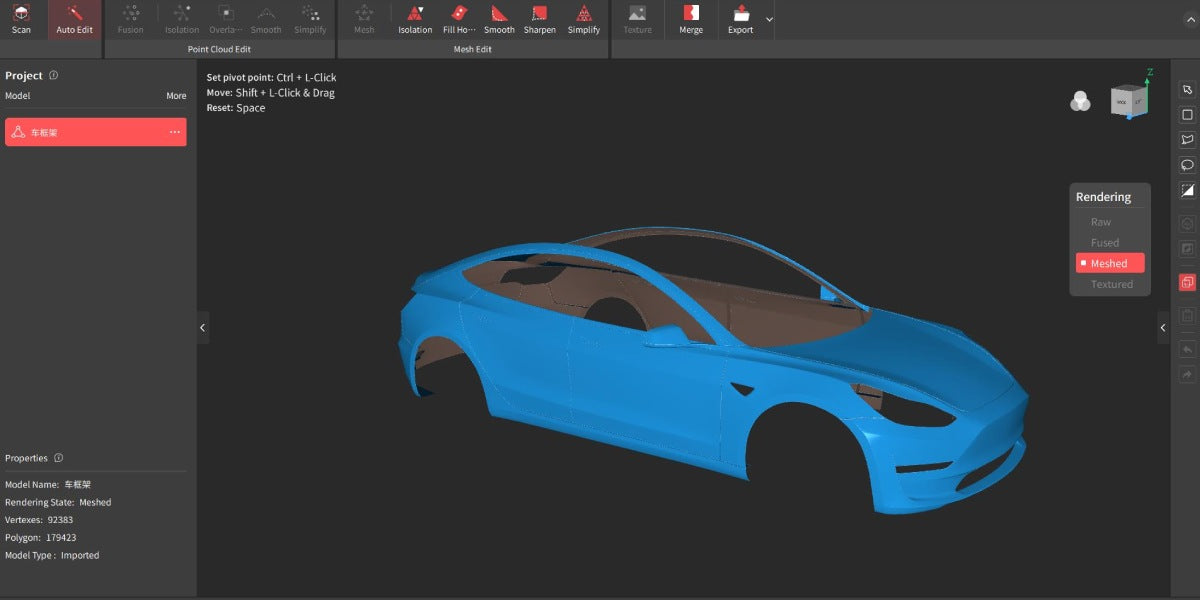
Scanning
Ok, so you’ve got your scanner hooked up to your device, and you’ve got to the scanning interface in Revo Scan. Select your scan quality. Standard should be fine, as most rear body panels don’t have a lot of fine detail to capture. Then select Markers as the tracking mode, and finally, adjust the depth camera’s exposure so there are as few red and blue splotches in the preview window as possible.
Now that you’re ready to start the scanning process. Pick the top or bottom point at one end of the rear and position yourself at the optimal distance for the scanner you’re using. Once you’ve done this, it’s time to start scanning. During the scan, you need to steadily move the scanner up or down, capturing each section as you move along the rear section of the car, scanning each vertical slice of the car’s rear body panel. Keep doing this till you finish the scan.
Note if you’re using a POP 2 (it is possible to do it in one scan with a POP 2, but to avoid potentially losing progress, it’s better to split it up) or scanning with a device with low RAM, you’ll need to do this in sections, then merge them once you’ve finished.
Leave a comment
This site is protected by hCaptcha and the hCaptcha Privacy Policy and Terms of Service apply.