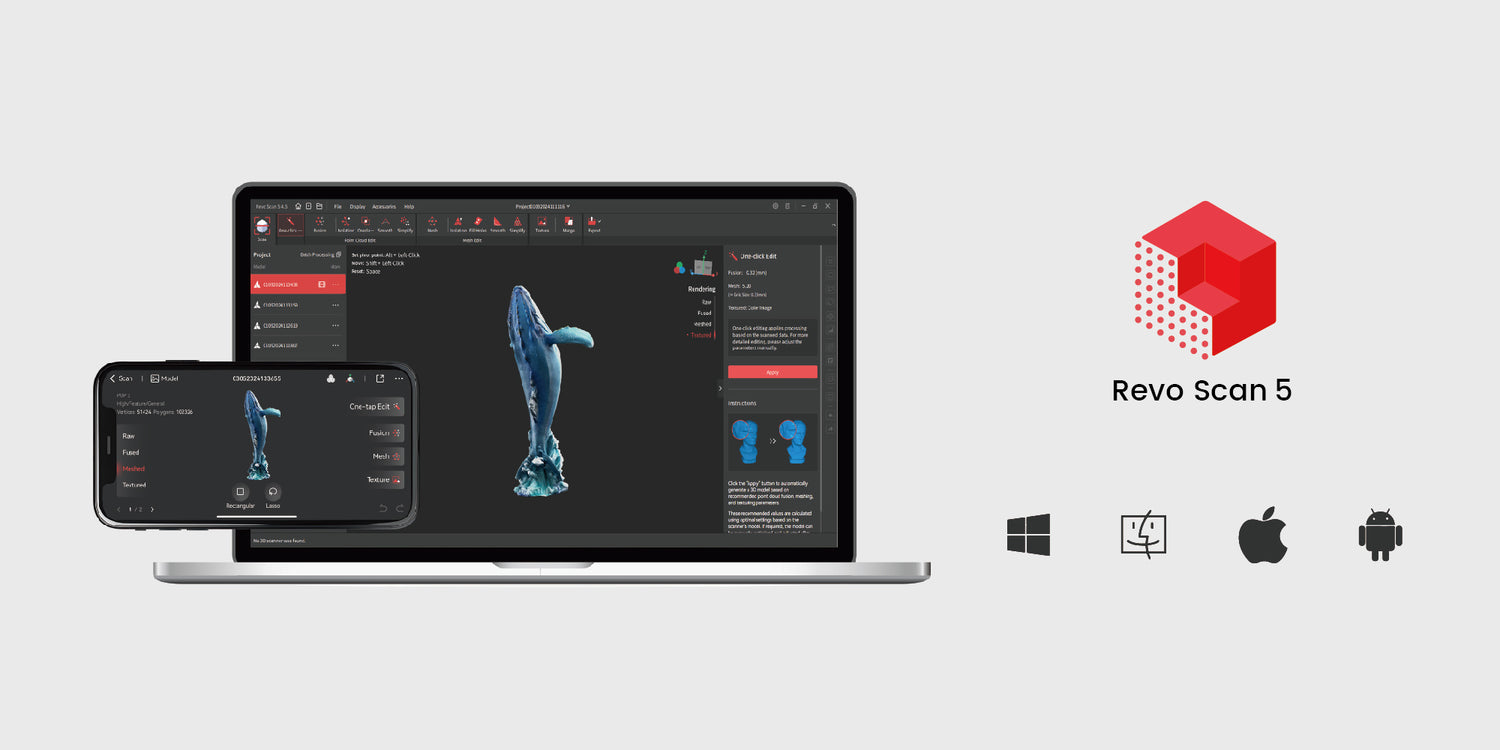
We’re always adding new helpful features and tools to Revo Scan, and some of these additions can fly under the radar unless you regularly check every menu or carefully read the update notes. So, we thought we’d give a quick rundown of some of the newer things we’ve added that might help you if you know about them.
Change Model Properties
This small but handy tool lets you select the color and surface effect of your 3D model. By navigating to the Display Settings and selecting Model Properties, you can tweak the settings until your model looks how you want. This feature not only enhances the visual appeal of your models but also allows for better differentiation and identification of various elements within the model.
Removing Unwanted Data Easily
With this simple trick, you can easily remove any unwanted data in just three steps. First, go to the selection toolbar on the right side of Revo Scan, click on the Select Connection tool, and then click on your model to select it. Now click the Invert Selection button to magically select everything that isn’t your model and click delete. Voila, all the extra unwanted captured data is now gone.

Key Frame Editing
This semi-hidden editing mode helps ensure every frame is perfect before performing fusion on the raw point cloud. The Key Frame Editing tool lets you delete any faulty frame and remove unwanted data. To access the tool, click the More button next to the model names in the project model list and select Key Frame Editing. Then, you can play through the frames one by one to identify and remove any bad frames, or you can edit all frames and select data to delete.
Base Removal
This oft-overlooked toggle in the scan settings automatically deletes flat surfaces under the object being scanned, such as a table or turntable surface. This means you don’t need to edit them out when post-processing the scan data. However, you may want to leave it turned off if you’re scanning something with a lot of flat surfaces.
Adjustable Light Source
Moving the light source around in Revo Scan can help you better see 3D models’ detailed areas or just make them look cooler. You can adjust the light on both fused and meshed models by going to the Display Settings and selecting Light Source. To control it, drag the ball around your model to change the direction of light. Once you’ve gotten it where you want it, double-click on any blank area of the screen to make it disappear or double-click on the ball to reset it to its default position.

Batch Processing
With the handy batch processing tool, you can perform fusion or meshing on a multi-model project all in one go, saving you valuable time. Simply click on batch processing at the top of the model list on the left side of the interface, select the models you want to batch process, choose your fusion or mesh settings, and click Apply to process all the selected models. It's that easy and efficient.
We hope some of these features and tips will improve your workflow and overall 3D scanning experience.


Hinterlasse einen Kommentar
Diese Website ist durch hCaptcha geschützt und es gelten die allgemeinen Geschäftsbedingungen und Datenschutzbestimmungen von hCaptcha.