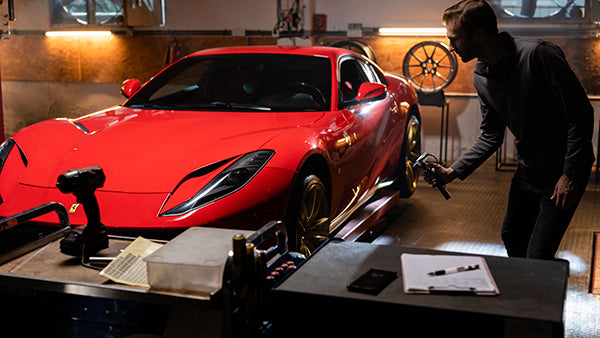
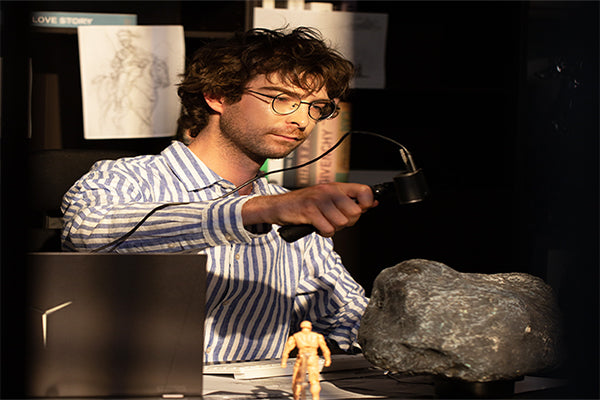
Getting a good 3D scan of a car door can often be tricky due to its featureless and shiny surfaces. So, we thought we might help some of you guys out by making a step-by-step guide explaining how to get the perfect car door scan.
So, let’s get into it, and like just nearly any other scan, most of the work is done before you even turn on the scanner.
Preparation
As mentioned before, car doors are usually featureless smooth, shiny surfaces, meaning your 3D scanner will have difficulty scanning them. The way to fix this is by using Markers (You’re going to need a lot of them) which provide features for the scanner to track.
And Scanning Spray (We recommend using AESUB Blue scanning spray as it will disappear by itself after 4 hours, but you can use alternatives like dry shampoo instead,) which will create a thin and homogeneous coating that the scanner can pick up.
The Three Steps of Prep
- Apply your scanning spray and ensure that the door is evenly coated.
- Place the Markers irregularly all over your car door, ensuring that at least 5 of them will always be in frame as you scan. You may need to clean off small spots of scanning spray to ensure that the markers stick properly.
- Control the environment’s lighting, as this scan will not work well if the car door is in direct sunlight or bright light.
After you’ve done all this, it’s time to get the scan going.
It’s Scanning Time
You can use your 3D scanner with a smartphone, but we recommend doing this scan with your scanner attached to a laptop as the number of frames you’ll capture will be pretty significant, so more processing power and RAM will make this a smoother process.
Open up Revo Scan, and start a new scan. Select the Accuracy, No Color, and Marker options in the menu, then continue to the main scanning interface.
Position yourself and the scanner between 20cm to 30cm away from the car door. Then you’ll probably need to increase the depth camera’s gain until there are as few red and blue splotches as possible visible in the preview window.
Once you’ve finished this, it’s time to start the actual scan.
For simplicity’s sake, we will start from the top left corner (Though you can start at any corner you wish). Start the scan and move smoothly along the car’s door from left to right, and when you get to the end, move the scanner down a few centimeters so it still slightly overlaps the previous scan, and then go back the other way. Keep doing this until you’ve captured the entire door.
When you’ve finished scanning the door (Don’t worry if your point cloud looks a little janky, as this will be fixed when you fuse the model), it’s time to fuse your point cloud. Pick whatever point cloud density you wish, but keep in mind that setting it to its lowest point distance won’t have any real benefits as there isn’t much fine detail that needs to be clear in the model, so selecting one somewhere in the middle is fine.
Clean Up
Now for the worst bit, cleaning up. If you used our recommended scanning spray, you don’t need to worry about removing that, as it will disappear by itself. However, unless you think the Markers add a stylish element to your car door, you’ll want to be rid of them. To do this, you’ll need some good old-fashioned elbow grease, a bucket of soapy water, and a brush to scrub off the Markers.
Unfortunately, depending on how sticky your Markers are, you might have some glue residue left, but you can rub that off with a cloth dipped in acetone.
And with that, you should now have a decent 3D scan of a car door ready to go for whatever purpose you had in mind.


Hinterlasse einen Kommentar
Diese Website ist durch hCaptcha geschützt und es gelten die allgemeinen Geschäftsbedingungen und Datenschutzbestimmungen von hCaptcha.