In 3D scanning, where accuracy is essential and every micrometer counts, markers play a pivotal role. These small but mighty references are the unsung heroes behind highly accurate and reliable 3D models. But what exactly are markers, and why are they crucial in 3D scanning?
What are Markers?
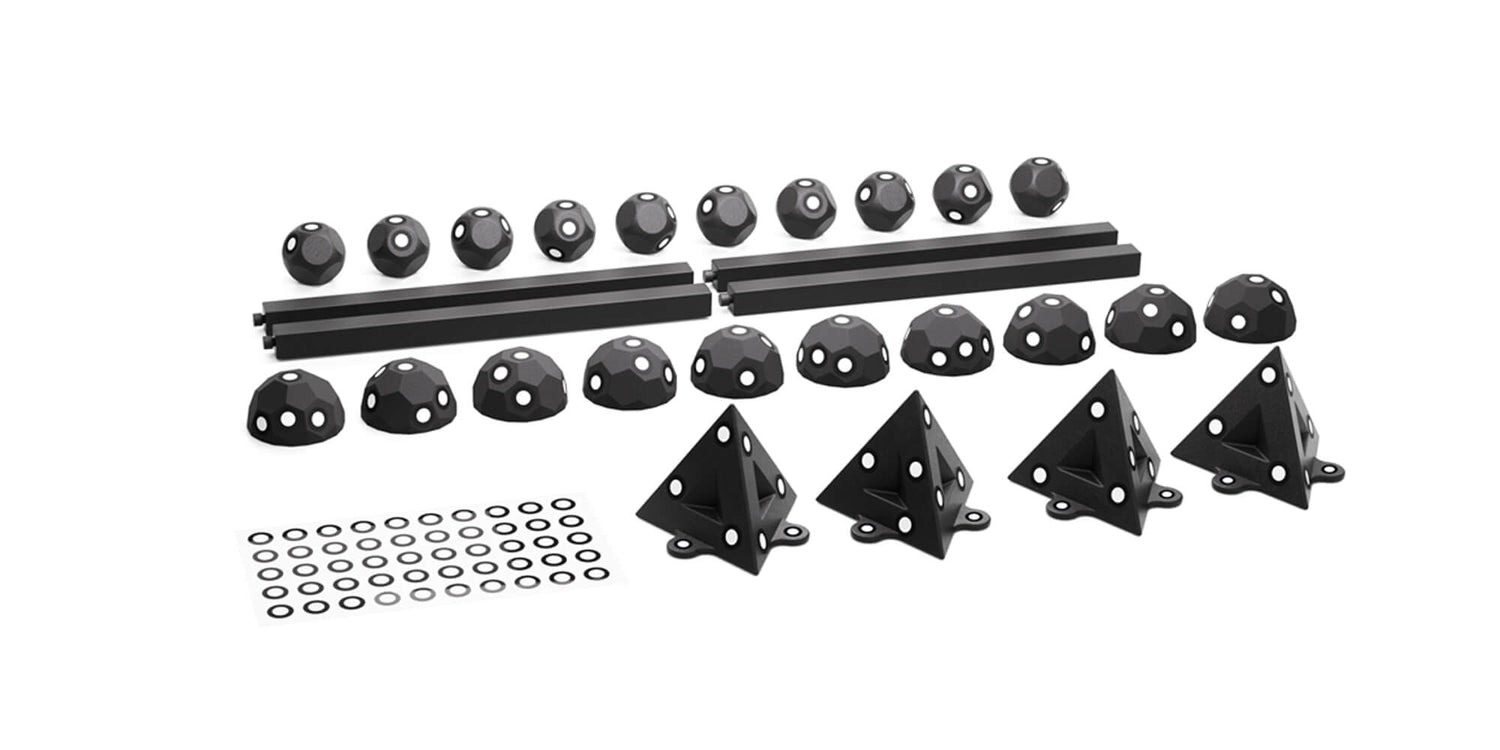
Markers are physical reference points, like simple stickers, dots, or reflective tapes placed on or around the scanned object. They serve as guides for the 3D scanner, helping it accurately align and stitch together multiple frames captured during the scanning process. When scanning featureless objects or performing a laser scan, markers are essential for a successful scan.

Different Marker Sizes
For Revopoint 3D scanners, 3 mm markers are suitable for scanning small items like a computer mouse, while 6 mm markers are more suitable for larger objects like a car. If needed, different sizes of markers can be combined when preparing an object. However, remember that you can only select one size of markers to remove during the fusion process in Revo Scan (the scanner's software).

The Importance of Marker Points
Accuracy and Alignment
Markers ensure that each frame captured during a scan aligns perfectly with the others. This alignment is especially crucial when scanning large or complex objects that require hundreds or thousands of frames.
Markers help the scanner understand the spatial relationships between different areas of the object, resulting in a coherent and accurate 3D model. Additionally, markers can enhance the accuracy of scans for feature-rich objects, even if they don't require markers to be successfully scanned.
Consistency in Scans
Without markers, scans of featureless objects will drift, leading to inconsistencies and errors. Markers act as anchors, maintaining the consistency of the scans and ensuring the final model is true to the original object.

Speed and Efficiency
With markers in place, the scanning process becomes faster and more efficient. The scanner can quickly identify and align the frames, reducing the time and effort required for manual adjustments and corrections.
Using Markers
Placing markers is a straightforward process that anyone can learn quickly. Some people even find it relaxing.

Placement
Clean and position the object in a well-lit area for scanning. Place markers in a non-uniform pattern on or around the object, ensuring there are enough markers per frame.
|
3D Scanner |
Spacing Between Markers |
Minimum Markers Per Frame* |
|
INSPIRE |
2 to 4 cm |
4 |
|
RANGE Series |
6 to 10 cm |
4 |
|
MINI Series |
2 to 4 cm |
4 |
|
POP Series |
2 to 4 cm |
4 |
|
MIRACO Series |
Far mode: 6 to 10 cm Near mode: 2 to 4 cm |
Far mode: 4 Near mode: 4 |
|
MetroX |
Laser Modes: Full-field Modes: |
Laser Modes: 4 Full-field Modes: 4 |
|
* More than 4 markers may be required when scanning some objects. |
||
For faster scan setups, you can place Magic Mat under narrow objects to instantly create a dense field of ready-to-be-tracked markers. Alternatively, you can speed up the process using a marker block kit. This kit should include various shapes and sizes of fixed markers easily placed around or magnetically attached to the item.

Scanning
First, select Marker tracking in the scan settings, then check that the markers are being detected. Start the scan and use the 3D scanner to capture the object's surface from various angles. Revo Scan will automatically recognize the markers and use them to align and stitch the captured frames.
Another method of marker scans in Revo Scan is a mode called Global Markers. It offers better tracking and increased volumetric accuracy. It works by first doing a quick scan to capture all the placed markers, then using the created global marker map to scan and create a point cloud of the object.

Post-Processing
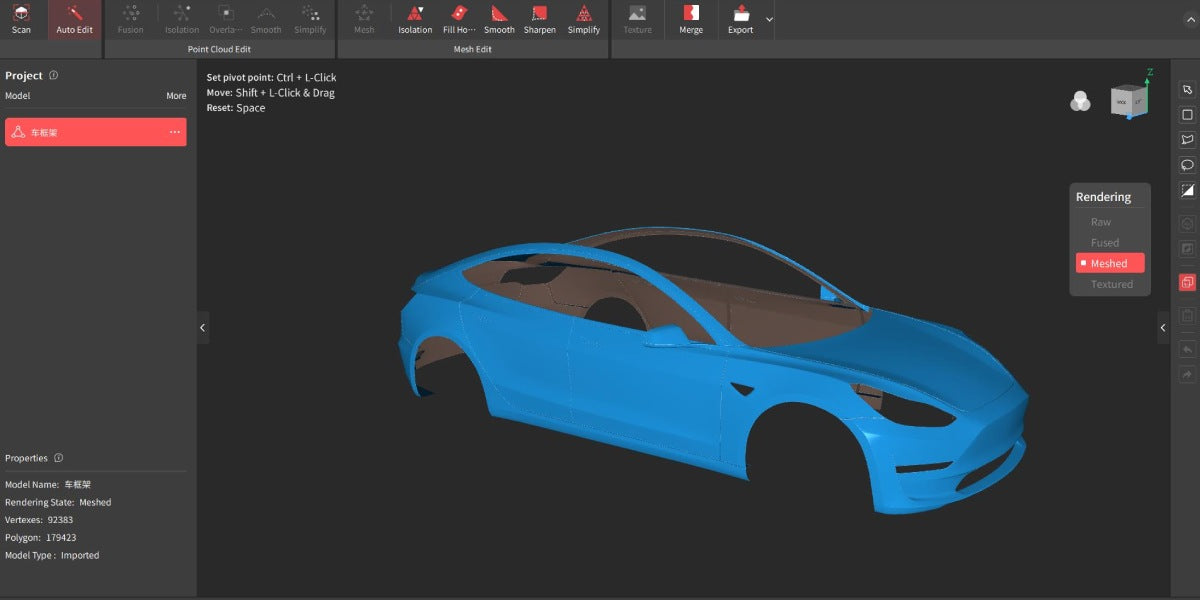
Once the scanning is complete, the collected data is processed to create a unified 3D model. The markers ensure the individual scans align perfectly, resulting in a detailed and accurate representation of the original object.
That’s all there is to markers. While the technology behind 3D scanning is complex, the elegance of markers lies in their simplicity. These small, seemingly insignificant markers are the linchpins of scanning, enabling any object to be captured and transformed into accurate 3D models.


Laisser un commentaire
Ce site est protégé par hCaptcha, et la Politique de confidentialité et les Conditions de service de hCaptcha s’appliquent.