The key to mastering 3D scanning is all in preparation. The actual scan is usually the easiest part of the workflow if you follow some basic rules. So, if you want to master 3D scanning, read on and discover how to prepare any object for a successful 3D scan.
Tools of the Trade
Just about any object can be made 3D scannable if you’ve got the right tools to do it. So, we’ll briefly review all the aids you can use to get an object into a scannable state.

Markers
These are small stickers with a reflective circle in the middle. Place them on or around featureless objects to provide reference points for the scanner. Position them irregularly, generally ensuring at least five are in the frame while scanning.
Marker Tape
This is a roll of sticky tape with markers like the ones mentioned above placed along it. It makes applying many markers to an object’s surface much faster. Measure and cut the Marker Tape, then stick it on.
Marker Blocks
These are shaped blocks with their surfaces covered in markers. They significantly speed up the scanning setup by quickly creating a marker-rich environment around or on the object being scanned.
Reference Objects
These can be anything from a scrunched-up piece of paper to a figurine. Arrange them around the object you want to scan, and the scanner will track and capture them along with the actual object. Note: If you scan this way, use feature tracking.
Scanning Spray
Use this on dark, shiny, transparent, or mirrored surfaces to create a micron-thin layer that the 3D scanner can easily see. You can get professional scanning sprays like AESUB Blue or Revopoint Spray AB-6 or AB-P, or use dry shampoo, foot spray, or skin foundation.
Remember that, except for some professional scanning sprays, you’ll have to clean off the other options from your object. When applying your scanning spray of choice, ensure it’s a thin layer, or details will be obscured, and you may alter the item's dimensions.
Lights
Good lighting is crucial for color 3D scans. It ensures the object is evenly lit and shadow-free for accurate color capture. It also enhances regular scans, as deep shadows can affect scan quality. You can use Revopoint’s Rechargeable Mini LED Light or a selfie light to evenly illuminate the item.
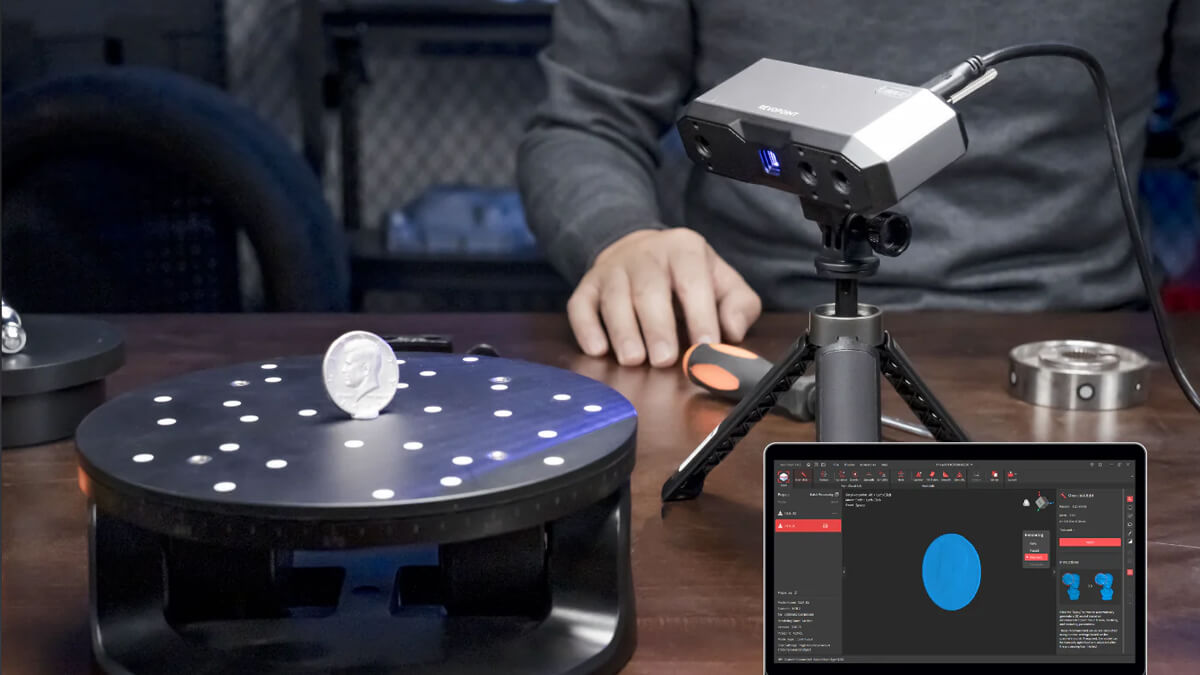
Turntables
Motorized spinning turntables like the Dual-axis Turntable can make capturing objects much easier as you can keep the scanner in a fixed position rather than moving it around. You can also use a Lazy Susan or rollers and a microwave dish if you don’t have a motorized one.
Black Sheet
Use a black sheet to control the surrounding scanning environment. Placing it under your object or turntable will help ensure that the scanner doesn’t scan any table tops or floors during a scan.*
*Not useful for laser scans as they can capture black surfaces.
Others
Use glue tack or double-sided sticky tape to hold small objects upright or keep them in place on a turntable.
What Kind of Object is It?
This affects whether markers or reference objects must be placed on or around the object to provide tracking points.
Feature Rich
These objects have many distinct surface features, like tabletop miniatures, statues, people, or plates of food. Feature-rich items are generally easy to scan, requiring little preparation other than needing a spray to deal with tricky-to-scan surfaces.

Featureless
Think balls, bottles, boxes, or objects with flat, curved, repeating patterns or plain surfaces lacking identifying features. These are harder to scan since the scanner has no point of reference. To address this, place markers on or around these surfaces for tracking.
Surface Type
The type of surface you’re scanning dictates your preparation. Most 3D scanners struggle with specific surface effects on light, such as reflection, refraction, diffusion, and absorption.
Dark
Any overly dark object, like black leather shoes, coal, black cats, etc., can be hard to scan (unless using MetroX) as dark objects usually absorb light, meaning the scanner can’t see the thing clearly unless you’re using a laser scanner. To deal with this, you must use scanning spray to coat the object so the scanner can detect its surface.

Shiny
Shiny objects, like cars, jewelry, and anything with smooth polished surfaces, tend to be a bit too good at reflecting light, so the scanner (excluding MetroX) can’t gauge the depth. Like dark objects, using scanning spray is the solution to this problem.
Mirrored
A fully mirrored surface is nearly impossible to scan, regardless of the type of 3D scanner used, because it deflects too much light away from the scanner's sensors. This surface type must be treated with scanning spray to make it suitable for scanning.
Transparent
Light passes through transparent objects, making them invisible to 3D scanners. Again, the answer is applying scanning spray to make the surface detectable.
Colored Surfaces
Certain colors can be challenging to capture depending on your scanner’s light source, especially if the surface has a high refractive index. For example, blue light scanners may struggle with yellow, orange, and red surfaces, while infrared scanners might have issues capturing black and dark blue surfaces. To address this, treat the surface with scanning spray.
Size Matters
An object’s size impacts what 3D scanner you’ll need and the scanning methods required to capture it successfully. For example, we wouldn’t recommend scanning something small with the RANGE 2 or something large with the MINI 2.

Tiny
We’re talking objects smaller than 10mm x 10mm x 10mm, smaller than most scanners' minimum scan volume. However, you can still get a scan with some good techniques and a scanner optimized for scanning small objects like the Revopoint MINI 2 or MetroX. Generally, you need to place reference objects on a turntable around the tiny item you want to scan.
Small
Again, blue light scanners like the Revopoint MINI 2 or MetroX (also MIRACO) are a good choice for small objects like a computer mouse or miniature figurine. However, with the proper techniques, you can sometimes use a scanner designed for medium-sized objects.
To successfully scan small objects, you’ll need to use a turntable, ideally with preplaced markers for tracking. If you're using a scanner designed for medium items, you should place reference objects around it to provide tracking and do the scan using Feature tracking.
Medium
With the right scanner, like a POP 3 Plus or MIRACO, medium objects are relatively straightforward to scan if they can fit onto a turntable, though it does get a little tricker if you need to do a handheld scan.
Large
Technically, nearly any scanner can scan big objects. However, using a 3D scanner with a small capture area will take a long time and be tricky, so use the Revopoint RANGE 2 or MIRACO, as they both have large capture areas that make the scan much faster.
Depending on your object's size, you may need to split your scan into sections for later merging. This is crucial to avoid running out of RAM with less powerful computers. Additionally, you risk losing all progress if a significant error or crash occurs while scanning it. So, to prevent data loss, break that scan up, and when scanning, ensure that at least 10% of the section scan overlaps another section's scan for easier merging when you’ve finished.
People
Although a person's size doesn’t greatly influence how you approach the scan, smaller people are usually faster than larger ones. The key point to remember is to avoid reflective or dark clothing on the person being scanned.

Scanners like the MIRACO or RANGE 2 are optimal for body scans, though they can also be performed with the POP 3 Plus or INSPIRE, provided you have a bit more patience. The person being captured needs to remain still throughout the scan, so they should adopt a comfortable pose. If performing a face scan, keep their eyes closed (blinking can impact the scan's quality). For more information, check out this video.
Environment
Lighting is crucial in 3D scanning, as intense direct light will interfere with structured light scanning. An unevenly lit object with hard shadows on some surfaces can also negatively affect the scan. So, when scanning, preferably do it in a room where you can control the lighting.
● If you must scan outside, ideally do it on a cloudy day or after sunset when you still have light from twilight.
● If you want an excellent color scan of an object, ensure it’s evenly lit with soft light and has no hard shadows.
To prevent the scanner from capturing unwanted surfaces like tabletops, walls, and floors during the scan, place a black plastic sheet under the turntable or on the wall behind the scanner. This will stop the scanner (note this won’t work with MetroX) from unintentionally scanning these surfaces.
Ideally, also remove any clutter from your scanning area so you don’t capture any unwanted surfaces, and the area is free to easily move your scanning equipment around.
General Scan Preparation Guidelines
Let’s summarize your key tactics for object prep.
|
Issue |
Solution |
|
Shiney, dark, mirrored, transparent surfaces. |
Use scanning spray, dry shampoo, or foot spray. |
|
Featureless surfaces |
Use markers or reference objects. |
|
Tiny objects |
Use a turntable and reference objects for tracking. |
|
Small objects |
Use a turntable and reference objects for tracking. |
|
Medium objects |
Use a turntable if possible. |
|
Large objects |
Scan it in sections, then merge them. |
Remember that you may need to combine these steps to make some objects scannable. For example, a shiny black ball needs markers and scanning spray and should be secured on a turntable with glue tack to prevent it from rolling, ensuring a successful scan.

Laisser un commentaire
Ce site est protégé par hCaptcha, et la Politique de confidentialité et les Conditions de service de hCaptcha s’appliquent.