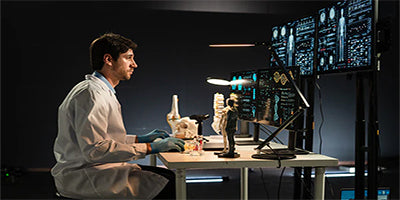
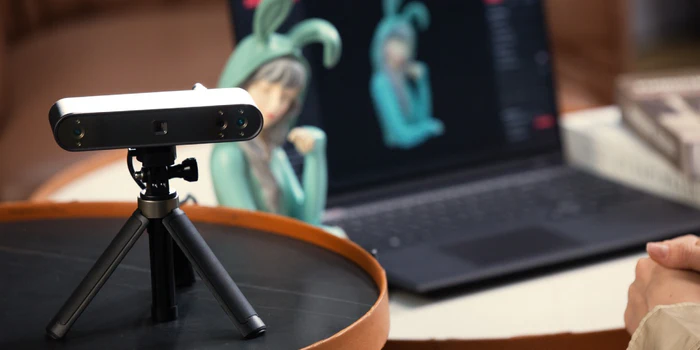
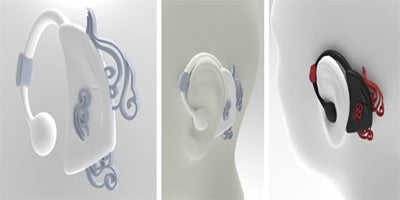
What drives someone to 3D scan a person? Lust for gold? Power? Or does it just save them a ton of time? It’s probably the third one, but you never can honestly know. The popularity of 3D scanning people is rapidly growing as it allows the creation of customized health solutions, hyper-realistic characters in video games or VR experiences, and 3D printing miniature models for gifts or tabletop games.
And as always, your preparation is the key to pulling this scan off successfully. By equipping you with the right knowledge and tools, we're empowering you to master the art of 3D scanning. So, let’s get into it.
What 3D Scanner?
You’ll find capturing a full body scan relatively easy using RANGE 2 or MIRACO in Far-mode, but a full body scan is still possible using the POP 3 or INSPIRE 3D scanners. However, it will take a bit longer due to their smaller capture areas.

Dress to Impress, but not too Much
The type of clothing your model is wearing can significantly impact the 3D scan. Shiny cloth, like silk, satin, or nylon tracksuits, is tough to scan. Also, very black or dark clothing is best avoided (sorry, goths). And finally, remove any shiny jewelry.
It’s better if the model wears lighter shades of colors and materials like denim or cotton, as they aren’t reflective, so it’s easier for the 3D scanner to scan them.
Lights, Camera, Action
Just like on film sets, you’ll want to control the lighting to help get the perfect scan. If the light is too bright, the scan will be overexposed, or if it’s too strong in one direction, it’ll cause heavy shadows that may lead to scanning errors.
So, ensure your model is evenly lit with soft light for the best scan. If you’re blessed with flexible lighting, this is easy. If not, you can use Revopoint’s LED light or any good selfie light ring will work.
Freedom of Movement
Since people, especially adults, can sometimes be rather large, you’re going to want to be able to move the 3D scanner freely around to scan them. So, you will want to use the scanner connected to a smartphone over USB or Wi-Fi mode to ensure freedom of movement.
Now that we’ve finished all the prep, let’s move on to the scanning.
3D Scanning a Person
We’re going to assume that you don’t have a large turntable capable of rotating your model for a more straightforward scan (though if you want one, you can get one here). So, we’ll be doing this scan by hand. Your model will need to stay still for this, so let them scratch any itches and blow any snotty noses before you get started.

Open Revo Scan, select Feature as the Alignment mode, then High-accuracy Scan, and Body for the Scan mode. Once you’re in the scanning interface, adjust the depth camera exposure until there are as few red and blue patches as possible in the preview window. Then, if doing a color scan, adjust the RGB camera’s exposure and white balance.
The easiest way to start the scan is from the top center of the head. Then, slowly but steadily, you move in a spiral around the model, progressively descending as you go. When doing this, ensure that you overlap the previously scanned areas as you go, as this will help prevent tracking loss and misalignment.
Once you’ve finished the spiral, pause your scan, check it for any missing parts, and fill those in if needed. Also, don’t worry about slight misalignments, as they’ll generally be fixed automatically in Revo Scan when you fuse the model.
Congratulations, you should have a pretty good 3D model of a person to do with whatever you please.


Laisser un commentaire
Ce site est protégé par hCaptcha, et la Politique de confidentialité et les Conditions de service de hCaptcha s’appliquent.