
We have noticed many of our users want to 3D scan small objects. Things that are so small that they are smaller than the recommended minimum scan volume for our scanners. While not impossible to do, it can be tricky to pull off. But don’t fear. We’ve created this handy guide to help you achieve small object scanning nirvana.
First, it’s important to note that your mileage may vary with this guide depending on which of our scanners you have. Obviously, it will be much easier to scan a tiny object with the MINI than with the original POP.
|
Scanner
|
Minimum Scan Volume |
| POP | 30mm x 30mm x 30mm |
| POP 2 | 20mm x 20mm x 20mm |
| MINI | 10mm x 10mm x 10mm |
So why would you want to 3D scan small objects? Well, the usual reasons are reverse engineering, reproducing parts via 3D printing, adding 3D models into games, or taking a kitbash to the next level.
So let’s get into it and take a look at what preparation you need to do.
It’s all in the Prep
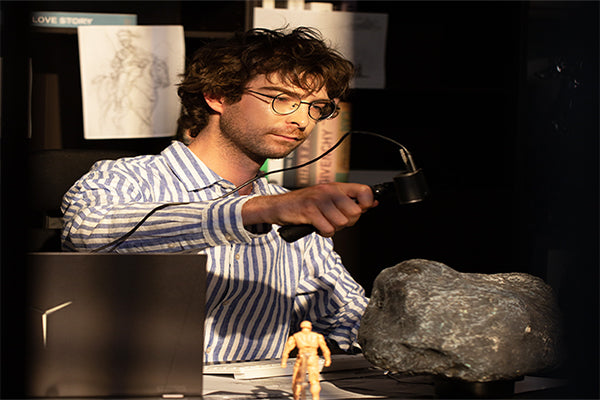
- Firstly, let’s examine the object we want to scan. Is it shiny or dark? Does the part have enough features for tracking? Is it too small for markers? With those questions in mind, let’s go through a list of tools and objects you can use to solve these problems.
- Scanning Spray can be used to deal with small objects with shiny, transparent, or dark surfaces, and it can even help by increasing the contrast between the object and the background for any small object.
- A Scanning Light or selfie ring light helps to ensure that the environment is evenly lit and that the object doesn’t have any dark shadows impacting the scan quality. It can also increase the object’s color vibrance if you need to do a color scan.
- Using the Black Plastic Sheet that came with your Revopoint scanner can also be useful as it helps to absorb some of the ambient light in the scanning area. And helps to prevent things like the table’s surface or wall background from getting included in the scan.
- It’s a good idea to slightly elevate the piece you want to scan off the turntable(If using the Dual-axis Turntable, this might not be necessary due to its height). The best way to do this is to use a small shot glass or a photographer’s glass block. Since transparent glass will likely not be scanned, making post-processing a bit easier. Please note that markers might have to be placed on the glass.
- Markers are used to provide features for the scanner to track. Usually, when we talk about Markers, we mean the little round stickers. However, there are other things that you can use, like small pieces of candle wax, blobs of glue tack, or even small pebbles.
Dos and Don’ts to Keep in Mind.
Do
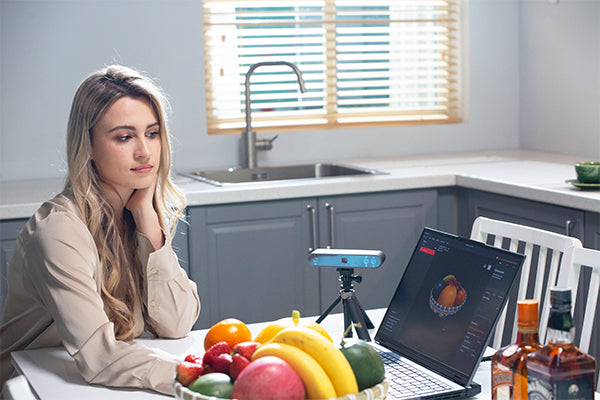
- Create an evenly lit environment, as seen in the photo below.
- Use a black turntable, as the scanner is unlikely to scan it.
- If using scanning spray, coat the part evenly and lightly.
Don’t
- Do not scan with a light source directly facing the 3D scanner’s lens.
- Do not use a matte white or grey turntable or support surface, as this might be captured during scanning.
- Do not thickly layer your object with spray or powder, as it will create a rough scanning texture.
Let’s get the Scan Going
1) Make sure you select Marker mode for the scan, or all your handiwork placing markers or other small objects will be for nothing.
2) Position your scanner, so the object is centered and Revo Scan’s distance indicator says excellent.
3) Adjust the depth camera’s gain slider until you have as few blue (underexposed) and red (overexposed) patches as possible in the depth camera’s preview window. See the example photo below.
Once you finished positioning and adjusting the scanner’s settings, power on the turn table and start your scan. Depending on the object’s geometry, you may need to reposition the object and scanner to ensure that you fully capture all its aspects. When you’re satisfied with the scan’s result, it’s time to move on to post-processing.
Fine-tuning your Scan
You need to fuse your point cloud data to start getting your model into a usable state. Here, selecting the smallest point distance size is better, so your model retains all the fine details.
After fusing the model, you can export it for more post-processing in Revo Studio or third-party programs like Blender, Meshmixer, or Meshlab. Or you can Mesh the model and then export it in STL in Revo Scan, so it’s ready for 3D printing.
If you used other larger objects as Markers, now is an excellent time to remove them from the scan. In Revo Studio, in the Point tab, you can use the “Clip” tool to remove the objects you don’t want from the scan.
And there you have it! With a bit of preparation, patience, and working around the scanner’s limitations, it’s possible to 3D scan smaller objects than the recommended minimum scan volume.
Leave a comment
This site is protected by hCaptcha and the hCaptcha Privacy Policy and Terms of Service apply.