When it comes to 3D scanning, like learning to cook, drive a car, or master photography, there are always a bunch of mistakes that someone starting out can easily make if they don’t know about them.
But don’t worry. They won’t happen to you cause you’ll have read this handy article that’ll teach you to avoid the top ten most common 3D scanning mistakes!
Not Adjusting the Exposure
One crucial aspect of 3D scanning is adjusting the exposure. This step is often overlooked by new users, leading them to mistakenly believe their scanner is faulty. If the exposure isn’t correctly adjusted, the depth cameras will struggle to see and capture the item right in front of them.

This one is a breeze to fix: Simply adjust the depth camera’s exposure until there are as few red or blue splotches as possible on the object in Revo Scan’s preview window. Keep in mind that you may need to adjust it again mid-scan if you capture an object with sharply contrasting colors or materials on its surface. Also, remember to set the RGB camera’s exposure and white balance if you're doing a color scan.
Not Treating Surfaces
One common oversight is neglecting to treat surfaces before scanning. This is particularly important when dealing with dark, shiny, or transparent surfaces, as they can absorb, scatter, or allow light to pass through, posing a challenge for structured light scanners. However, this issue can be easily resolved by applying scanning spray to create a micro-thin matte surface on the object.
Another common surface error is not placing marker points on an object that doesn’t have any distinct features for the scanner to track during the scan. If all the surfaces are flat and featureless, then everything looks the same to the scanner, so it has no idea where it is or where it is going.
Picking the Wrong Settings
Yep, even if you get all the prep right, you'll still have a lousy time if you pick the wrong settings for the scan. You’ve sprayed the car’s surface and placed your marker points, but the scanner’s still losing track. That would be because you forgot to switch to the marker tracking mode before starting the scan. Don’t worry; this one happens to experienced users, too.
Movement
Remember, your role in the scanning process is crucial. Whether you're scanning handheld or with a turntable, the movement speed is key. Too fast will most likely result in a loss of tracking, and too slow will lead to too much over-scanning of the same area, impacting the quality of your final model. So, the best approach for handheld scans is like the tortoise and the hare. In other words, slow and steady will get you the best 3D scan.
For turntable scanning, just don’t set the turntable’s speed too low. Anything under 40 seconds for a rotation should be fine.
Environment
Most Revopoint 3D scanners use infrared light, so any light source emitting infrared light will interfere with the scan. For example, direct sunlight, be it outdoors or streaming through a window, will impact the quality of a scan. This means it’s essential to control the lighting wherever you’re scanning.

If you want to scan outside, it’s best to do it at dusk or on a very overcast day when there is still some light, but the sun isn’t glaring down on the object you’re scanning.
Losing Track After Pausing the Scan
You’re halfway through the scan, you’ve paused the scan to adjust the object's position for the rest of the scan, and you start scanning again to capture the rest, but the scanner loses track instantly. It’s frustrating but easily fixed by simply restarting the scan with the scanner aimed at a previously scanned area. You need to do this to give the scanner a point of reference, or else it has no idea where the newly captured frames should go.
Setting the Point Distance Too High
You’ve nailed your scan, but the model looks blobish with smeared details. What could be the issue? Did the company lie about the accuracy? Did you mess it up in a new way? Nope, you set the point distance too high during the fusion process, and all the fine details were lost. This is only a problem with objects with many fine details. If dealing with something that has mainly flat featureless surfaces, setting the point distance to a wider spacing is ok.
Not Fusing
You’ve finished scanning and are looking at the point cloud, but it’s a bit messy looking. Better redo the scan? Nope, you'd better try fusing it first. This is because, at the moment, you’re looking at a collection of point clouds rather than one unified cloud. To fix this, simply fusing your point cloud will clean up a lot of the mess, and most other faults can be edited out after fusing with the point cloud editing tools in Revo Scan.

Wrong Tool for the Job
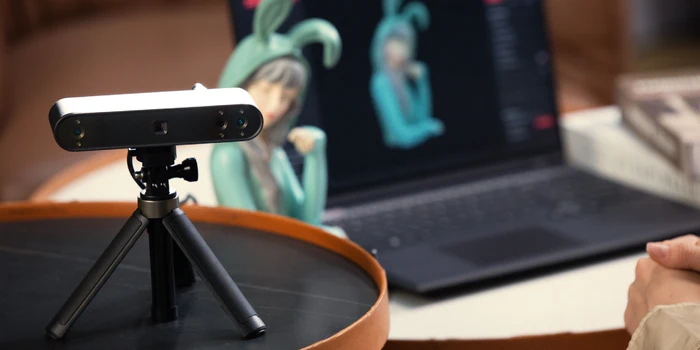
Different structured light scanners are designed for scanning different sizes of objects, so picking the suitable scanner makes a world of difference in getting a good scan as painlessly as possible. In the case of our 3D scanners, it’s MINI 2 for small objects, POP 3 for medium things, and RANGE 2 for big items, and if you can’t make your mind up, MIRACO for everything from small to large items.
This is, of course, not to say that it is impossible to scan an object of a different size than a scanner is optimized for, but you’ll need a lot of scanning skills to pull it off. And will need to understand that if you try to scan a coin with the RANGE 2, the details will be pretty lackluster compared to scanning it with a MINI 2.
Drifting Scans
You start your scan, and everything is going fine until suddenly, boom! It’s drifting in an infinitely repeating long line or spiraling across the screen. This happens because the scanner couldn’t find enough features or marker points to track. It’s annoying, but again, like all these problems, it’s easily fixed. Simply ensure there are enough features via reference objects like scrunched-up bits of paper placed around the object or plenty of marker points in the frame for the scanner to track.
Unevenly Colored 3D Models
The 3D model’s color shade keeps changing across its surface. The root of this issue is unevenly lit objects with various levels of shadow across their surface, making the color captured during the scan uneven. For an evenly colored 3D model, ensure that the item is evenly lit with soft light and that there are no hard shadows on the item.

Leave a comment
This site is protected by hCaptcha and the hCaptcha Privacy Policy and Terms of Service apply.