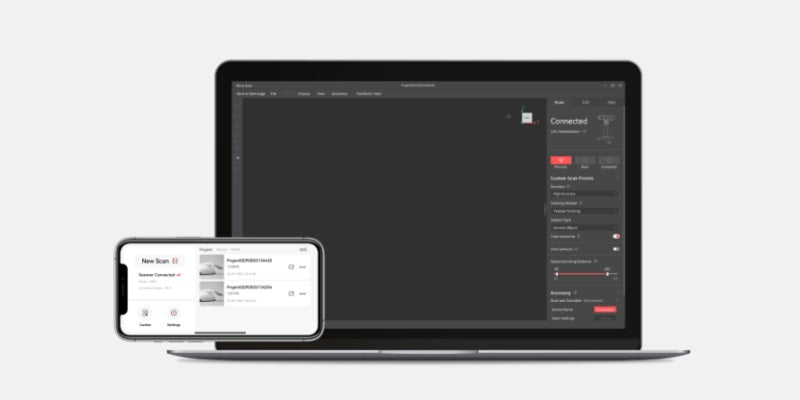
In Revo Scan 5, we integrated some new point cloud editing features, so in this article, we will look at how to edit and improve your point cloud data in Revo Scan. To do this, we will create a slightly faulty scan to show how to improve it with the tools.
And as always, don’t be afraid to experiment with the tools. You can always hit the undo button to roll back the changes if anything goes wrong.
So for this demonstration, we’ve done a quick incomplete scan of everyone’s favorite bust with POP 2 3d scanner and fused the model with the smallest point distance possible.

Isolation Tool
So first, we’re going to deal with the detached cloud points by using the Isolation tool. To use it, select a percentage to determine the number of total points that must be detected for something to be identified as isolated.

In this case, 15% looks like enough. And as always, you can fiddle with the settings till you get everything.
Overlap Detection.
Overlap detection finds areas where multiple scans or cloud points overlap and then simplifies them to make the point cloud more concise. Any adjacent scans or data points with a distance less than the selected Overlap value will be detected as overlapping.

In a nutshell, the higher distance you set, the more Revo Scan will identify as being overlapped, and the lower it’s set, the smaller clusters of overlap it’ll find. If your point cloud has a lot of noise, you’ll probably want to use a higher setting.
Smoothing
Next, smoothing, whether or not you need this depends on your application and the object you scanned. For example, if the object you scanned has a rough surface, then smoothing your model would likely distort the model, but if your object has highly smooth surfaces, you may want to get rid of any distortions picked up during the scan.

For smoothing, select a strength and the number of times you want the smoothing effect applied to the model. You may need to do this multiple times until you get the desired result.
Simplification
Simplification is optional and depends on the object you scanned and your application. For example, if you need to have all the fine details as clear as possible, skip it. But if you have scanned something with many plain surfaces that don’t have any details, you may wish to remove any points that are not essential to the object’s shape to reduce file sizes and speed up processing times.

The setting for simplification is the average distance between neighboring points to be preserved during downsampling. In the screenshot above, we’ve used the lowest setting to show what it looks like.
Now you know how to optimize a point loud in Revo Scan, why not find out how to tackle those holes in our meshing optimization guide next?

Leave a comment
This site is protected by hCaptcha and the hCaptcha Privacy Policy and Terms of Service apply.