Sometimes to create the best 3D model, you got to go the extra mile and use more than one scanner to create your masterpiece. And the only way to achieve this is to know how to merge scans made with different 3D scanners together.
So let’s get into it.
Why Would I Do That?
Because you want an outstanding 3D model, obviously. Oh, you want a real example? Ok then. Let’s say you want to scan an object that’s mainly flat featureless surfaces but also has some areas that have a lot of fine details that you need to be accurate for whatever your purpose is, be it reverse engineering, quality control, or design.
For example, if scanning something like an engine to capture its uniform surfaces, the best scanner would be the RANGE, as it’ll capture the plain areas quickly with its larger capture area. For the finer detailed areas, RANGE will capture them ok, but the finer details won’t be so sharp. So if you care about them, it’s better to use a scanner optimized for capturing smaller details like the MINI or POP 2.
It can help you get scans done faster because scanning medium-sized or bigger objects with a small field of view (FOV) with a scanner like MINI will take quite a bit of time to capture.
Also, it can reduce the file size by having only detailed sections of the scan with a higher point cloud resolution.
Tools of Choice
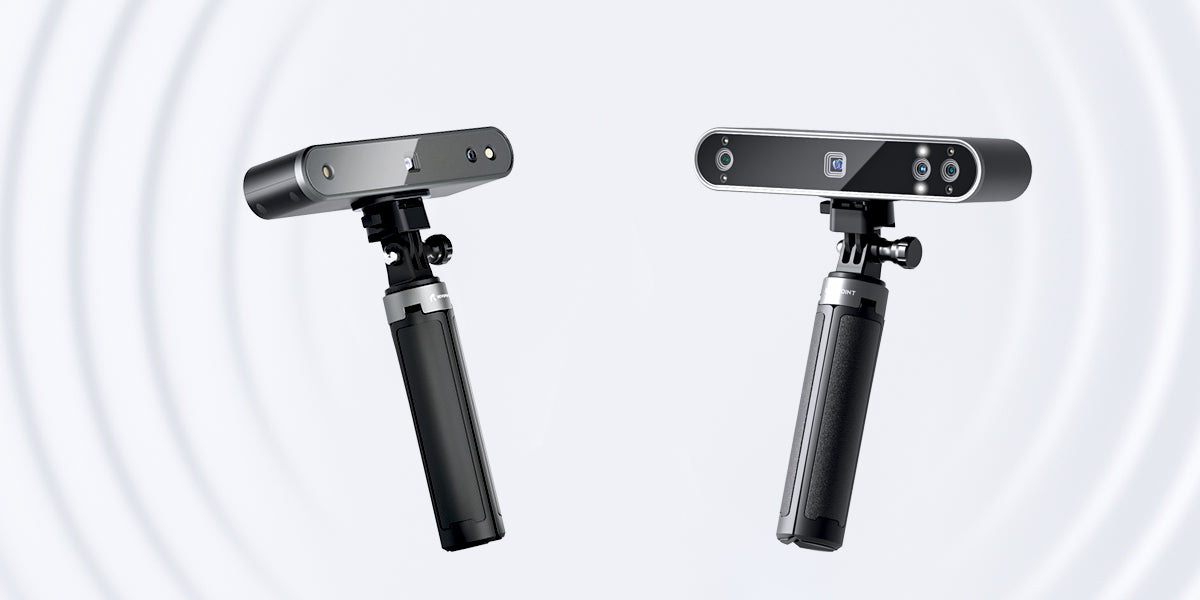
Well, this depends on what you are scanning, but usually, for Revopoint scanners, it will be a combo of MINI + RANGE or POP 2. For example, scanning a large object, you could use RANGE for featureless surfaces and MINI or POP 2 to capture finer details.

The Scans
To do this, you’ll need to ensure a few things during your scan for this to work well. First, ensure you’ve correctly prepared the object you’re scanning with markers and scanning spray if required.
And keep in mind that if you want to use feature alignment after the scan, you will need some overlap of the sections you want to merge, so Revo Scan has something to detect later. So plan out your scan, and identify the areas where you want to capture more details.
Once you’ve worked this all out, it’s time to scan your entire object with your primary 3D scanner. After finishing your first scan, click Complete and then the “New Scan” button to add a second scan to your project.
Switch to your higher-accuracy scanner and capture all detailed areas. When doing this, be sure to scan some of the surrounding areas to make merging easier. Repeat this process as many times as needed to capture any areas that need details.
The Merging
Once all the scanning is finished, it’s time to start processing, though before you start, we recommend renaming the project models so they are easier to keep track of if you have a lot of them.
First, it’s time to fuse your previously captured data. Select whatever point distance you want, though obviously, set a low point distance for the parts with fine detail. If needed, you can clean up your point cloud using the isolation tool to remove any unwanted scanned data.
Return to your complete main scan and use one of the selection tools to draw around and delete the area you will replace with the high-resolution scans you did earlier. Note that you should not cut a larger area than the size of your replacement point cloud.
Feature Alignment
Go to the Merge tab in Revo Scan, select the model you want to merge into the main model, then click ok, and the models should align perfectly. Keep doing this until your model is complete. It is possible to do this all in one go, but merging the models individually may work better when using feature alignment.
Marker Alignment
If you didn’t scan enough overlapping points with distinct features for alignment to work, you must place at least 4 markers in corresponding places on the two models you want to merge in Revo Scan to show it where it should merge the models.
Post-processing
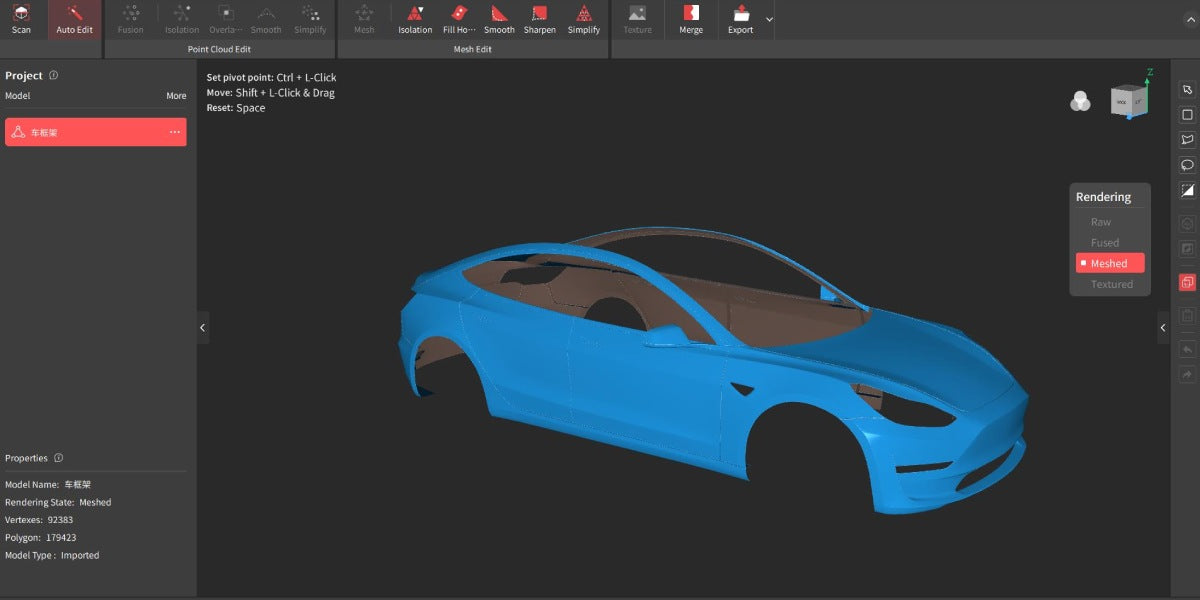
Once you have your complete point cloud, use the overlap detection tool to detect and remove any overlapped points. Then you’re free to mesh the model or do whatever you want with it.

Leave a comment
This site is protected by hCaptcha and the hCaptcha Privacy Policy and Terms of Service apply.